![03. Lucena Position [ Endgame Patterns ] Chess Lessons - Chess.com](https://i.ytimg.com/vi/k4zq3WxPIFc/hqdefault.jpg)
Beginner
03. Lucena Position [ Endgame Patterns ] Chess Lessons - Chess.com
Coach's take: Gold standard Lucena lesson - mistake, fix, both defenses, and a recall check at the end.
Chess
The winning rook-ending technique.
Coach's take: Gold standard Lucena lesson - mistake, fix, both defenses, and a recall check at the end.

Coach's take: A real teacher working it out live with a student beats a scripted recap almost every time.
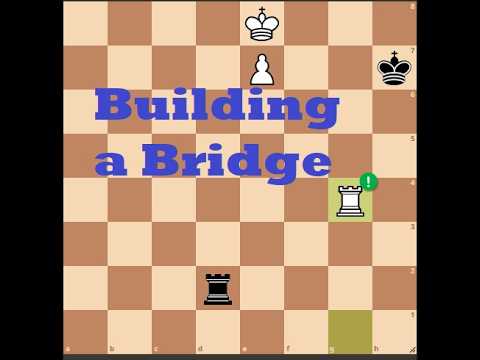
Coach's take: The clearest explanation of building the bridge you'll find -- shows you why the shortcuts fail before giving you the real technique.

Coach's take: Precise. Doesn't just show the winning line, shows why the obvious alternatives don't work.

Coach's take: The rare video that actually explains why it's the 4th rank and not the 5th.

Coach's take: About as clean and correct an explanation of the bridge as you'll find.

Coach's take: This is where you go after you already know the basic bridge and want the real theory behind it.

Coach's take: Shows you what DOESN'T work and why before the real answer -- that's how you actually understand it instead of just memorizing a line.

Coach's take: Shows you why the obvious approach fails before teaching the fix -- this is how you actually make an idea stick.

Coach's take: Precise on the one exception that trips people up - exactly how far the king needs to be cut off, and why.
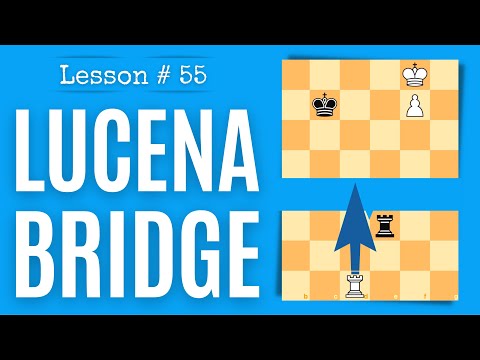
Coach's take: Walks the technique AND shows you why it breaks if you skip a step. That's real teaching.
Coach's take: Great next step once you already know the basic bridge technique -- shows you the real edge cases.

Coach's take: Efficient and correct, and honestly tells you what you still need to know afterward.
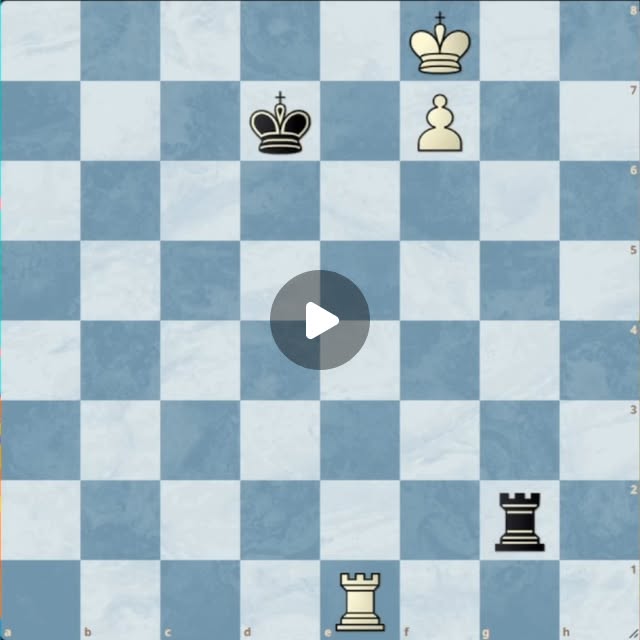
Coach's take: Covers the standard technique AND the trap that catches people who think they already know it -- that's the valuable part.

Coach's take: Shows you why the natural try fails before teaching the fix - that's how you actually remember it.

Coach's take: Flags the classic mistake and promises the a/h-pawn exception most videos skip.

Coach's take: Covers the one case that trips people up even after they know normal Lucena -- real added value.
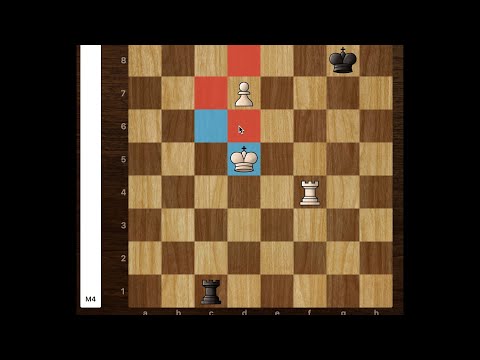
Coach's take: A real trick for a real blunder -- you won't get this from the basic 'here's the bridge' videos.
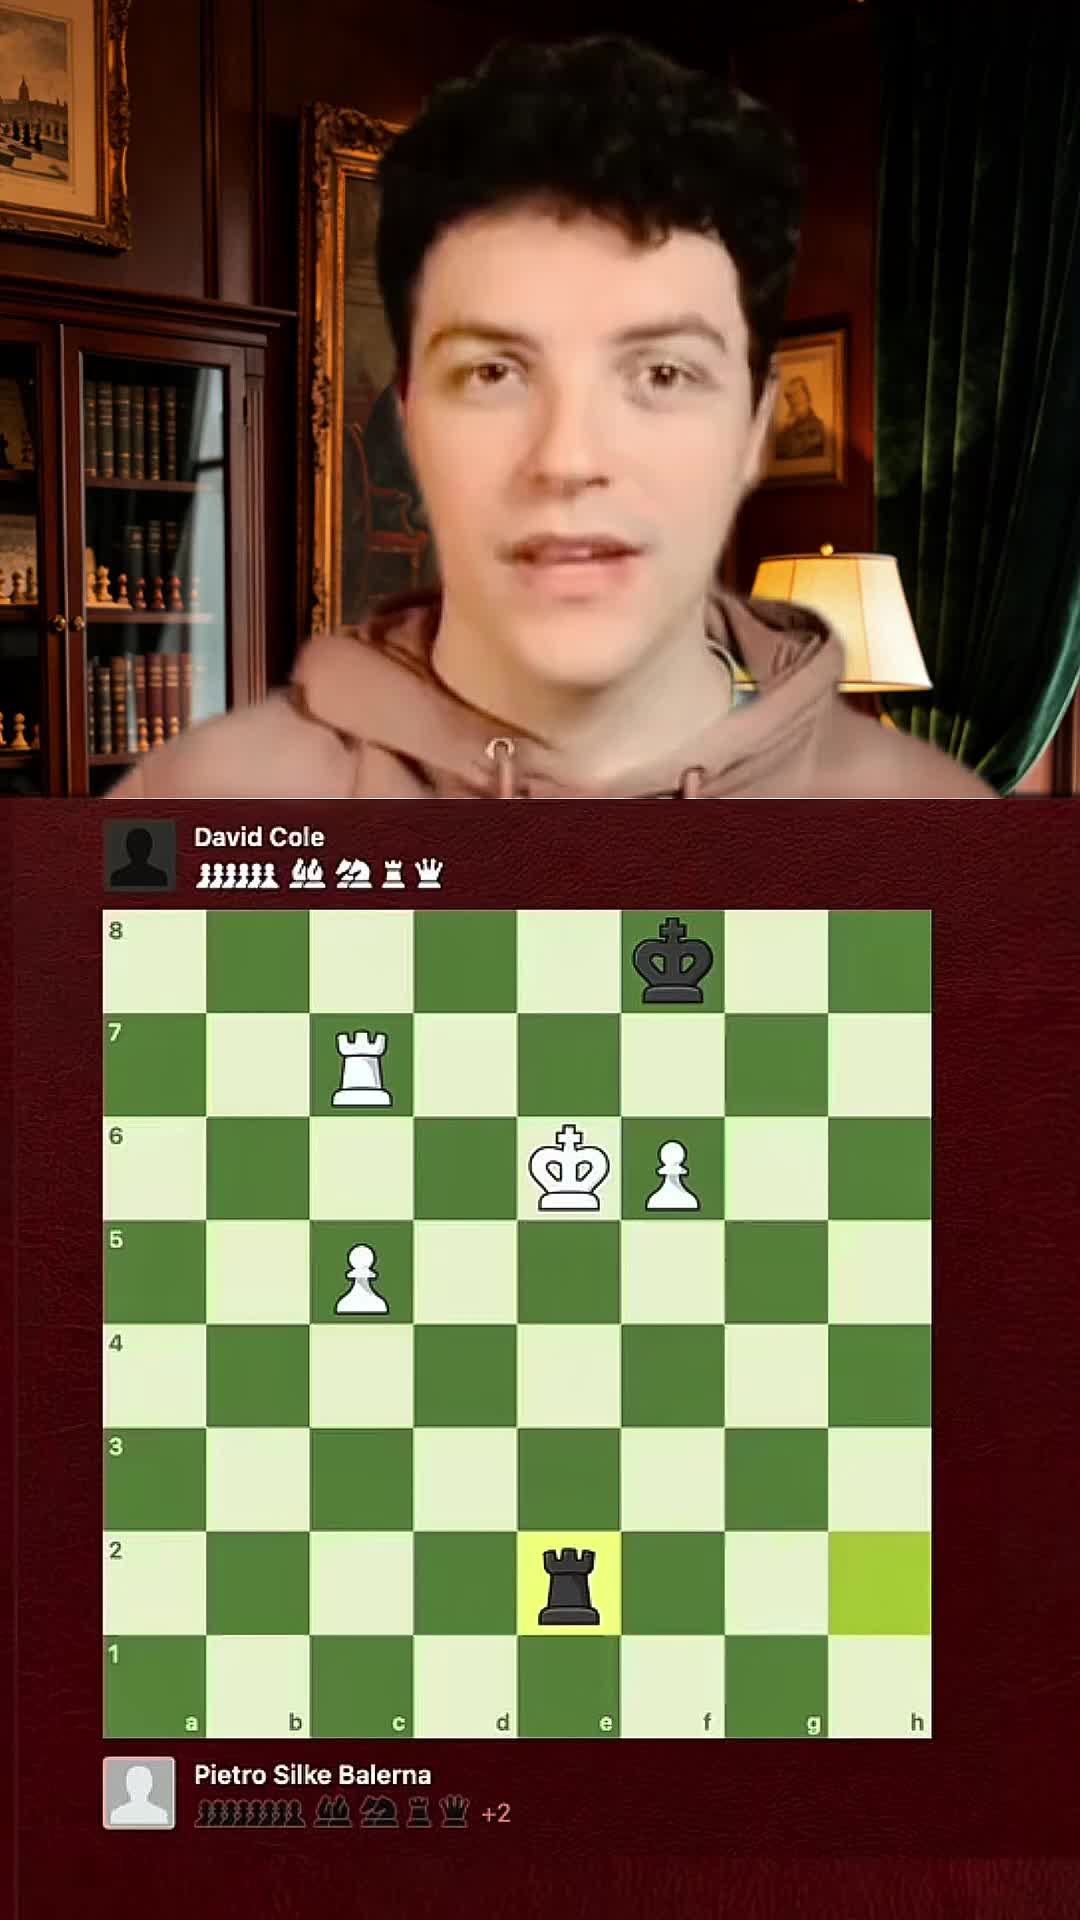
Coach's take: Real game story plus a genuinely clear four-step breakdown -- one of the better ones in this batch.

Coach's take: Efficient and complete -- covers both the winning method and how to defend against it, which most videos skip.

Coach's take: Explains what actually defines the position before the moves - good habit, just wordy getting there.

Coach's take: Solid and covers an extra branch other videos skip, though it takes the scenic route to get there.
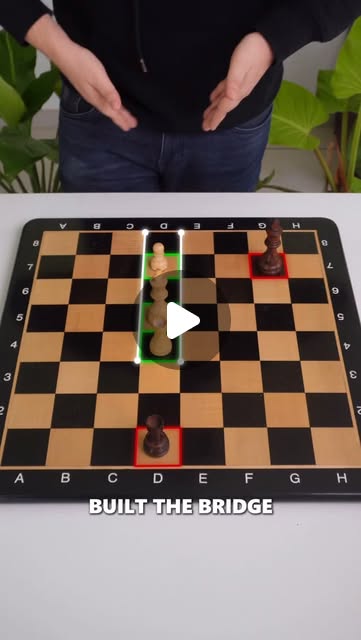
Coach's take: Shows you the wrong way AND the right way side by side -- that contrast is what makes it stick.
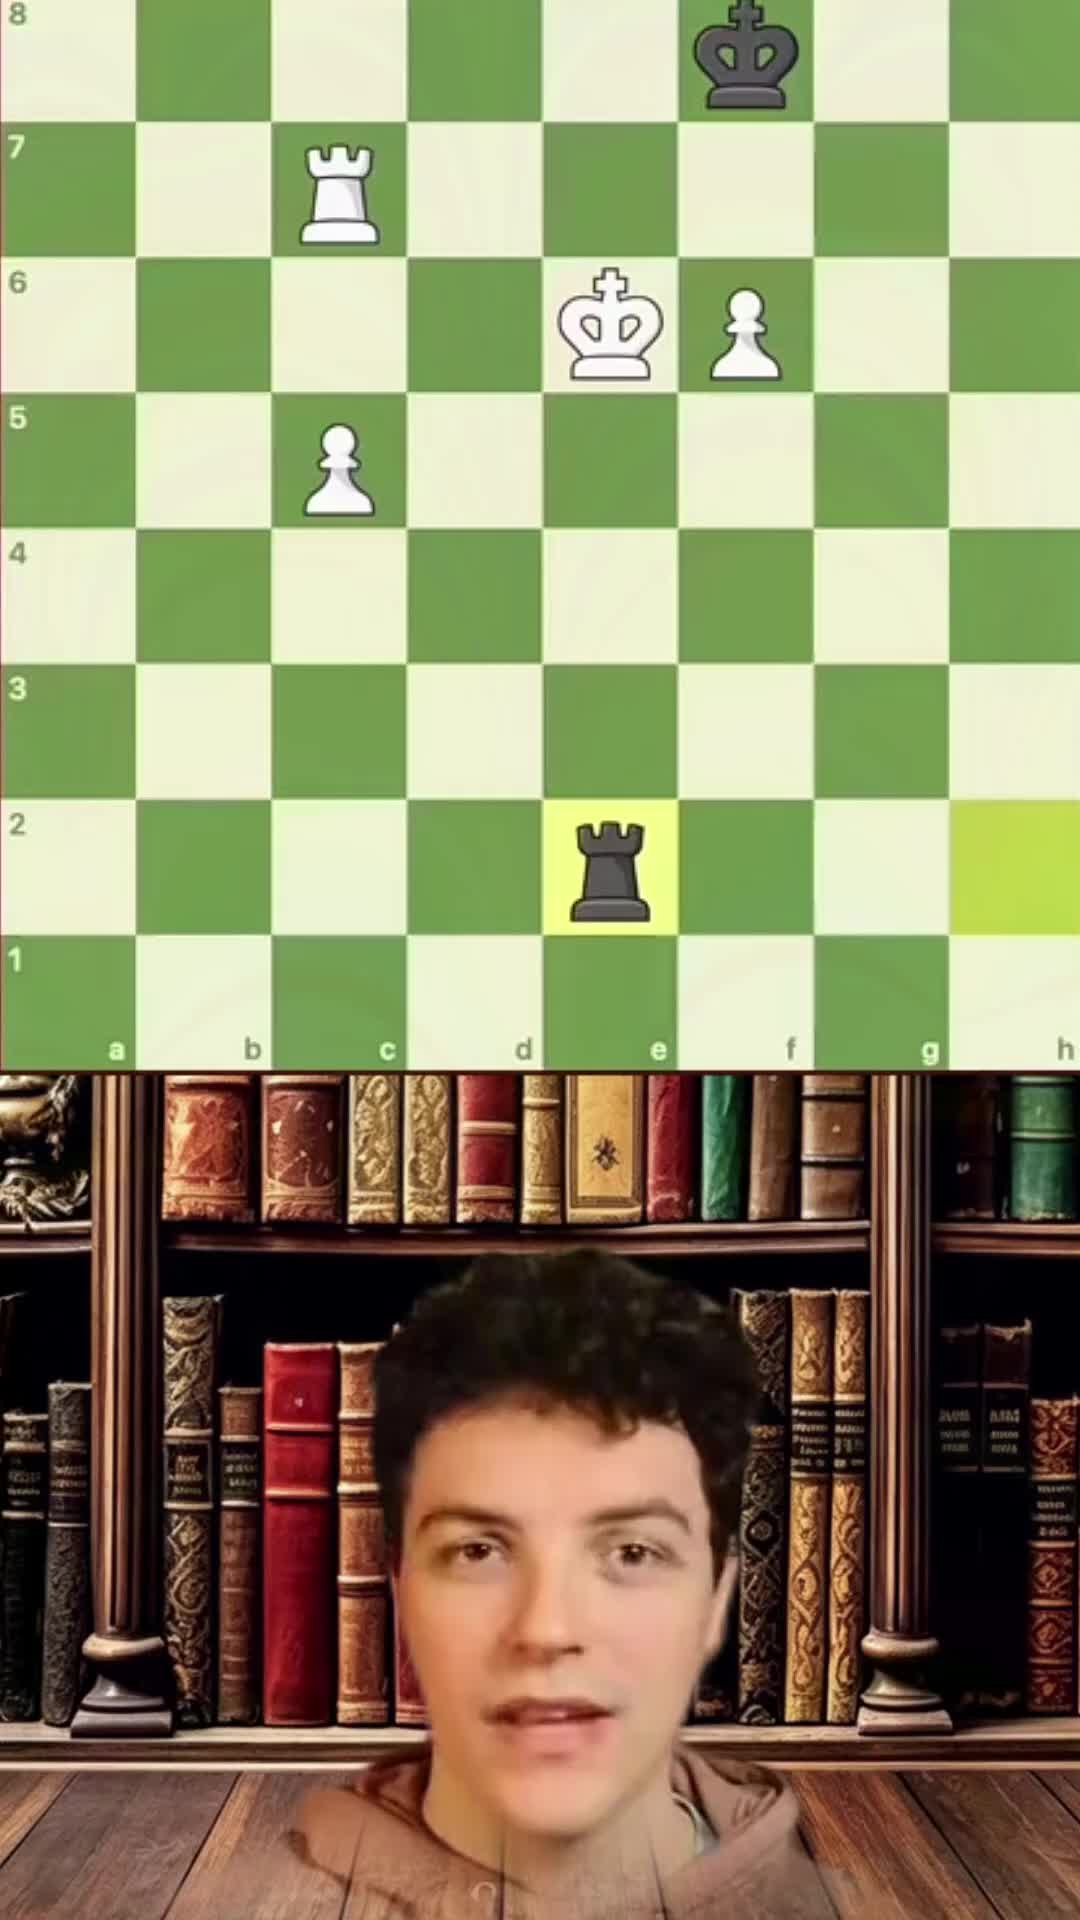
Coach's take: Clean explanation of the position and the logic behind the technique.

Coach's take: Good bare-bones intro to the pattern, plays out the full winning line.
Coach's take: Packs an accurate concrete line into 60 seconds -- good value for the length.
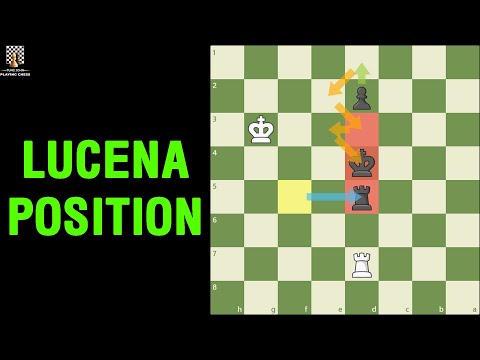
Coach's take: Rich, accurate technical breakdown anchored in a real elite game -- rewards someone who already knows the basics.
Coach's take: Correct and efficient, just brisk -- better with a board in front of you.
Coach's take: Explains the WHY behind the bridge, not just the recipe -- that's what makes it stick.

Coach's take: Solid, methodical coverage of the winning technique, branch by branch.

Coach's take: Watching a real student work through it, mistakes and all - useful, if you can follow along with the board.

Coach's take: Once it gets to Lucena, the explanation is sharp and honest about the common mistake.
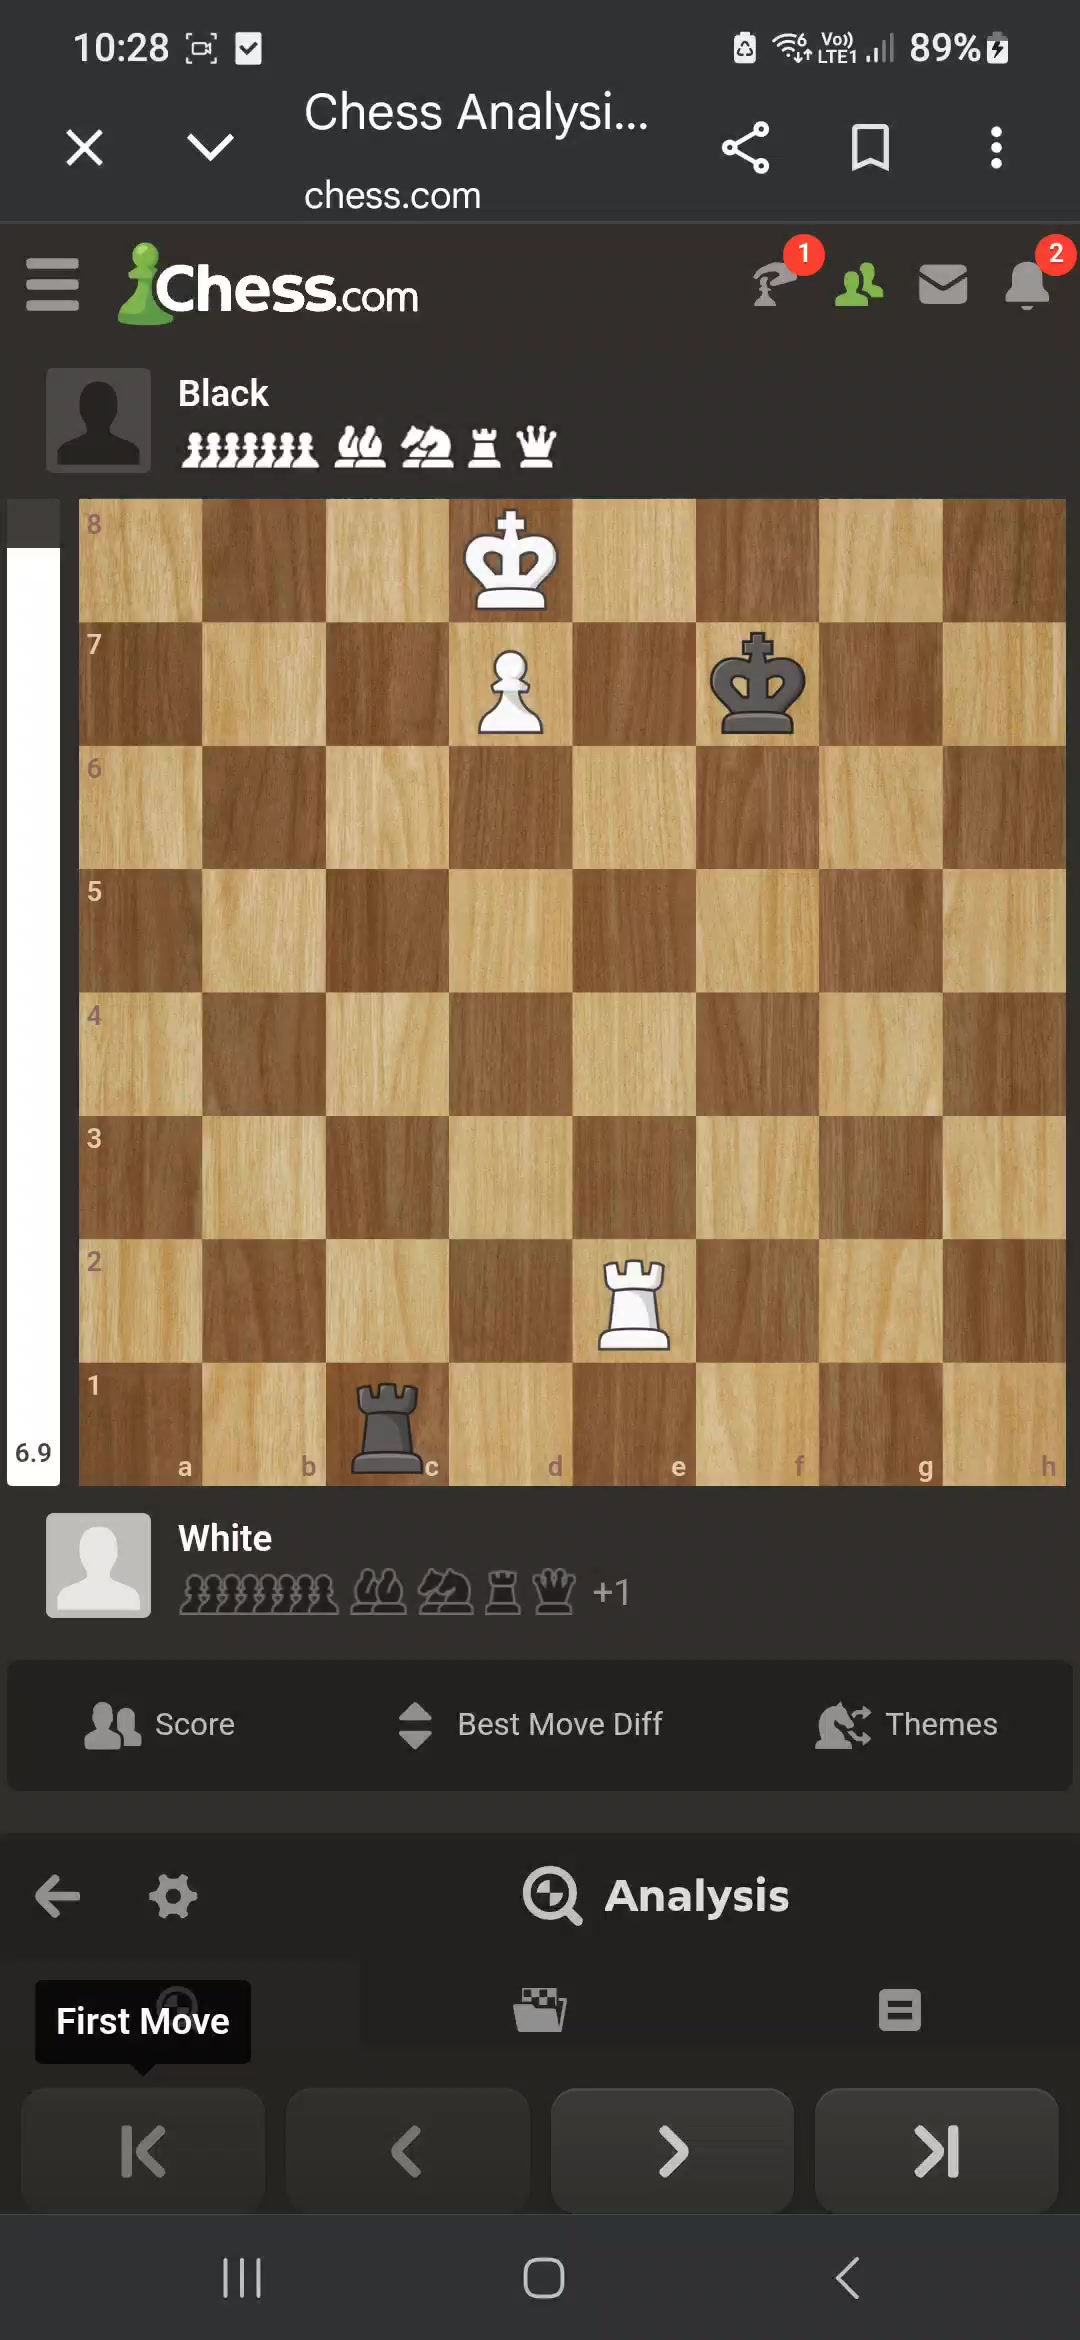
Coach's take: Starts with a real, accurate explanation of what the position is and why it matters.
Coach's take: Gets the core idea right — a good starting explanation.

Coach's take: Good bridge-technique lesson if you speak the language - most viewers here won't.
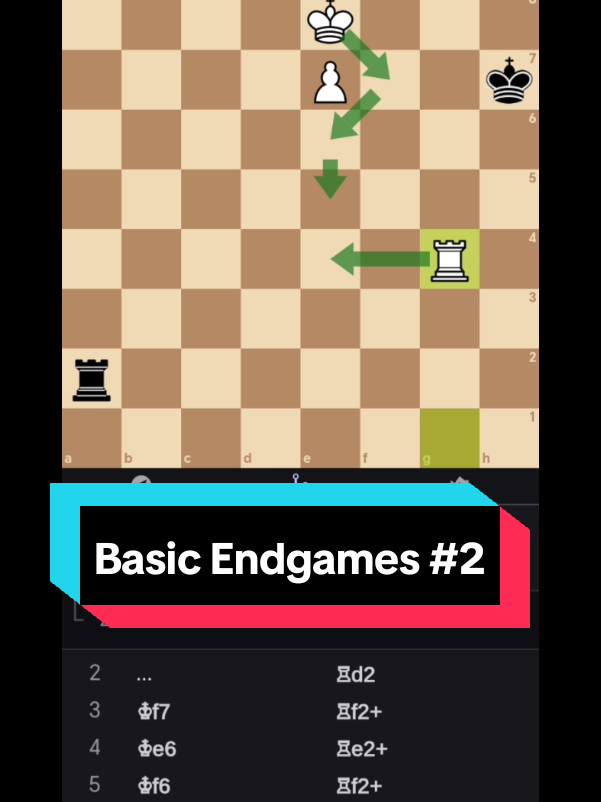
Coach's take: Right moves, but it's a move-list, not a lesson -- you need to already half-know this to follow it.

Coach's take: Correct and clear, just brief -- this is a highlights tour of four endings, not a deep dive into one.
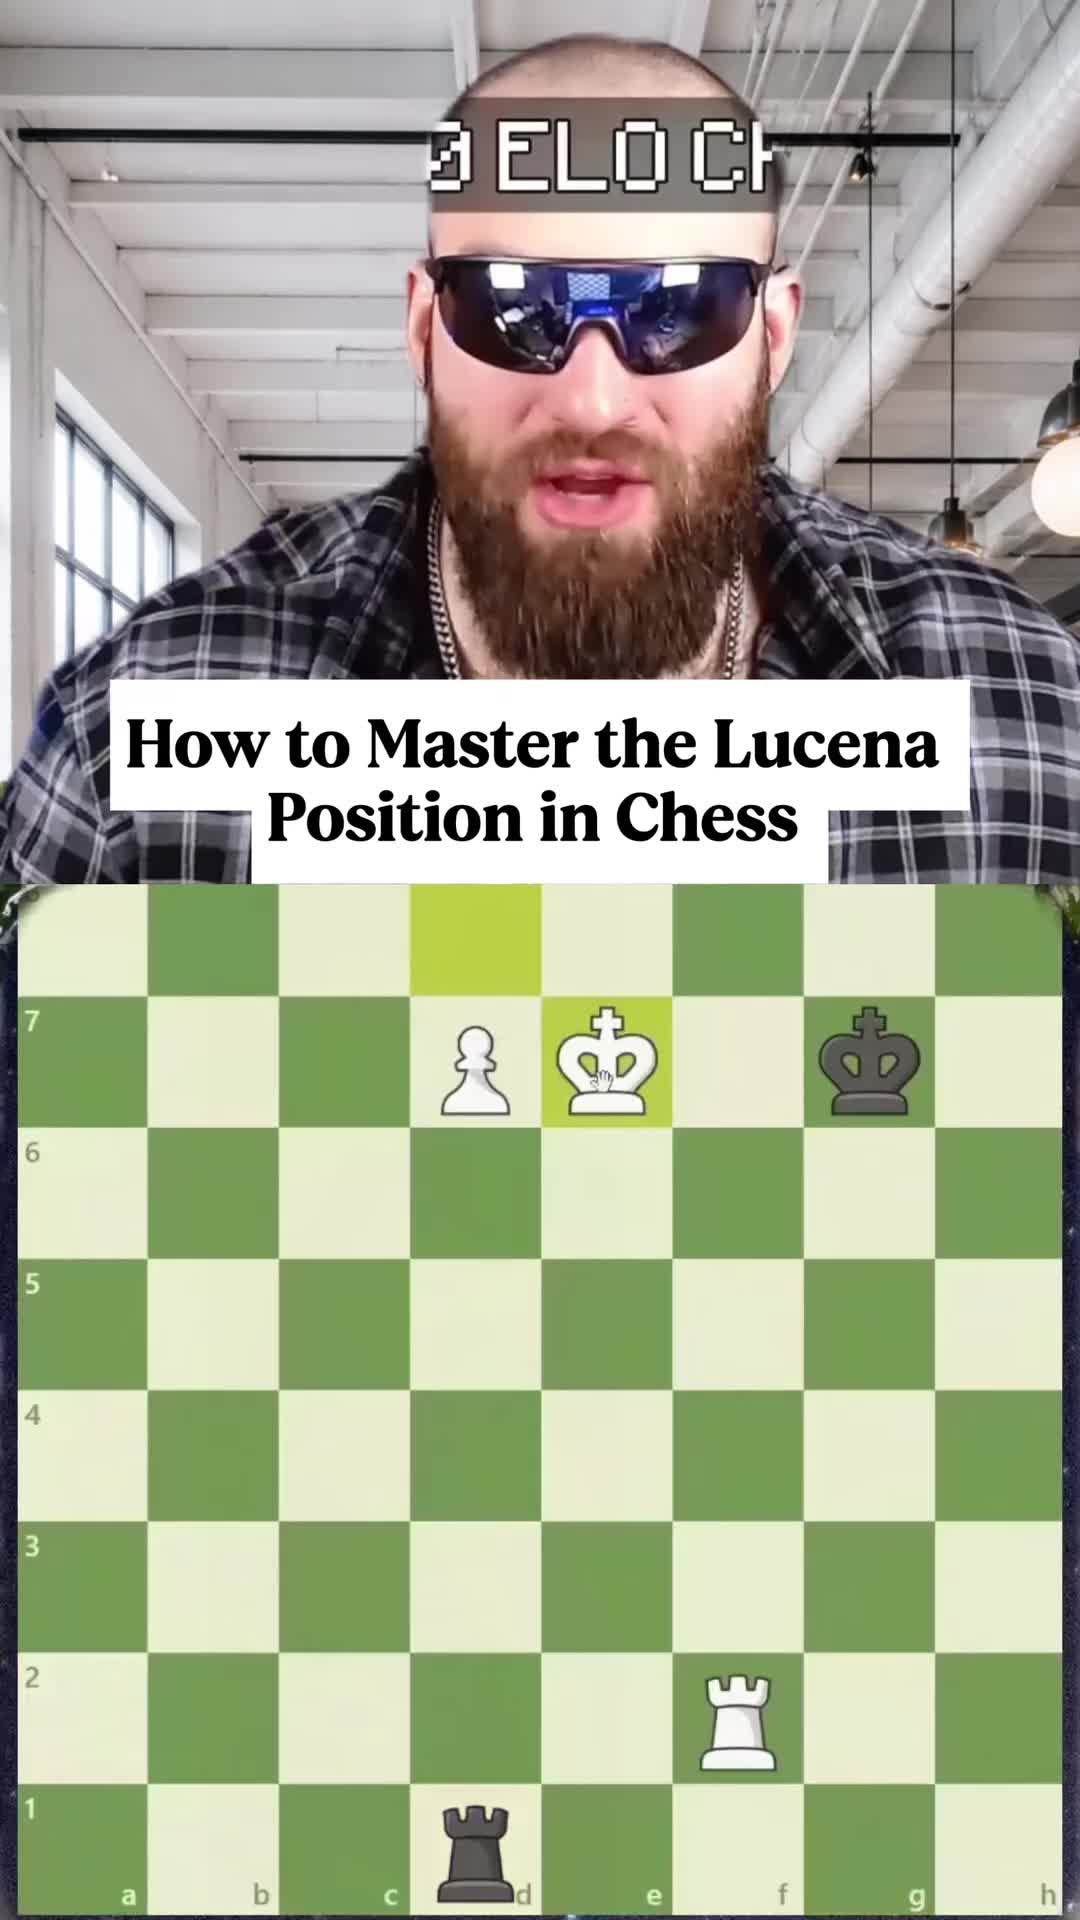
Coach's take: Fun bit, but the gags get in the way of actually learning the sequence.

Coach's take: The Philidor half on display here is well taught -- reasonable bet the Lucena half matches it, though unconfirmed.

Coach's take: Real blunder, real lesson about the stalemate trap - but you need to already know Lucena to follow the analysis.

Coach's take: The Lucena part is taught fine -- just be aware it ends in a sales pitch for paid classes.