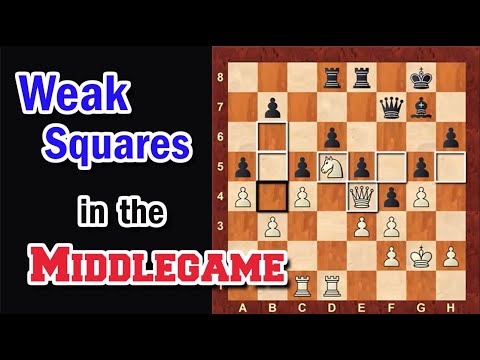
Intermediate
Chess Middlegame Tips: Understanding Weak Squares and Pawn Structure
Coach's take: Excellent -- teaches you to tell which holes actually matter, not just where they are.
Chess
Find and occupy the squares your opponent cannot challenge.
Coach's take: Excellent -- teaches you to tell which holes actually matter, not just where they are.

Coach's take: Clear, systematic, and calls out the exact mistake that ruins an outpost - piece first, not pawn.
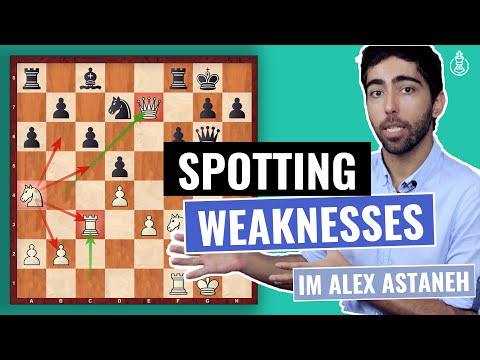
Coach's take: Shows how one weakness chains into piece problems everywhere else on the board - excellent stuff.

Coach's take: Ends with real, reusable questions to ask yourself - that's what makes this stick.

Coach's take: Excellent -- the trade-off logic (which pieces to keep, which to trade) is the real lesson here.

Coach's take: Clears up a real, common confusion instead of repeating the same tired definition.

Coach's take: This is the deep mechanic -- trading off the square's defenders -- most other videos skip.

Coach's take: Rich, detailed positional teaching - this is how strong players actually think about pawn structure.

Coach's take: Great teaching device - makes you spot the weaknesses yourself before showing the answer.

Coach's take: Clean, correct, and concrete - a model explanation of what a weak square actually is.

Coach's take: Strong worked example -- watch how the knight on d6 slowly strangles black's whole position.

Coach's take: Strong worked example -- watch how the knight on d6 slowly strangles black's whole position.

Coach's take: Sharp IM commentary that flags the exact trade a weaker player gets wrong.

Coach's take: Teaches you to actually reason about the square, not just memorize that outposts are good.

Coach's take: Teaches the actual diagnostic -- check what your pawns still cover -- not just 'occupy the hole'.

Coach's take: Solid method, just wish the delivery were as tight as the content.

Coach's take: Solid -- the 'whole color complex is weak' framing is a step up from just spotting one square.

Coach's take: Explains the 'why' clearly enough that it actually sticks -- good first lesson on the topic.

Coach's take: Good, specific correction -- don't jump to the outpost before you can actually keep it there.

Coach's take: A full, real demonstration of turning one weak square into a whole game plan.

Coach's take: Solid, example-driven teaching -- you'll actually understand how the hole got created.

Coach's take: Clear step-by-step plan you could actually apply, plus a practice position to test yourself.

Coach's take: Decent, correct examples, though light on the 'why' compared to others here.

Coach's take: Fine as one instructive example, but it won't teach you how to find these squares on your own board.

Coach's take: Game one lands well; game two rushes past the point it set up.

Coach's take: Good real-game demonstration of planting a knight on a weak square and cashing in.

Coach's take: Correct explanation, but it's all talk -- no board to anchor it to.

Coach's take: Technically accurate but there's no actual chess in it - just recited definitions.

Coach's take: Accurate but generic -- no example to actually sink your teeth into.