You Can’t Hit Driver Because You’re Trying To Do THIS
Coach's take: The towel analogy alone makes this stick better than most sequencing videos -- actually teaches the feel, not just the theory.
Golf / Popular
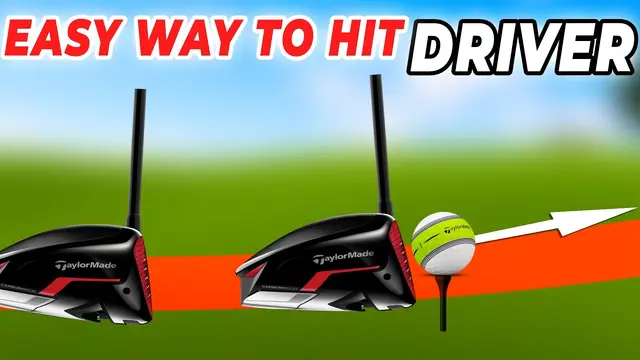
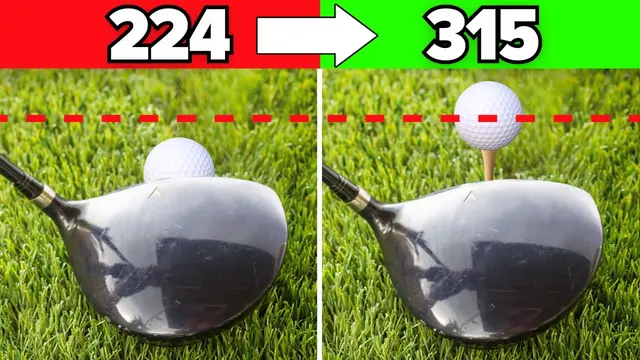
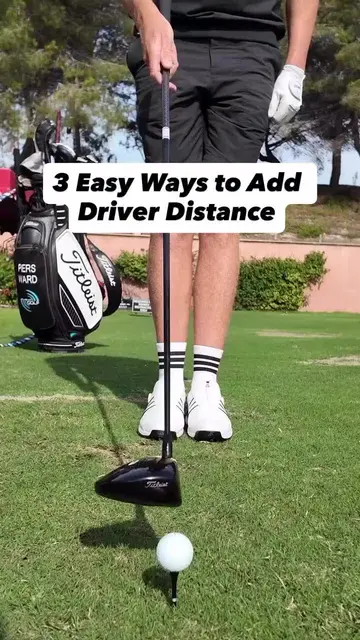
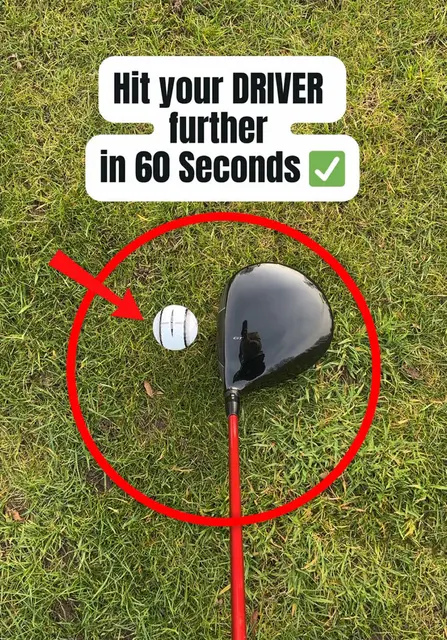
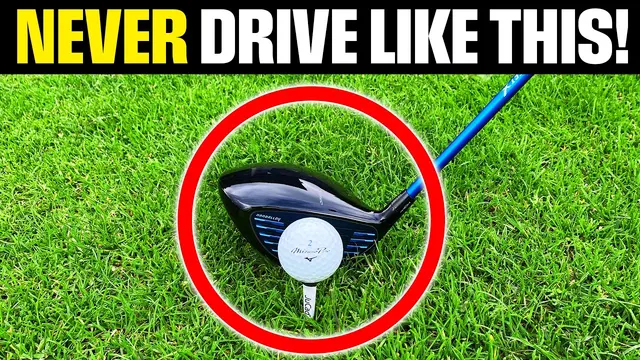
Tee height, ball position and upward attack angle for longer drives.

Coach's take: The towel analogy alone makes this stick better than most sequencing videos -- actually teaches the feel, not just the theory.

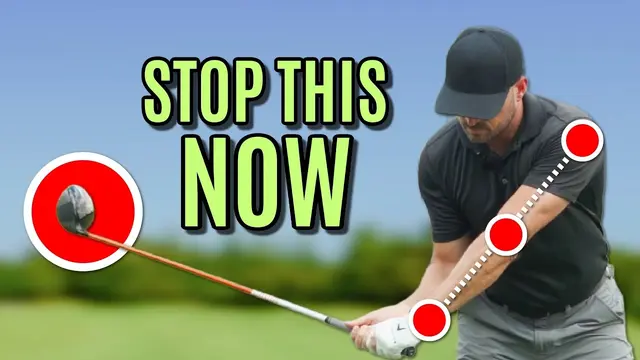
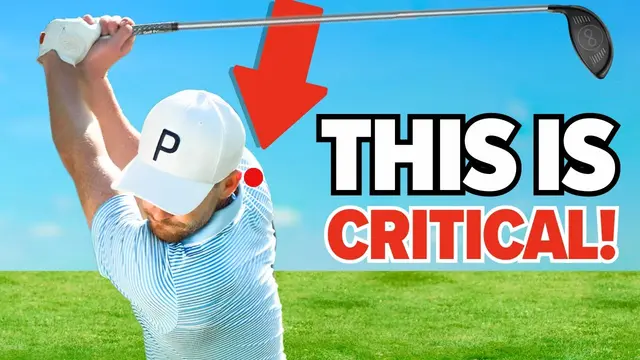
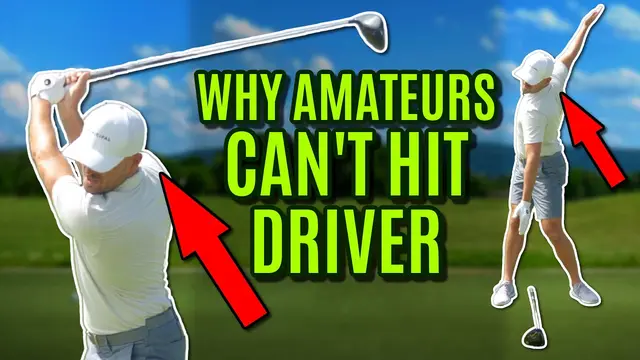
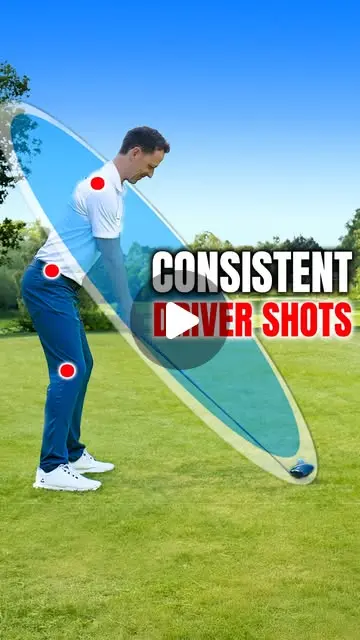
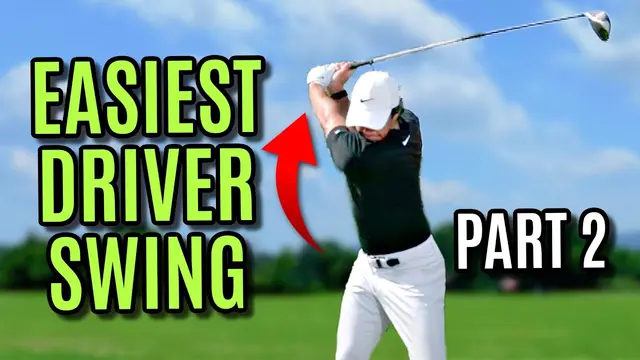
Coach's take: Explains WHY the all-arms backswing kills your driver, with a clear checkpoint to fix it.

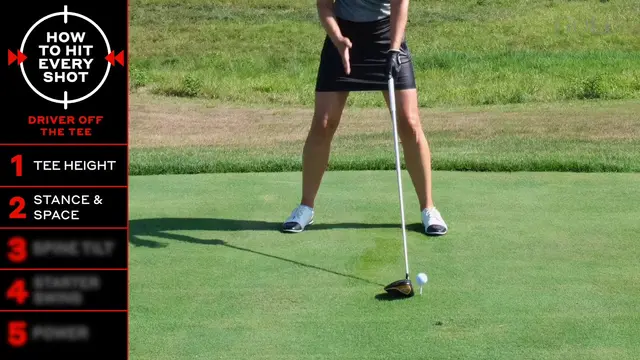
Coach's take: Doesn't just say where to stand -- explains why each position matters for launch.

Coach's take: The order-of-operations advice here (fix contact before anything else) will save people a lot of wasted range time.

Coach's take: Same great drill as the other versions of this video.

Coach's take: Same solid drill as the original video, just with an extra hype intro tacked on.

Coach's take: A genuine step-by-step drill, not just 'keep your head down' platitudes - this'll actually fix a slice-y driver.

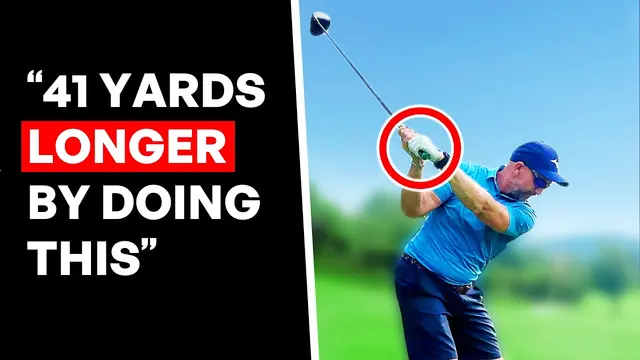
Coach's take: Backs the diagnosis with real numbers instead of just 'trust me' -- that's rare and valuable.

Coach's take: Two drills you can set up in your garage in two minutes, both solving real driver faults.

Coach's take: The palm drill alone is worth the watch if you're new and fighting the driver.

Coach's take: Teaches you to diagnose your own slice pattern first, then fix it - not a one-size-fits-all tip.

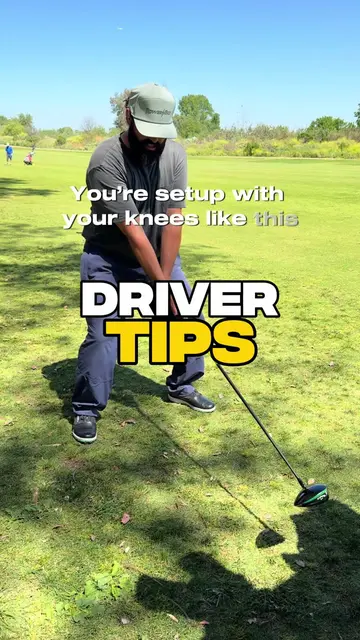
Coach's take: Dead simple setup routine that fixes the #1 driver mistake amateurs make.

Coach's take: You watch the exact fix add 30 yards on camera - hard to beat that as proof it works.

Coach's take: A clever drill you can actually do on a range, plus real course-management wisdom, not just swing mechanics.

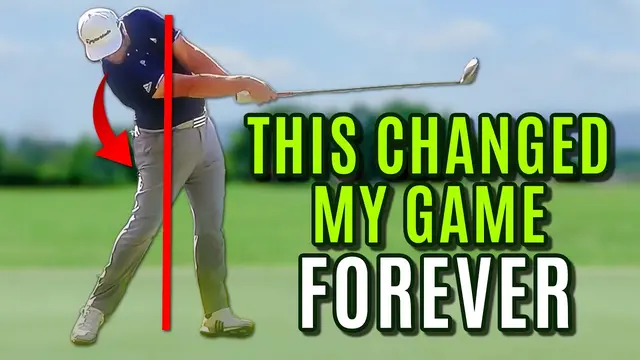
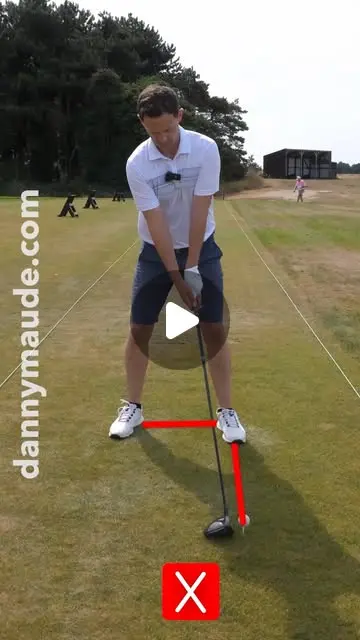
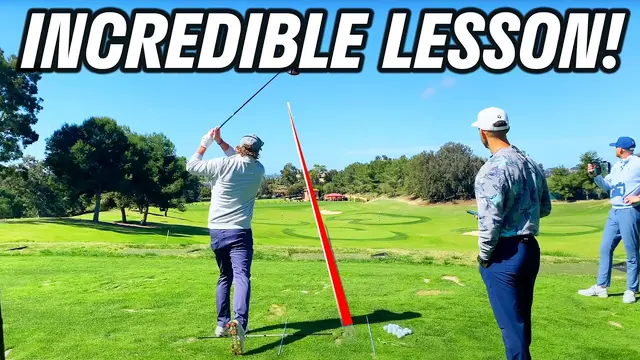
Coach's take: The reference-line checkpoint is a legitimately useful way to self-diagnose on video.

Coach's take: A grip-finding method you can actually do yourself in front of a mirror.

Coach's take: Concrete, repeatable setup cues - just leans on another video for the actual swing.

Coach's take: Unusual drill, but the rationale is sound and it comes with proper safety warnings.

Coach's take: Solid demonstrations, though it's mostly the same core fixes as this coach's other videos.

Coach's take: Good mental model for loading the backswing, just watch part 1 first if this feels like it's missing context.

Coach's take: Correctly upgrades the tired 'turn your shoulders' advice into something with real biomechanics behind it.

Coach's take: Good analysis, but the actual 'how you do it' part comes later than this excerpt covers.

Coach's take: Correct and useful, just a bit rambly, with a follow-my-Instagram break in the middle.

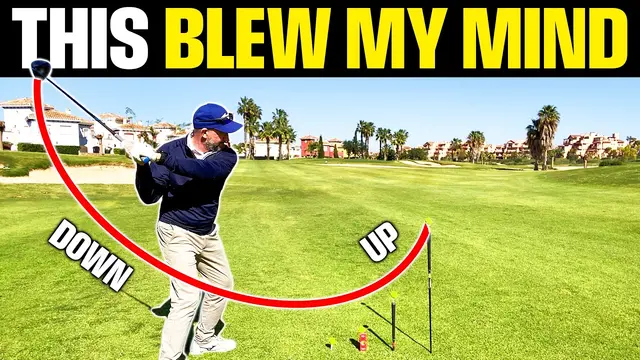
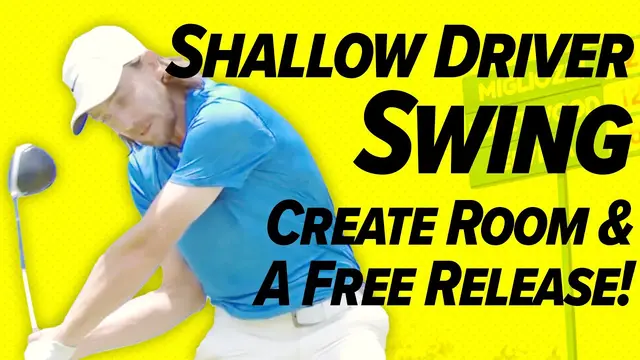
Coach's take: Useful shallowing cues, but skip the rangefinder ad in the middle.