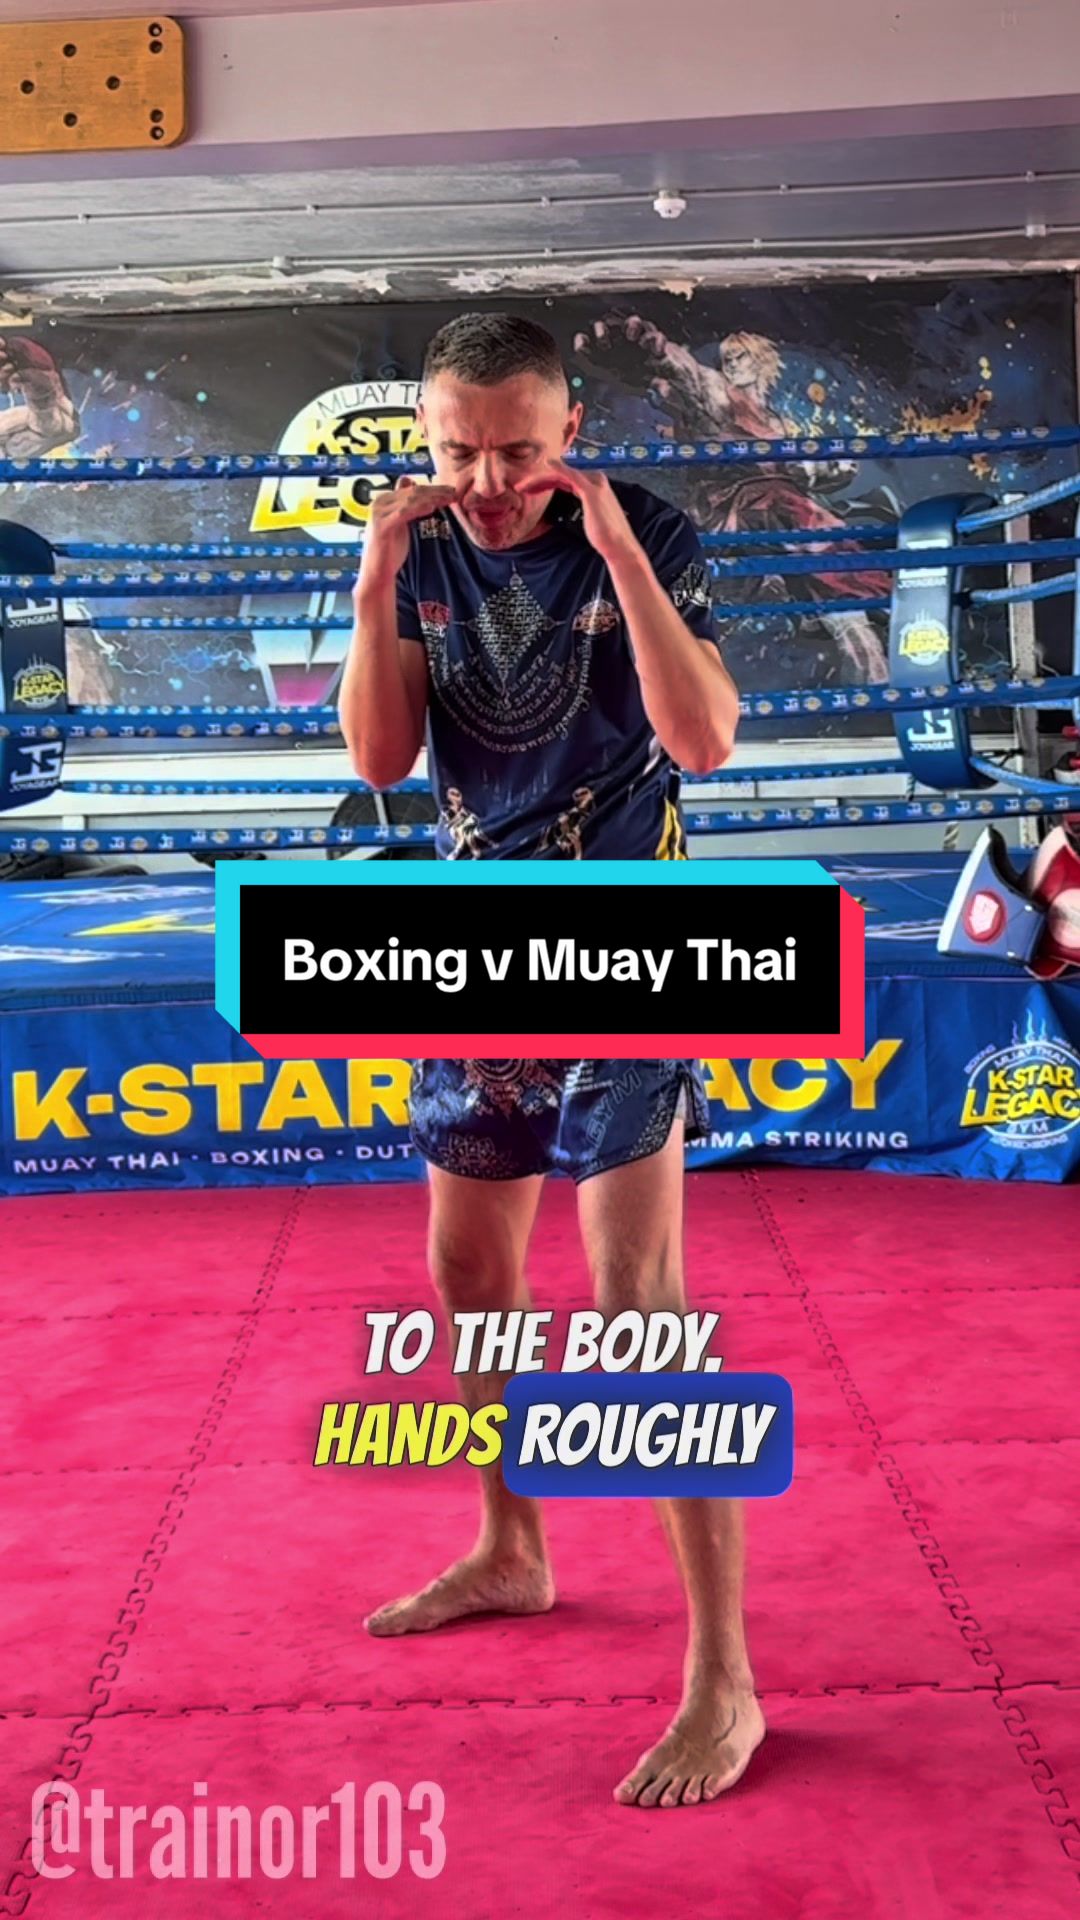
Advanced
Muay Thai Stance vs Boxing Stance Explained - TikTok
Coach's take: Technically excellent -- explains the stance better than most textbooks.
Muay Thai
Square, rear-loaded stance with the lead leg free to check.
Coach's take: Technically excellent -- explains the stance better than most textbooks.

Coach's take: The 'why' behind each detail (like the toe angle helping you check kicks) is what separates this from a generic stance video.

Coach's take: Gives actual numbers and reasoning, not vague description - excellent teaching.
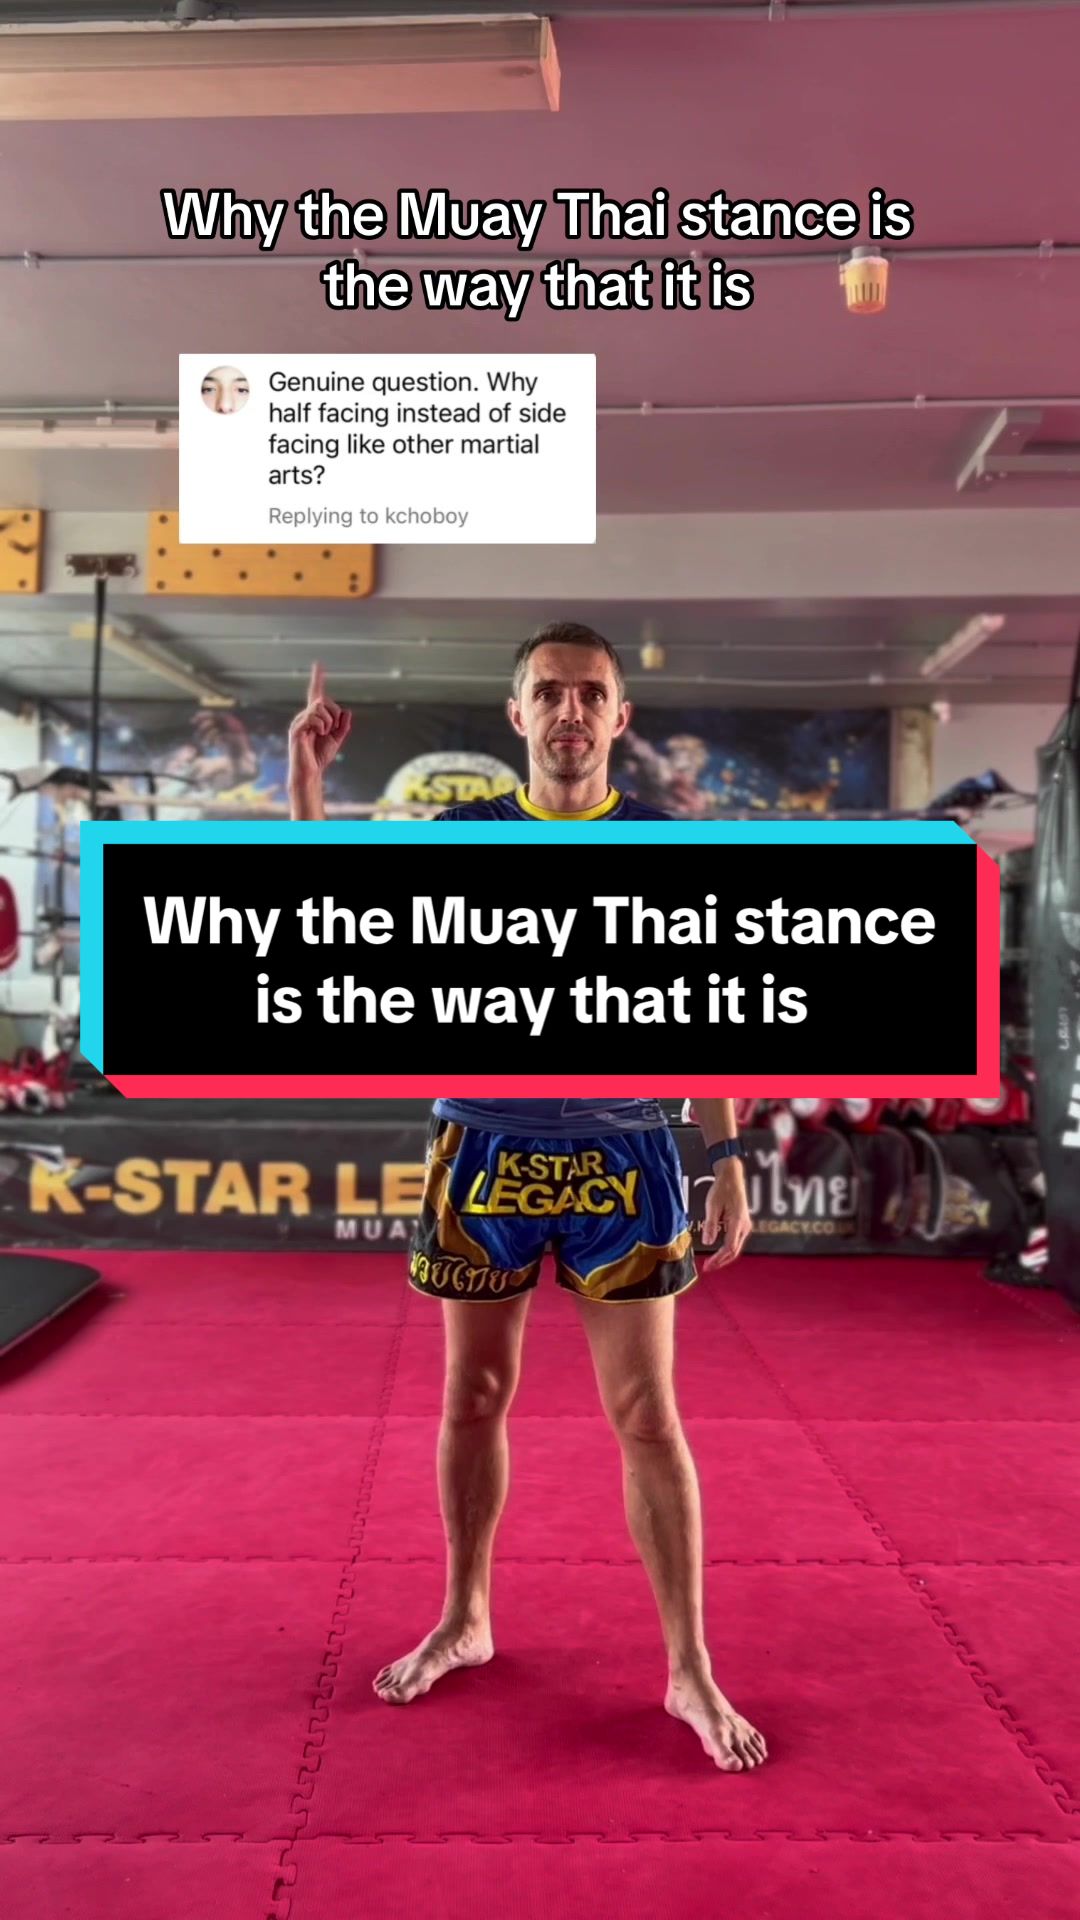
Coach's take: Explains the why behind the stance better than most gyms do.
Coach's take: Explains the why behind every detail, not just the positions - that's what makes it stick.

Coach's take: Flags a real, non-obvious problem with the classic stance and gives a concrete fix.
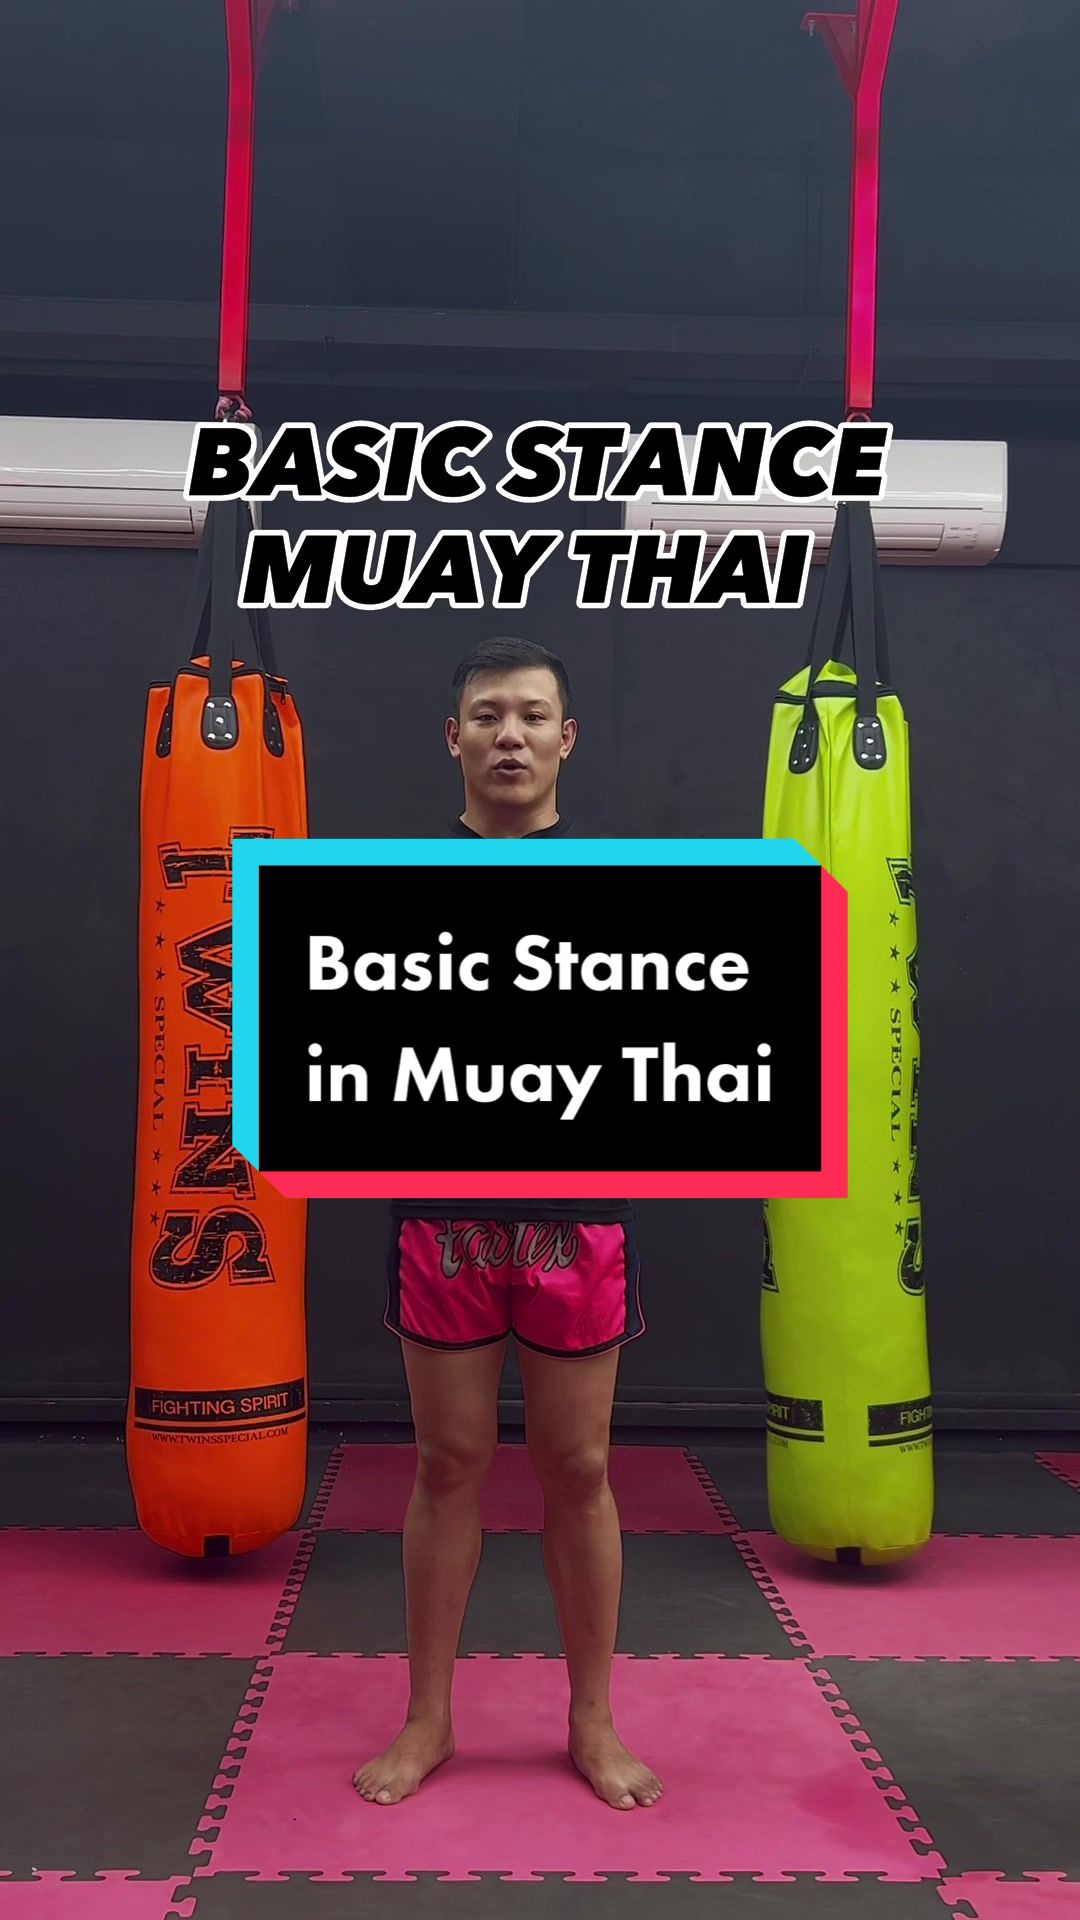
Coach's take: Clear, complete, well-taught first stance lesson.

Coach's take: Real champion, real beginner questions, real answers - this is what a good first class sounds like.

Coach's take: Precise enough that a beginner could actually copy the angles and posture straight from this alone.
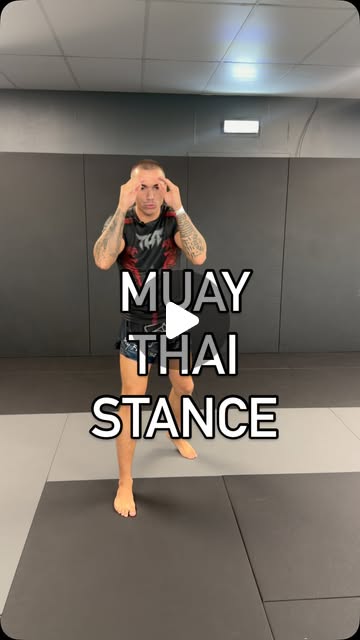
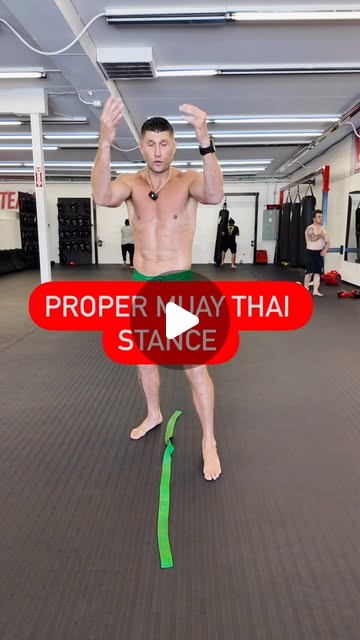
Coach's take: Solid reasoning, especially for boxing/MMA crossovers.

Coach's take: Builds from zero and flags the exact mistake most beginners make with their guard.
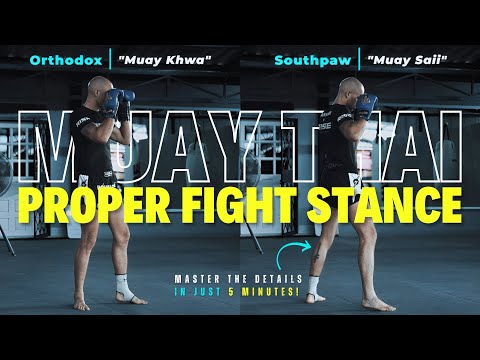
Coach's take: Actually teaches you to move from the stance, not just stand in it - good drills.

Coach's take: Thorough, welcoming, and actually explains the reasoning - good first-class material.

Coach's take: This is exactly how a first stance lesson should be taught - the why behind every detail.
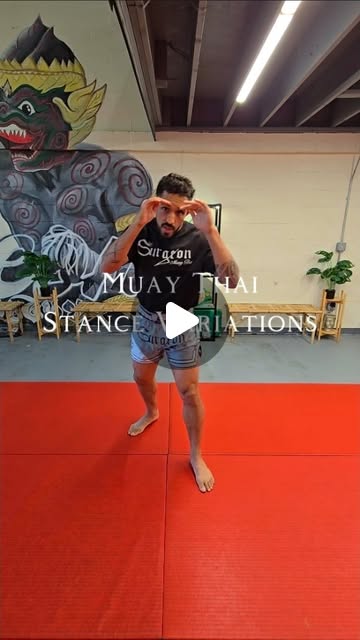
Coach's take: Useful, practical variations once you know the basics.
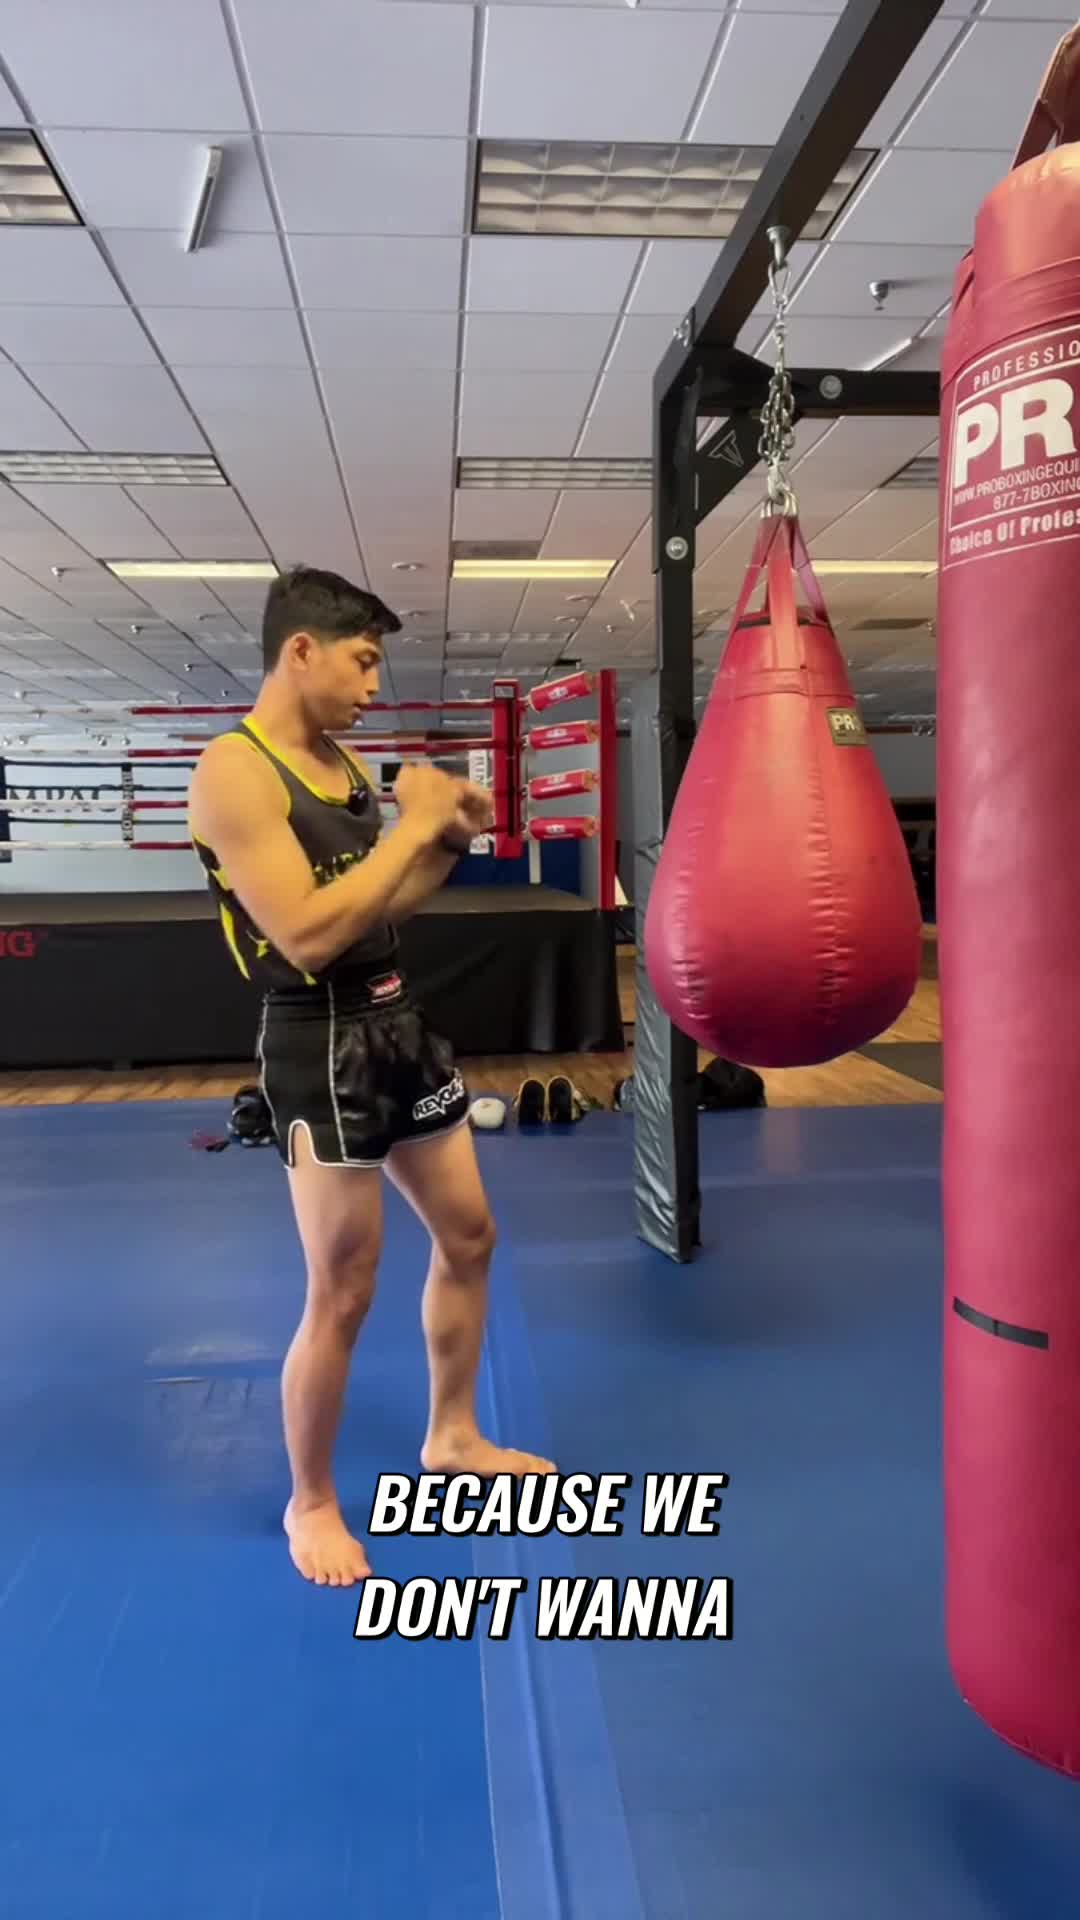
Coach's take: Fixes a real beginner mistake with a clear reason why.
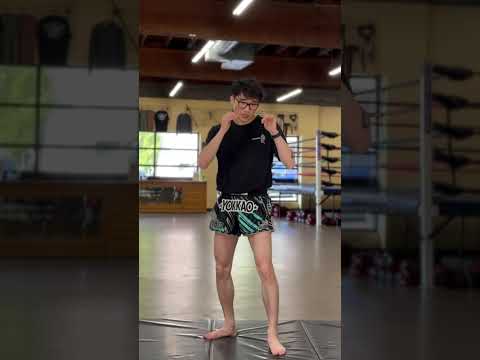
Coach's take: Short and focused — the explanation of why a front-heavy stance gets your leg kicked is the standout point.

Coach's take: Good drills with real rationale behind them - not for someone on day one though.

Coach's take: Good, honest about the tradeoffs - this isn't your only stance, and it says so.

Coach's take: Well-organized reference on stance and guard tradeoffs.

Coach's take: Brief but explains the real reasoning, not just the position.

Coach's take: Less hands-on detail than the other parts, but the point about stance being a lifelong project is worth hearing.

Coach's take: Explains the 'why' behind the guard height and stance width, not just the shapes.

Coach's take: Practical menu of stances for a given purpose - not a first-stance lesson.

Coach's take: Honest about the real risk/reward of stance switching - genuine coaching analysis.

Coach's take: Clear, well-reasoned framework for choosing bladed vs squared.
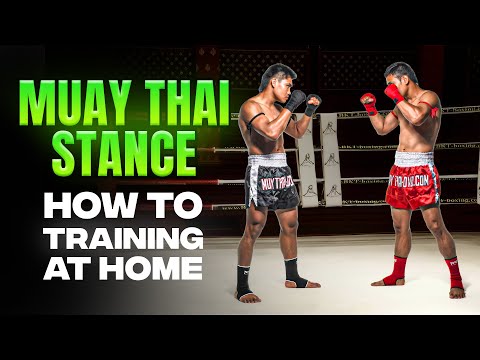
Coach's take: Solid checklist for the shape of the stance, thin on the coaching behind it.

Coach's take: Goes well beyond 'switch stances sometimes' - explains the actual mechanics of why and how.

Coach's take: Real cause-and-effect breakdown of an actual exchange - this is coach-level analysis.

Coach's take: Useful framework for matching your stance to your fighting style.

Coach's take: Once it gets going, this connects stance to footwork and why it matters -- good teaching.
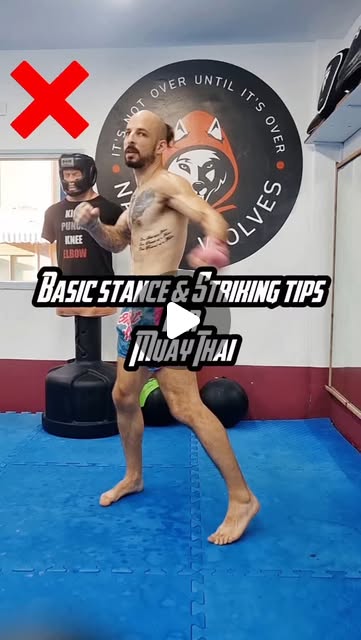
Coach's take: Accurate but too compressed to teach from scratch.

Coach's take: Correct but bare-bones - tells you what to do, not why.

Coach's take: Right lesson, buried in a repetitive delivery - the core point about balance is worth digging out.
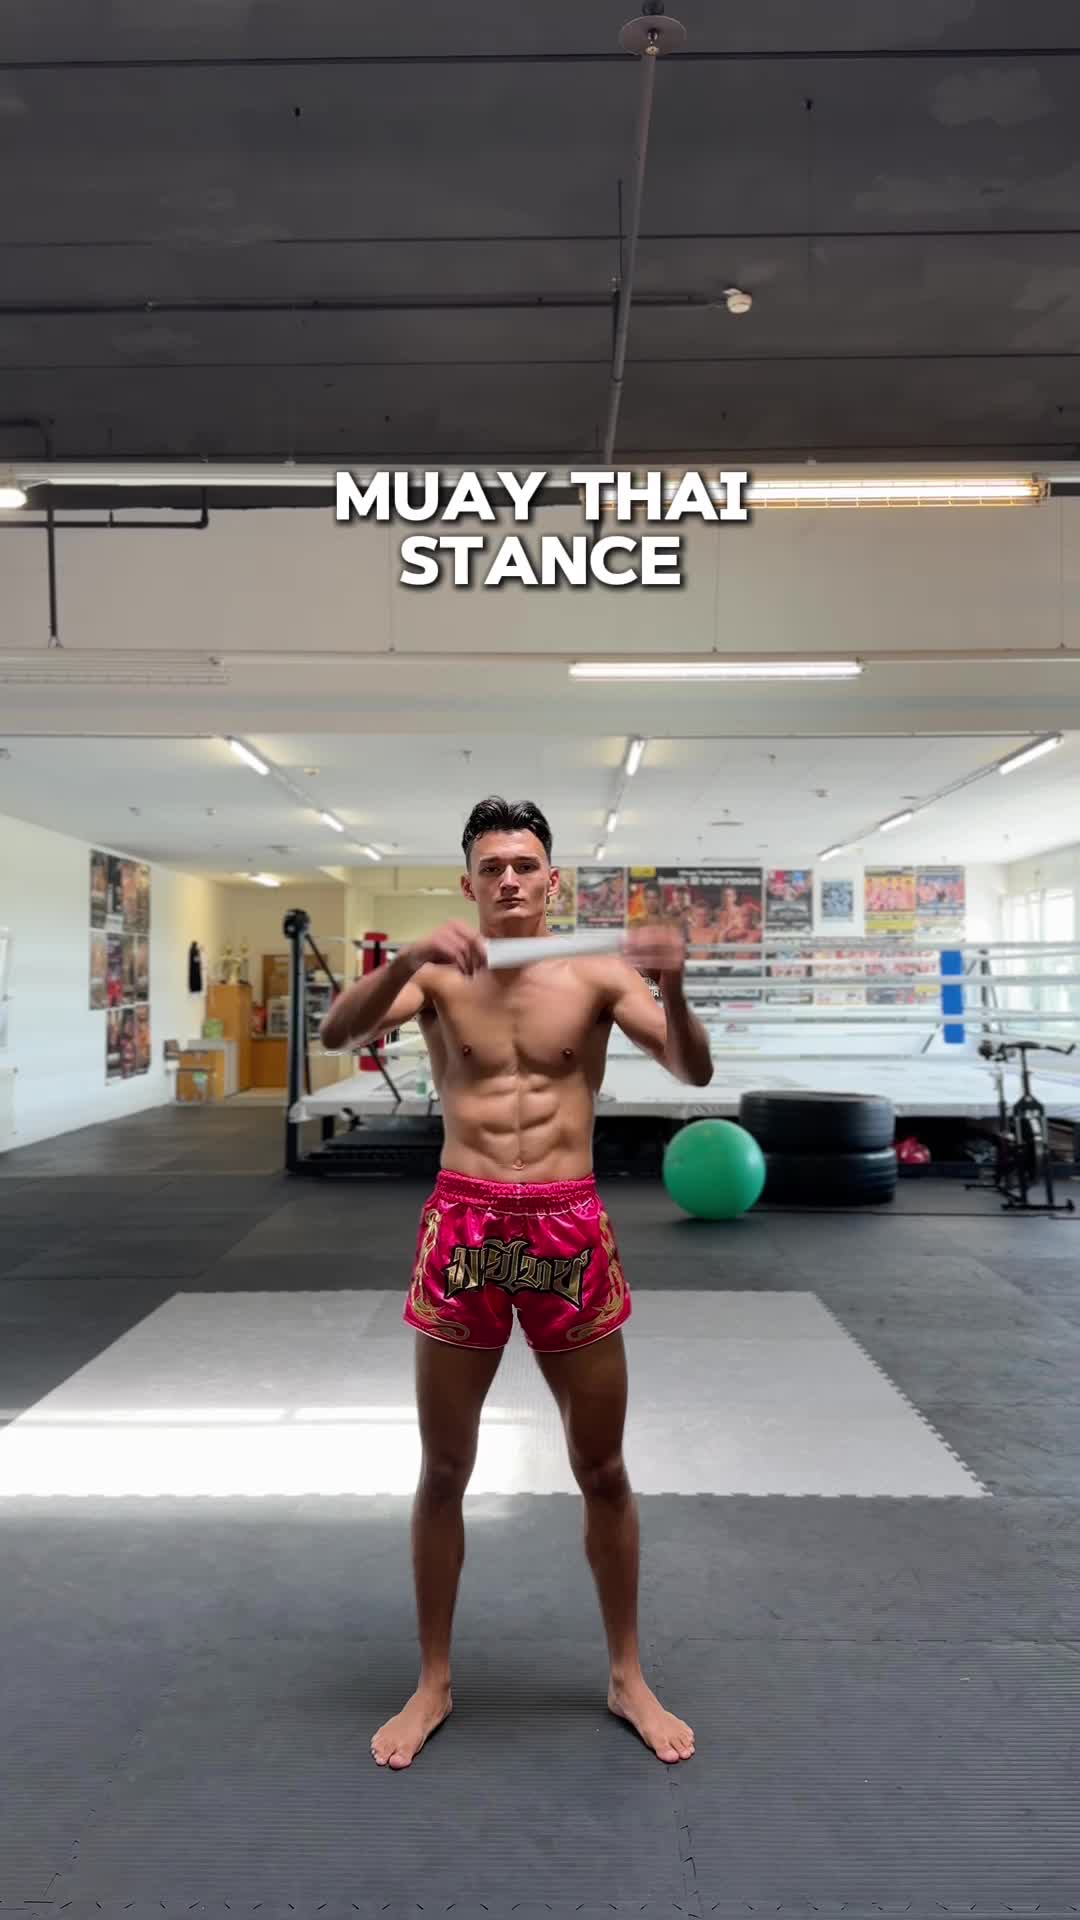
Coach's take: Caption reads generic, can't verify actual teaching without a transcript.
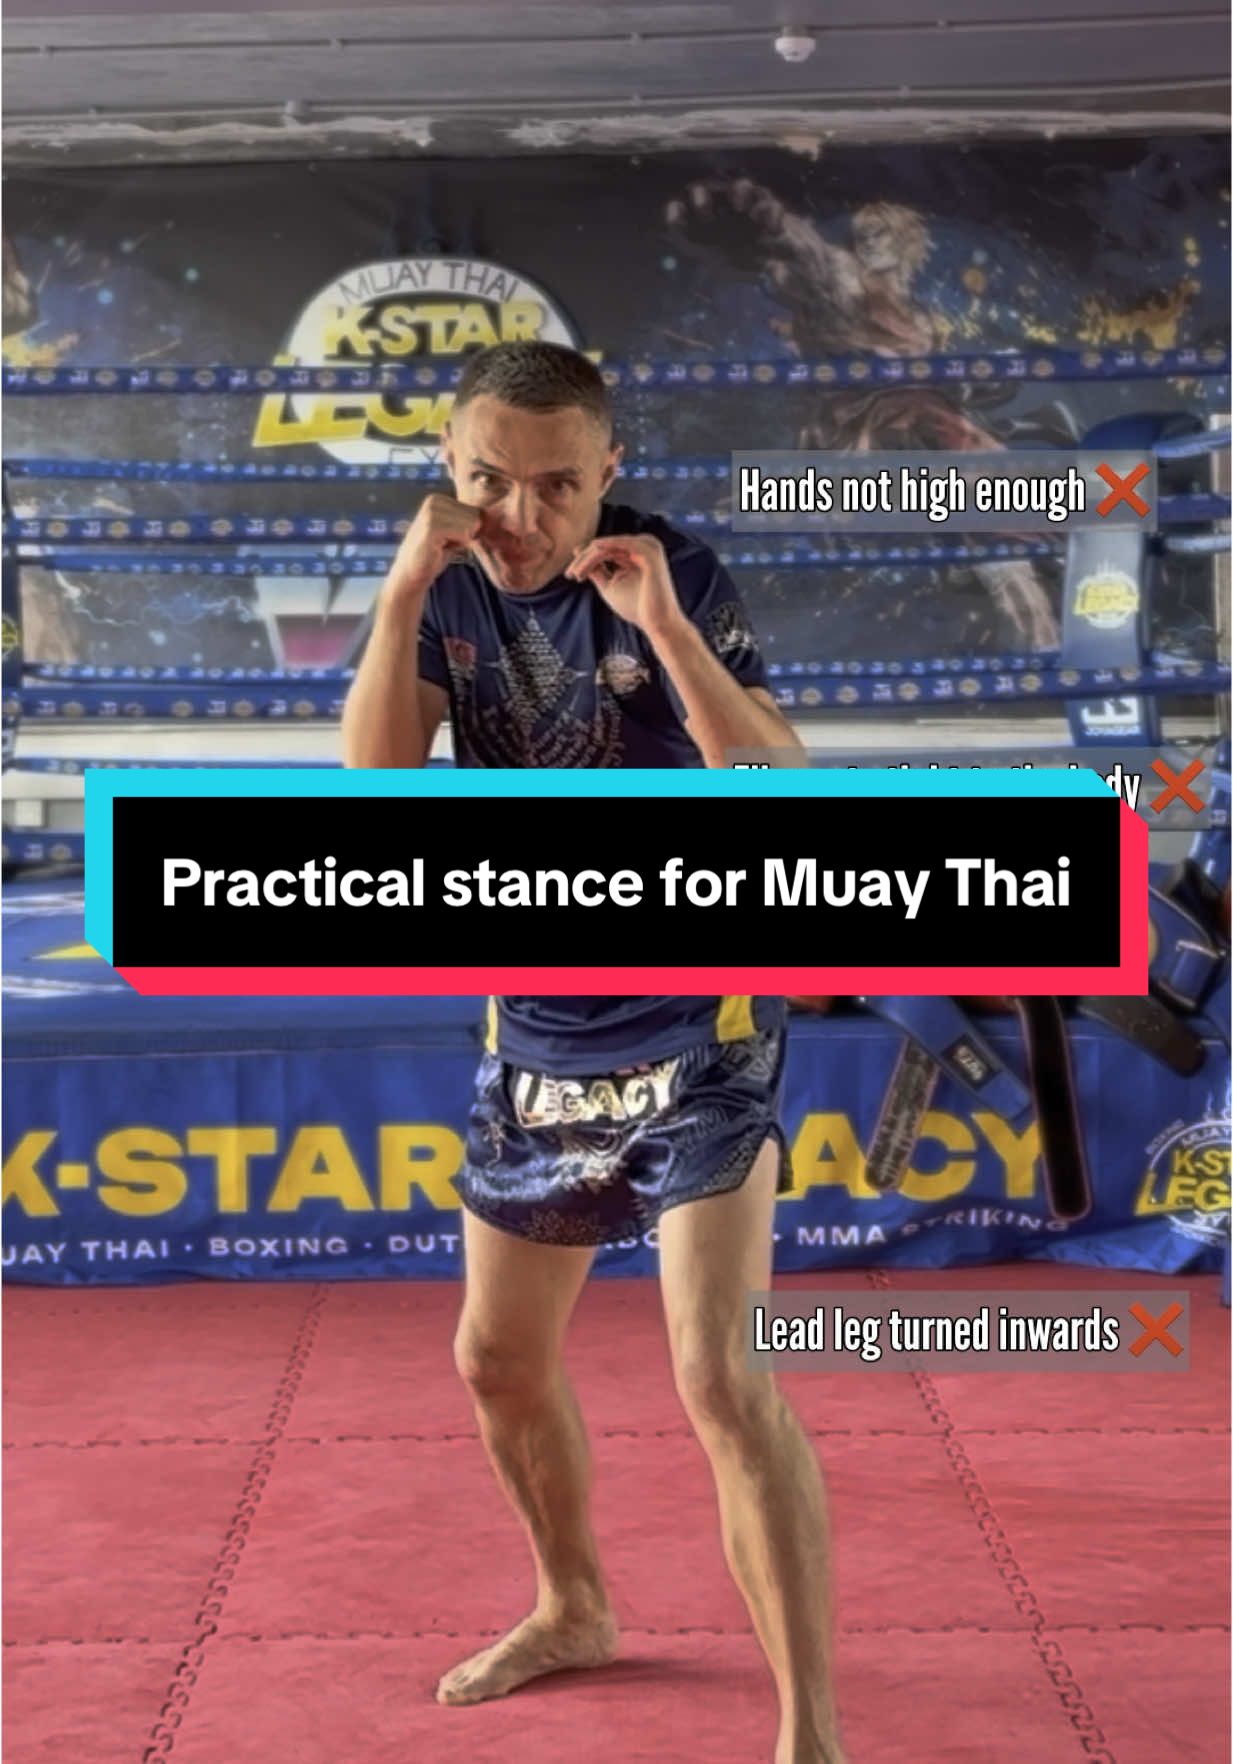
Coach's take: Too short and no transcript to judge real teaching value.