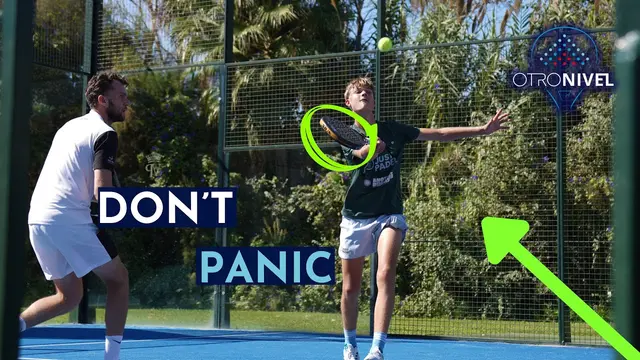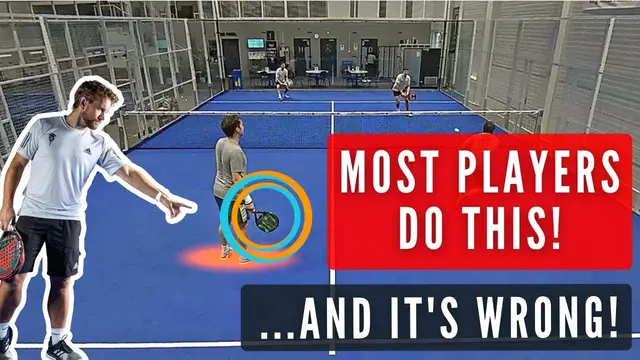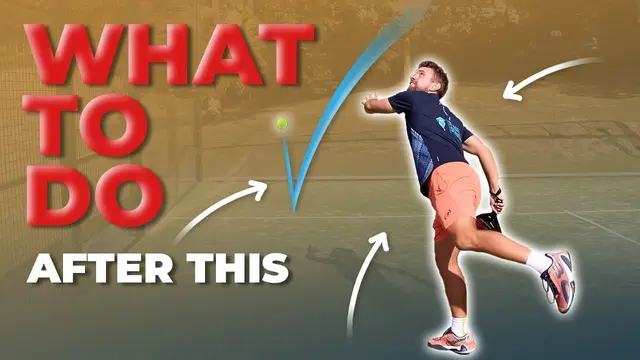
How to TAKE BACK THE NET After Being LOBBED! | ThePadelSchool.com
Coach's take: Thorough, practical breakdown of rebuilding to the net after a lob, partner communication included.
Padel / Popular
Move forward together at the right moment, and when to retreat.

Coach's take: Thorough, practical breakdown of rebuilding to the net after a lob, partner communication included.

Coach's take: Best drill-based lesson here for actually training the transition zone, clear cues and good progression.

Coach's take: Genuinely teaches the mechanics and tactics of playing the transition ball well, high quality.

Coach's take: Best explanation in this batch of the why behind transition positioning, a player will actually understand the concept after this.

Coach's take: The 'frozen racket' demo alone is worth the watch — one of the better transition lessons around.

Coach's take: Best of the bunch -- specific, correct, and actionable.

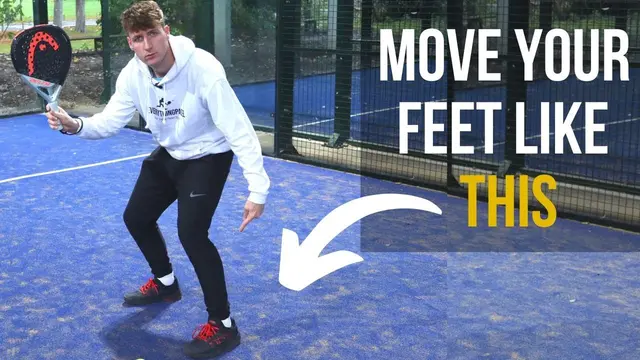
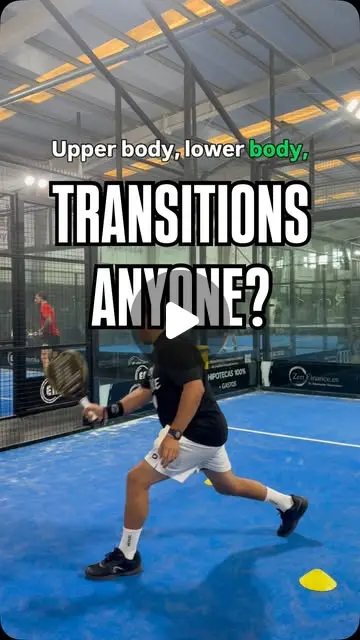
Coach's take: Specific, correct footwork cues for actually getting to net under control - really useful.

Coach's take: Good explanation of the actual logic connecting your serve choice to whether you can reach net in time.

Coach's take: Good tactical substance on approaching the net, just delivered in a pretty rambling way.

Coach's take: Good simple drill for practicing the transition, but light on technical detail.

Coach's take: Solid tactical nuggets on timing the steal, but it's raw drill chatter so you have to dig for them.

Coach's take: Practical, example-driven breakdown of common net-position mistakes.

Coach's take: Clear, correct advice on using the lob to get forward - useful and easy to apply.

Coach's take: Good concept in there but you have to work to extract it from the live banter.

Coach's take: Sharp diagnosis of a real, common net-play problem.

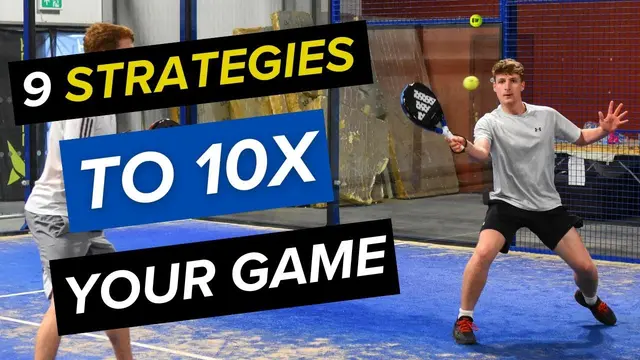
Coach's take: Good, practical logic on when to push the net - just one piece of a bigger strategy list.

Coach's take: Good tactical grounding for why you transition to net after serving.

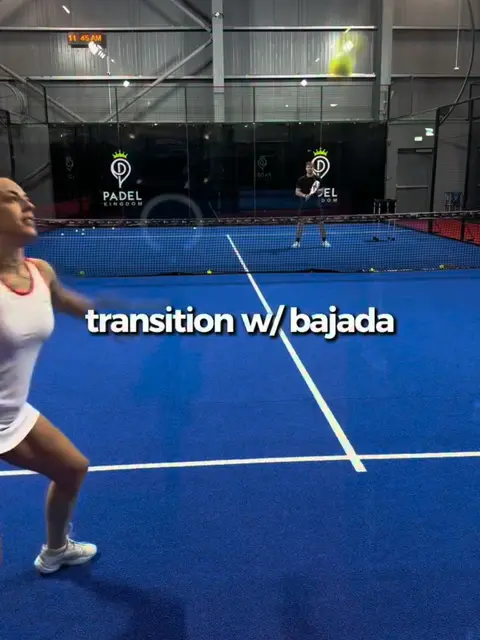
Coach's take: Solid, practical tips on recovering net position after the bandeja, ad break aside.

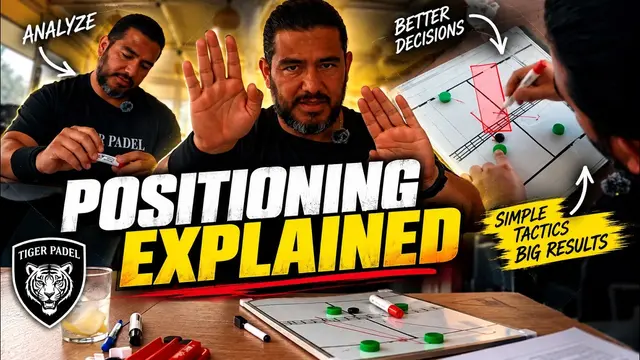
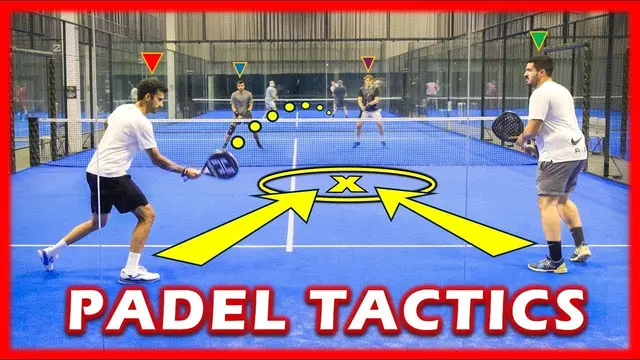
Coach's take: Good positioning theory but the transition part barely gets going before the clip ends.

Coach's take: Some useful cover cues but hard to follow as a structured lesson.