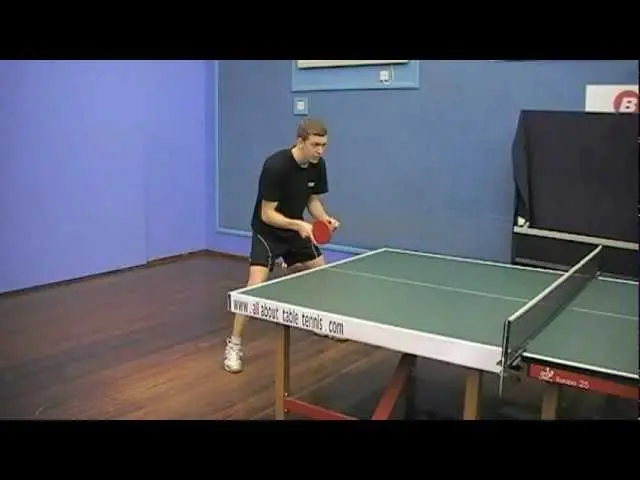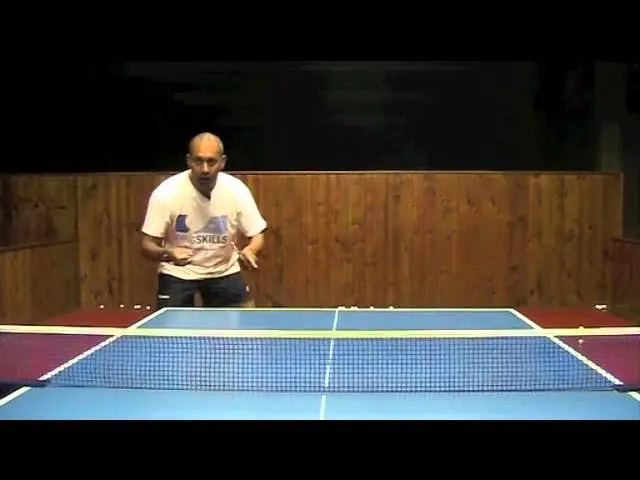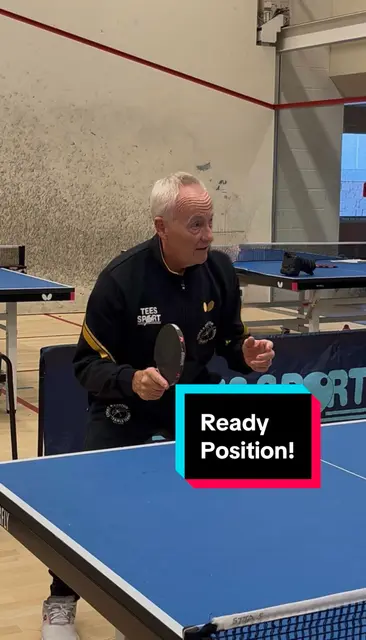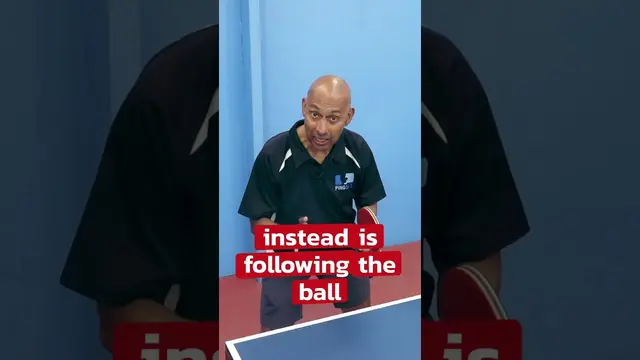
Ready Position | Table Tennis | Watch in HD
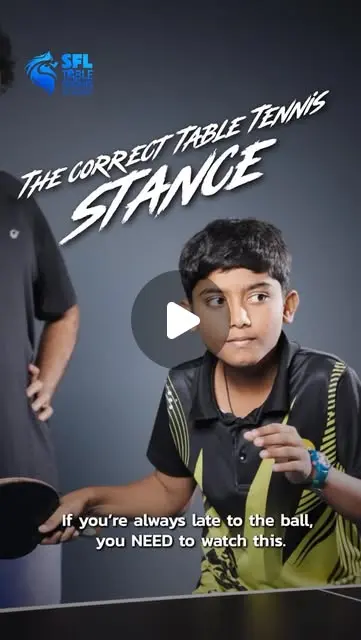
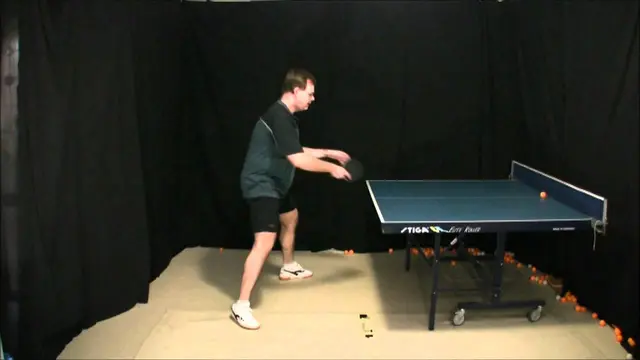
Coach's take: About as thorough as a ready position lesson gets — stance, table position, and how both should shift during play.
Table tennis / Popular
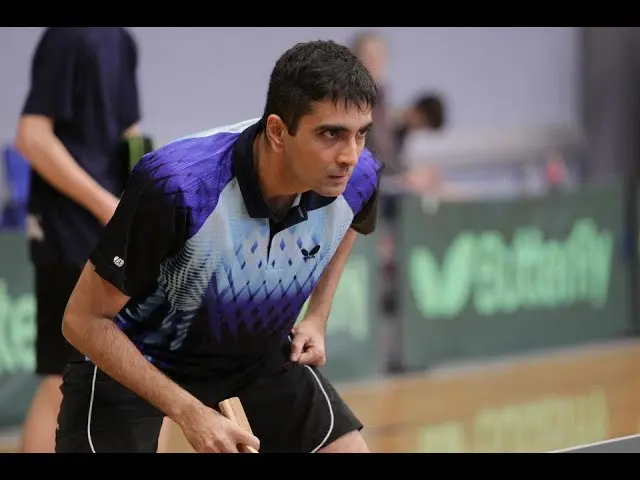
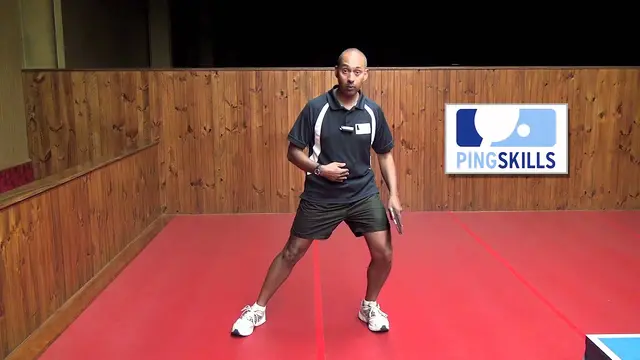
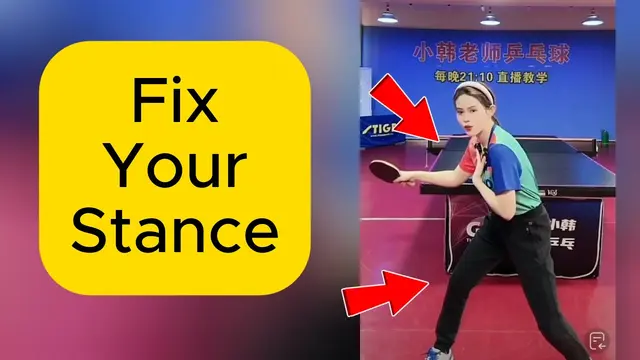
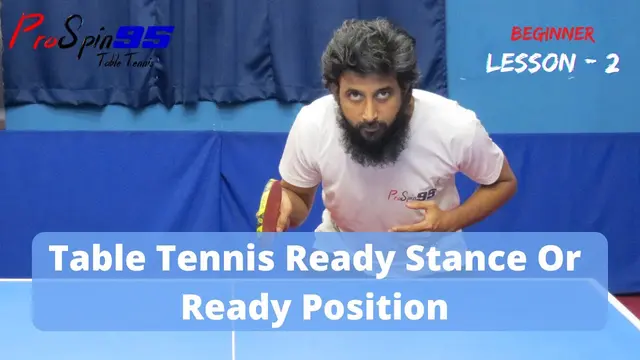
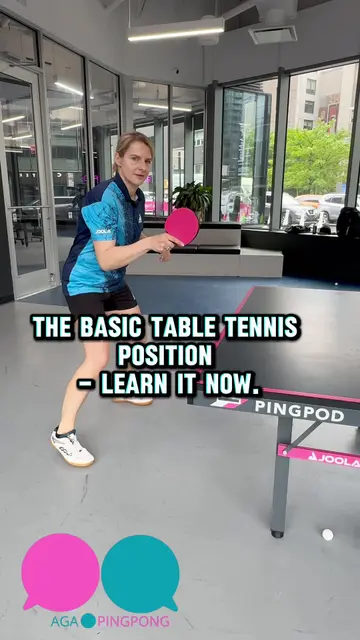
Stand balanced and low so you can move to either wing.

Coach's take: About as thorough as a ready position lesson gets — stance, table position, and how both should shift during play.

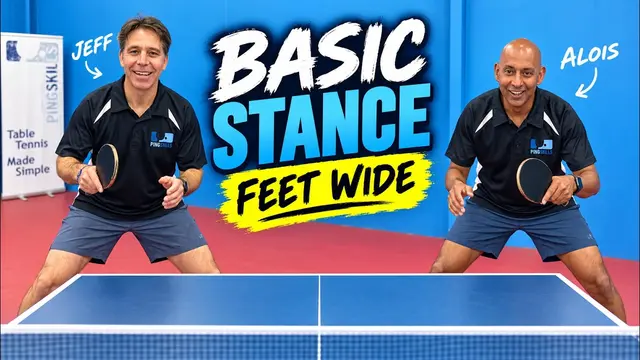
Coach's take: The 'widen until uncomfortable, then back off' trick is genuinely good teaching - better than most.

Coach's take: Explains the WHY behind the stance, not just the shape - good depth for tightening up bad habits.

Coach's take: Best-structured lesson in the whole set -- clear principles, real examples, actionable homework.

Coach's take: Corrects a real, common misconception with a clear, credible explanation - useful reframe.

Coach's take: One of the more complete ready-position breakdowns in this batch -- includes the split-step, which most don't mention.

Coach's take: Clear, complete breakdown of the stance and why each part matters.

Coach's take: Clear, specific, and actionable - good teaching.

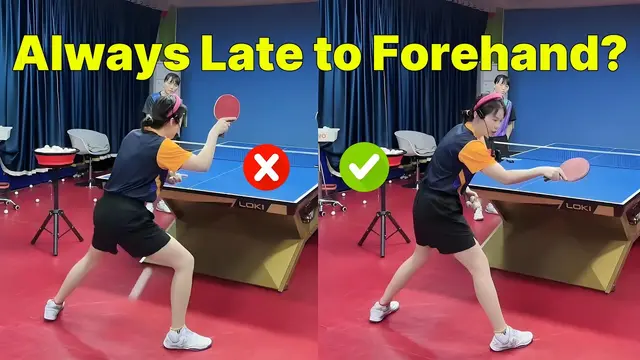
Coach's take: Solid checklist for the stance — width, knees, distance, hand position, all covered clearly.

Coach's take: Solid checklist coaching - one or two cues are worded awkwardly but the substance holds up.

Coach's take: The split step section alone makes this worth watching.

Coach's take: Sharp correction to the usual 'always return to ready position' advice, with a good self-check built in.

Coach's take: Short and sharp - the armband-to-table-edge cue alone is worth the watch.

Coach's take: Give a player these five drills and their footwork gets better — simple as that.

Coach's take: Explains the why behind each cue - good coaching depth.

Coach's take: Correct and covers both hands, but it's a list of points rather than a demonstration.

Coach's take: Solid. Explains the why, then hands you actual drills to groove it. A coach would teach it exactly this way.

Coach's take: Solid drill progression, if a bit generic in the delivery.

Coach's take: Solid, specific recovery cues - shuffle back, racket to neutral, square the hips.

Coach's take: Good insight, track the ball instead of resetting to a spot, but it's over before it really digs in.

Coach's take: Good detail if you're already working on your loop and want the stance dialed in.

Coach's take: Accurate but formulaic - reads like a templated companion piece to another video in the queue.

Coach's take: Good, focused tip - track the paddle face, not the ball, and here's why it works.

Coach's take: Correct facts, including the distance zones, but no explanation of why any of it matters.

Coach's take: Gets the fundamentals right but talks in circles more than it needs to.

Coach's take: One decent cue (bat under your nose) but very thin beyond that.

Coach's take: Solid drills if you already know the stance and want to train the speed of it.

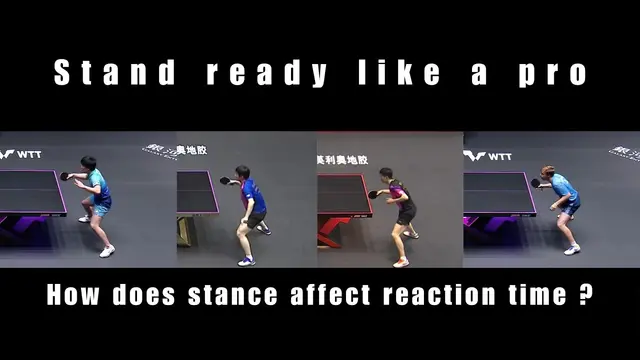
Coach's take: Intellectually interesting framework, but abstract and hard to action without watching the footage closely.

Coach's take: A good concept stated once, but no real breakdown of how to actually do it faster.