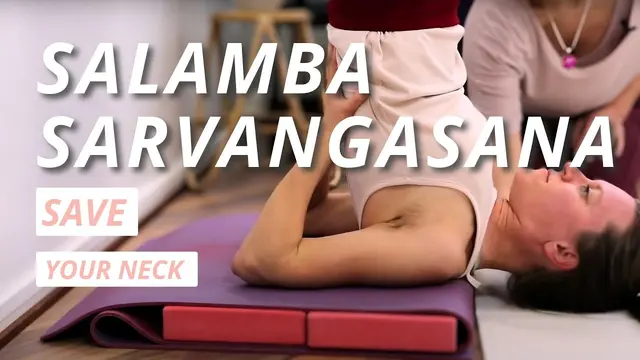
Intermediate
Reviewer The anatomical "why" here is better explained than in almost any other shoulderstand video out there.
Moderator Covers the history, anatomy, and precise setup of supported shoulderstand - all shoulderstand, nothing else.
3.9
37 free videos on technique and tips, each tagged by level
Reviewer The anatomical "why" here is better explained than in almost any other shoulderstand video out there.
Moderator Covers the history, anatomy, and precise setup of supported shoulderstand - all shoulderstand, nothing else.
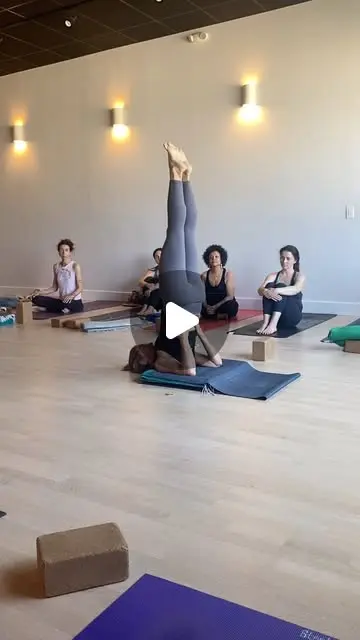
Reviewer Catches the exact mistake that makes this pose dangerous, rare and valuable.
Moderator Squarely shoulderstand, and specifically nails the exact safety-critical technical distinction that separates it from a dangerous 'neck stand'.
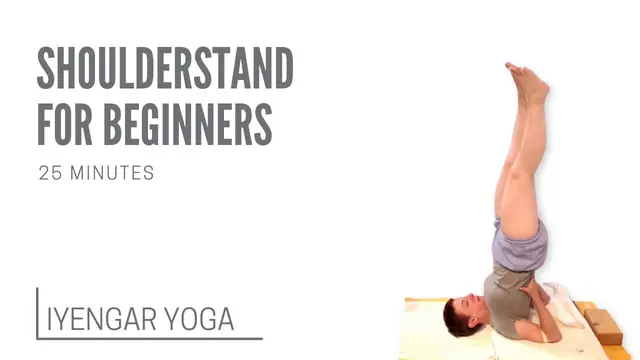
Reviewer Patient, staged, safety-conscious teaching - exactly how a beginner should be introduced to this pose.
Moderator Comprehensive, staged progression through shoulderstand specifically - three variations building on each other, using a chair and bolster. Every part of this is the shoulderstand.
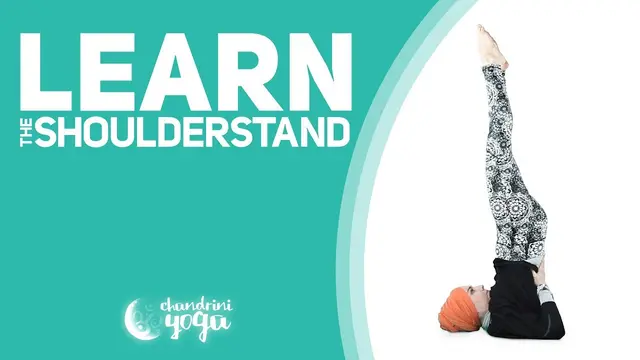
Reviewer Complete, safety-first teaching — benefits, real contraindications, technique, and a build-up path. Exactly what a new student needs.
Moderator Benefits, contraindications, full entry technique, an alternative pose for those not ready, and prep drills to build the strength — everything in this video is in service of learning shoulderstand specifically.
Reviewer Extremely thorough — the hand and shoulder mechanics here are exactly what people get wrong.
Moderator Complete, sequential entry-to-exit technique for shoulderstand at the wall. This is literally teaching the sub-skill.
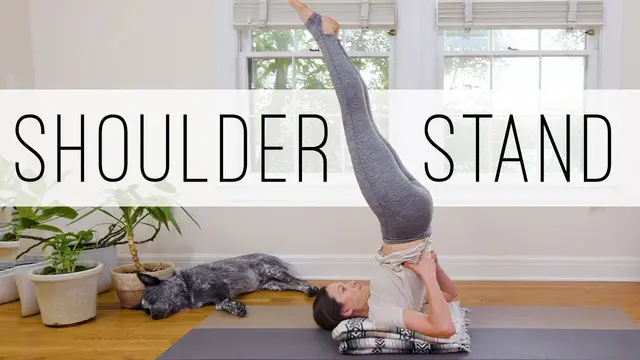
Reviewer Great if you want to build up to shoulderstand safely -- lots of attention to protecting the neck.
Moderator Explicitly titled foundations of shoulder stand, and it is exactly that -- seated setup, neck-safety warm-up (chin to chest, nose to sky, ear to shoulder) done slowly and mindfully, building toward the full pose. Squarely on topic.
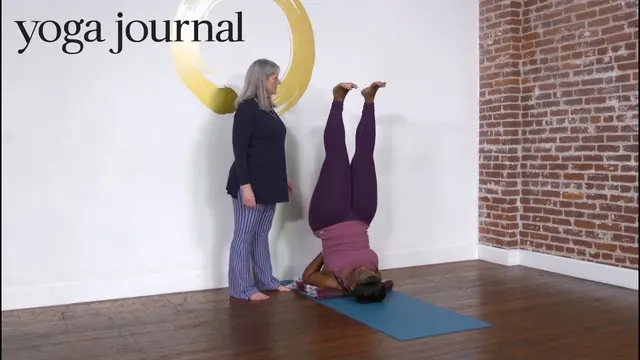
Reviewer The wall progression is a smart, low-risk way to build toward a full shoulderstand.
Moderator A full wall-supported progression built specifically to develop shoulderstand safely - entirely on topic.
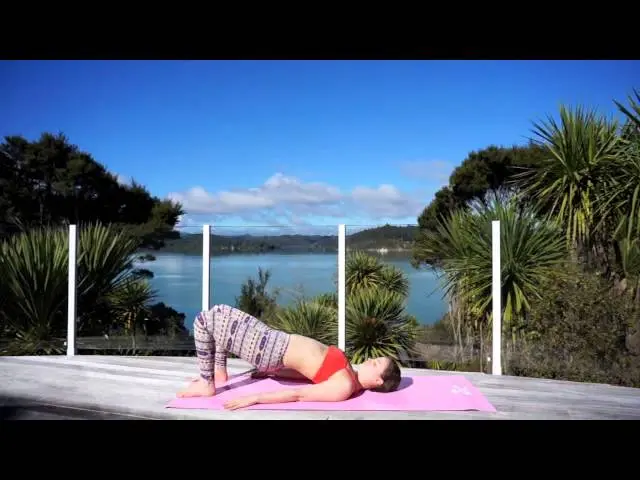
Reviewer Clear, buildable progression - the one health claim about fighting colds is more folklore than fact, but the technique is solid.
Moderator Builds a full warmup sequence specifically toward shoulderstand and then breaks the pose down step by step - squarely on topic.
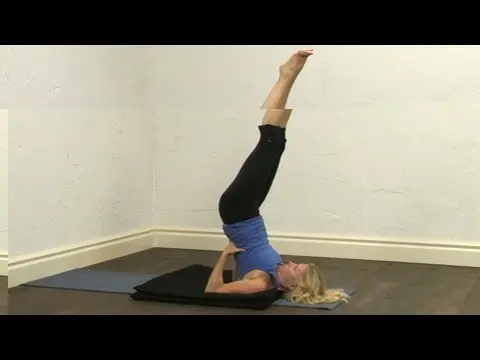
Reviewer Explains the WHY behind the setup, not just the how — genuinely strong technical teaching.
Moderator Prop height, two different entry methods depending on ability, and detailed alignment cues throughout — squarely a shoulderstand technique lesson.
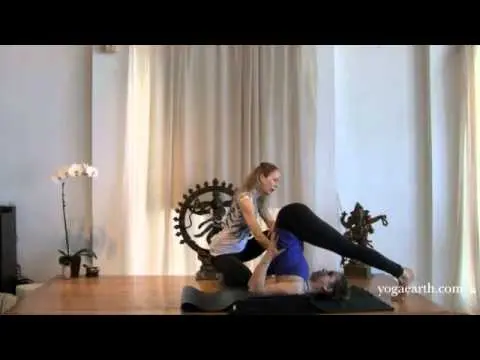
Reviewer Excellent teaching -- you can see exactly what right and wrong look like on a real person.
Moderator A full teacher-led breakdown of sarvangasana on a real student -- props, entry via halasana, hand placement, alignment check (shoulders-hips-knees-ankles), and a specific correction for a common mistake (letting the legs drift over the head puts pressure on the neck). All shoulderstand.
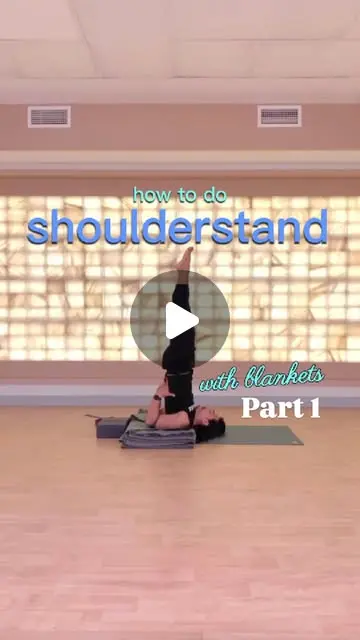
Reviewer Excellent set-up teaching - the blanket stack keeps the pressure off your neck and the shoulder-blade and elbow cues are spot on.
Moderator Squarely shoulderstand (Salamba Sarvangasana), set up with props: a stack of folded blankets under a doubled sticky mat, two blocks, and a strap looped around the elbows, then the cues for placing the shoulders, neck and head on the stack and lifting into the pose from plough. It stays on the pose the whole way.
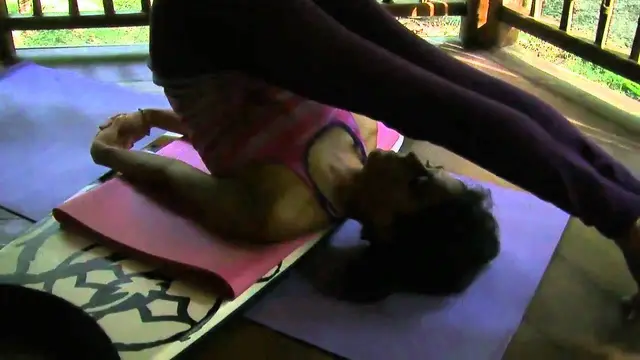
Reviewer A small but important detail that a lot of shoulderstand tutorials miss -- worth it for the neck-safety point alone.
Moderator This is squarely a shoulderstand setup detail -- exactly where to place a pad relative to the C7 vertebra, and what makes a pad supportive enough (firm, full coverage including the elbows). Precise, on-topic technical guidance.
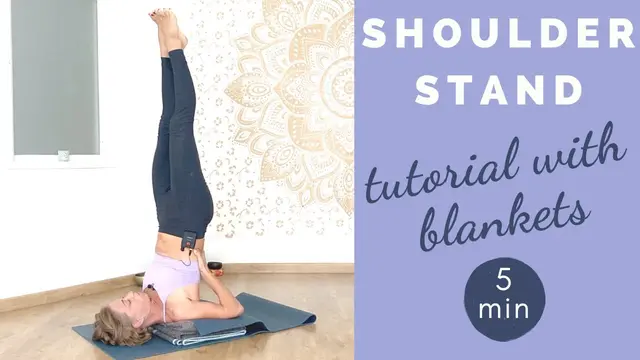
Reviewer The blanket-height trick genuinely solves the neck-pain problem most people have with this pose.
Moderator Entirely about safely getting into and out of shoulderstand using blanket support for the neck.
Reviewer The safest, most accessible on-ramp to shoulderstand in this batch — great for tight or nervous students.
Moderator Bridge-plow-shoulderstand as one wall-supported cycle, entirely built around getting people into shoulderstand who otherwise couldn't — this is squarely the sub-skill, just via an accessible route.
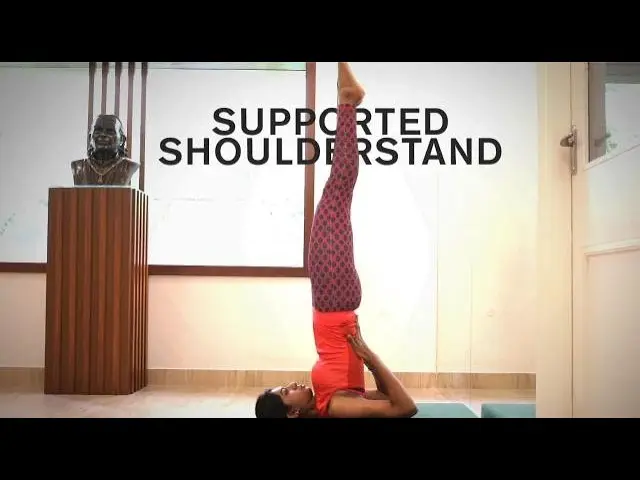
Reviewer Clean, safe instruction with the alignment cues that matter — just moves a little fast.
Moderator Entirely a walkthrough of supported shoulderstand from prop setup through entry, refinement, and exit. No detours into other poses or topics.
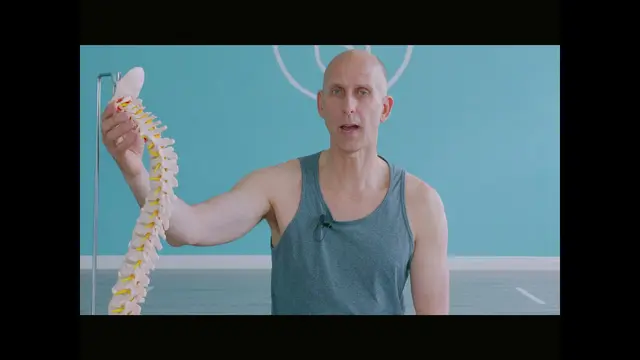
Reviewer This single idea -- check your neck flexion before you force your legs straight -- will save people's necks.
Moderator Not a step-by-step how-to, but it's entirely about why shoulderstand looks different on different bodies and what to actually do about it (counterbalance in the hips rather than forcing the legs straight up). That's core to doing this pose correctly and safely.
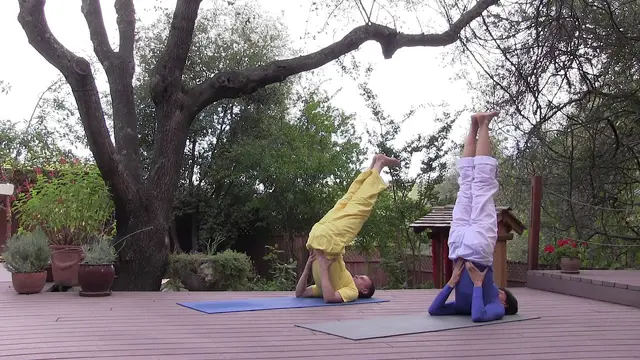
Reviewer Good instincts here -- safety caveats up front, then a sane progression instead of 'just hold it.'
Moderator Full walkthrough of the pose: benefits, contraindications, entry, hold-time progression, exit. Entirely about shoulderstand.
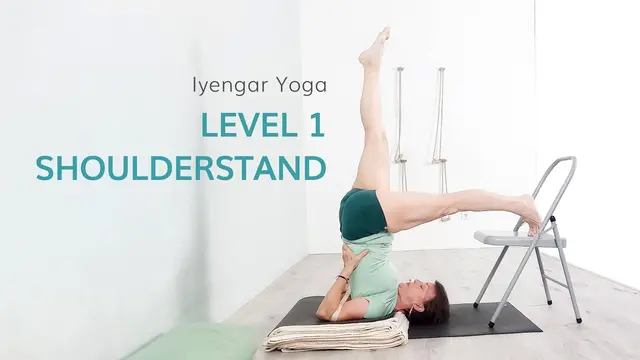
Reviewer This is how shoulderstand should be taught -- safety and precision first.
Moderator Entirely a shoulderstand-prep and shoulderstand-entry lesson using props -- everything from blanket setup to walking the feet up the wall is in service of getting into this specific pose safely.
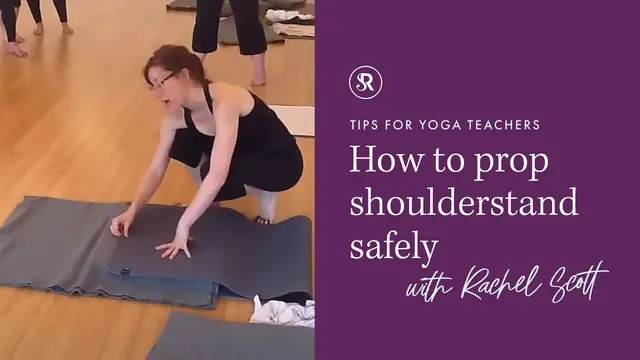
Reviewer Explains the WHY behind propping, not just the how - genuinely good safety-first teaching.
Moderator Directly about shoulderstand prep and safety - why you need to prop the shoulders (most people can't maintain the cervical spine's natural curve at 90 degrees without it), and a specific, replicable block-and-blanket setup. Squarely the sub-skill's safety/setup layer.
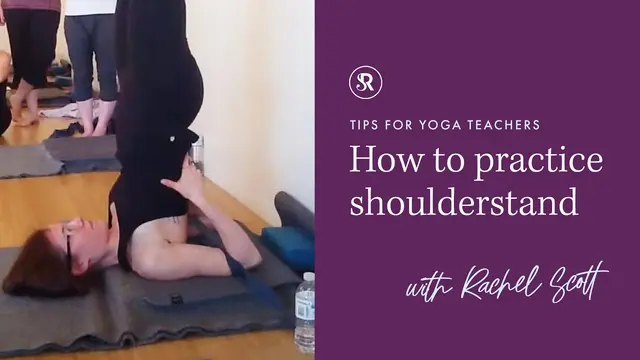
Reviewer Best neck-safety explanation in this batch, even if it feels like a clip from a longer class.
Moderator Full setup-to-exit walkthrough with strap and wall, focused specifically on shoulderstand technique and neck safety. On-topic throughout.
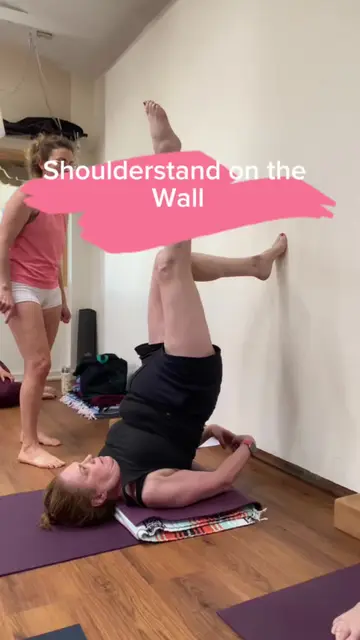
Reviewer Sound technique, though choppy as a standalone lesson.
Moderator Squarely wall-supported shoulderstand coaching: foundation on the shoulders, hamstring engagement to lift, hip-over-shoulder alignment.
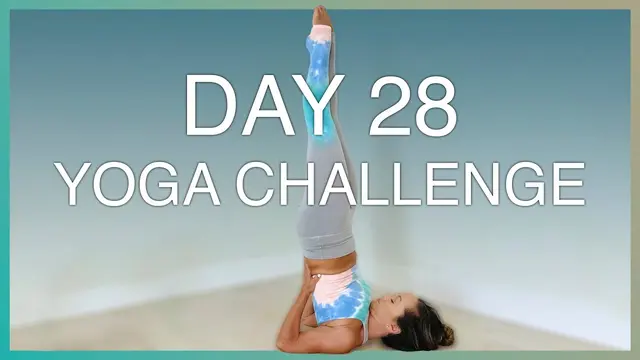
Reviewer Takes the safety side seriously — contraindications, prerequisites, warmup, and an easier alternative, all covered.
Moderator Genuinely centered on shoulderstand — the requirements to enter it safely, the contraindications, an accessible wall alternative, plus a warmup specifically built to prepare the body for it. Some runtime goes to warmup poses and challenge-series framing, but all of it is in direct service of the shoulderstand attempt that follows.
Reviewer Good, safe progression; ignore the overstated health claims.
Moderator Squarely a wall-supported beginner progression into Sarvangasana, building from legs-on-the-wall up to holding the full pose.
Reviewer Accurate, well-named variations for an already-solid practitioner.
Moderator Still squarely shoulderstand: advanced variations built on the classic shape (Frog/Bekasana-style legs, Halasana-like back bend) rather than a different pose.
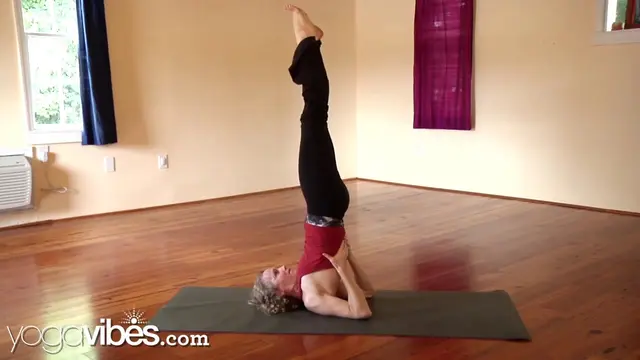
Reviewer Good neck-safety cue, but it plays like one part of a longer course, not a standalone lesson.
Moderator Squarely shoulderstand technique, with plow pose taught as its natural follow-on transition — the two are conventionally taught together and plow doesn't dilute the shoulderstand focus here.
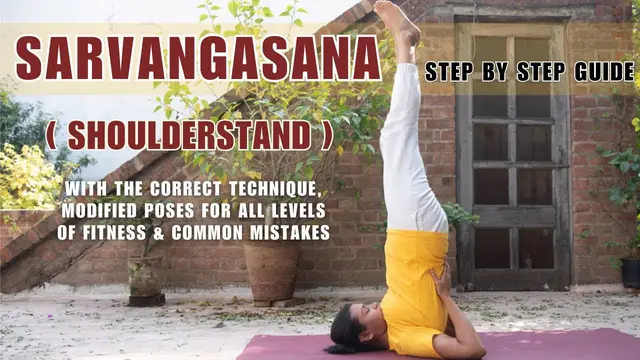
Reviewer Solid intro -- meets you wherever your body is at, and exits you safely.
Moderator Directly about the pose and its variations depending on what your body can do that day -- legs halfway, hands on floor, full lift. All shoulderstand, all the way through including the exit.

Reviewer Good myth-busting — it's almost never an abs problem, it's mobility further down the chain.
Moderator Directly addresses the entry mechanics of the pose — specifically the roll-up that most tutorials gloss over. Squarely on topic.
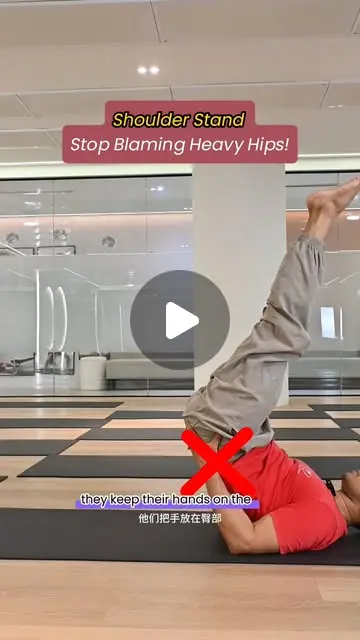
Reviewer Good, correct entry cue — just wish it also flagged the neck safety piece, that's the real risk in this pose.
Moderator This is squarely about lifting into Shoulderstand/Sarvangasana — all 20 seconds is spent on the entry technique and the classic 'hands on hips' mistake. Nothing else competes for runtime, and the skill named (Shoulderstand) is exactly what's being taught, not a nearby pose.

Reviewer Explains exactly why the pad matters — most people skip it and shouldn't.
Moderator Specifically about a real setup decision within shoulderstand — squarely on topic even though it's one narrow slice of the pose.
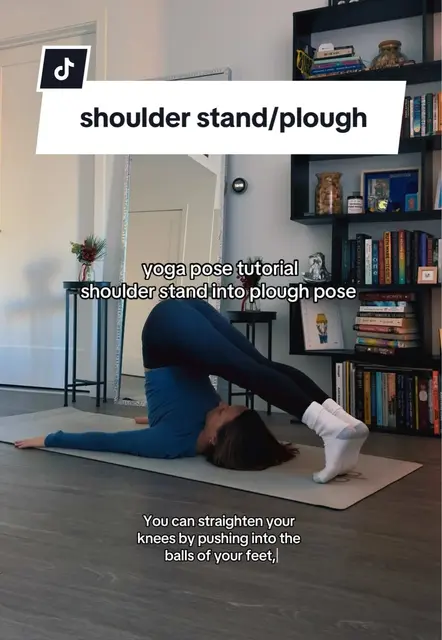
Reviewer Clear cues for the lift, the hold and the roll-down, but it never talks about protecting the neck, which is what a beginner most needs to hear.
Moderator Squarely shoulderstand: how to get up, how to hold it and how to come out, with a quick link into plough. Hands on the lower back with the elbows as a kickstand, glutes and legs squeezed, pelvis pressed forward, then a controlled roll down.
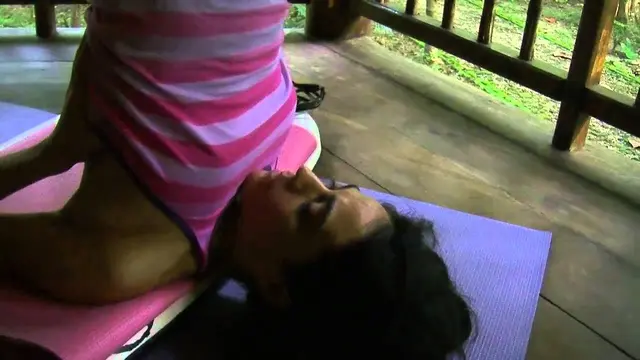
Reviewer Good concept, poetically stated — you may need to already know the pose to use this.
Moderator Entirely about refining the held pose — alignment axis, breath, bandha work. On topic, just deep in pose refinement rather than entry.
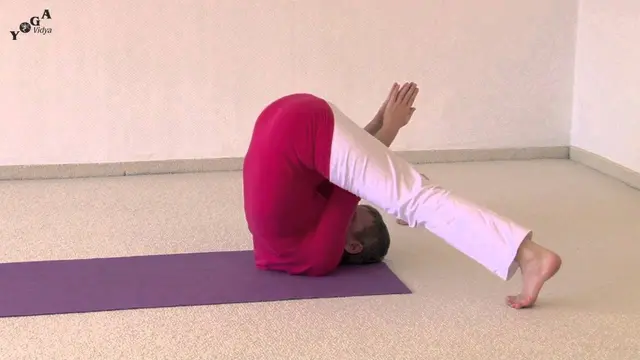
Reviewer Good if you've already got shoulderstand and want variations -- not where you'd learn it from scratch.
Moderator Sequences shoulderstand with its closely related family poses (plow, bridge) and variations (candle, one-legged bridge) -- the shoulderstand is the anchor of the whole cycle.
Reviewer Fine as a reminder if you already have the pose - won't teach you to get there.
Moderator This is shoulderstand cueing within a class flow - candlestick, plow, into the pose, with a real neck-injury warning - squarely on topic even though it's brief.
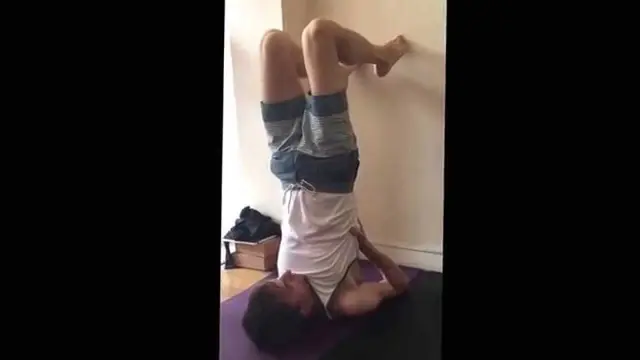
Reviewer Good idea, incomplete execution — feels like you're missing the first half.
Moderator Wall-assisted entry technique, real cues in there (feet at wall, hip-width, roll the arms under, vertical alignment) — on topic even though the transcript is choppy.
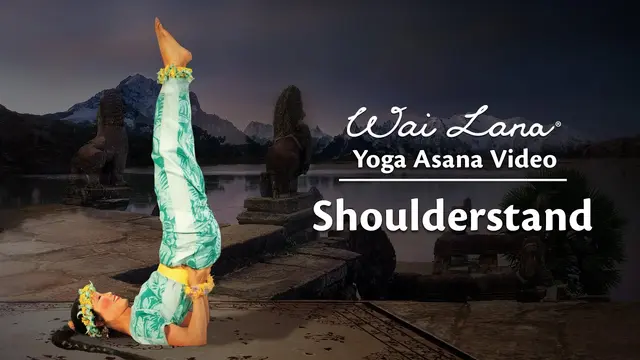
Reviewer Gets the basic shape across, but skips the safety notes you'd want for this particular pose.
Moderator Direct demonstration of the pose with entry, hold, and exit, plus the standard benefits explanation (thyroid, parathyroid, pituitary).
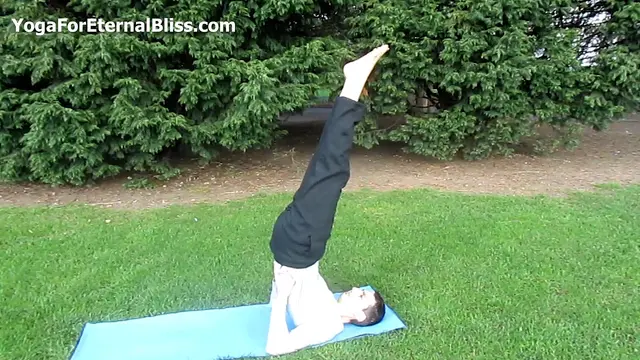
Reviewer Technically correct but thin - skips the safety/prop guidance this pose really needs.
Moderator Covers the actual technique of getting into and out of the pose - lie down, raise legs together, push back onto the shoulders, hold, come down and unroll. On-topic throughout, just brief.
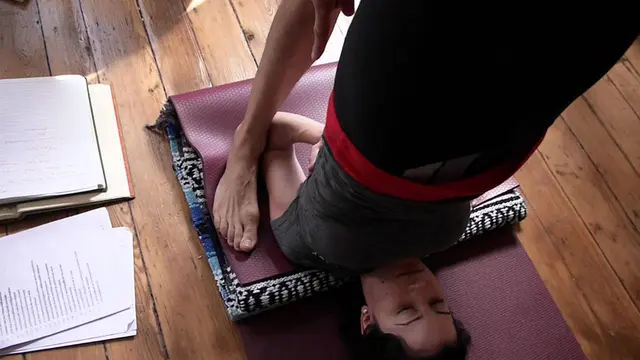
Reviewer More useful to a teacher spotting students than to someone learning solo.
Moderator It's about correct alignment (parallel upper arm bones, elbows in) but the whole frame is a teacher adjusting a student, not a practitioner cueing themselves — one step removed from actually teaching you the pose.