Advanced
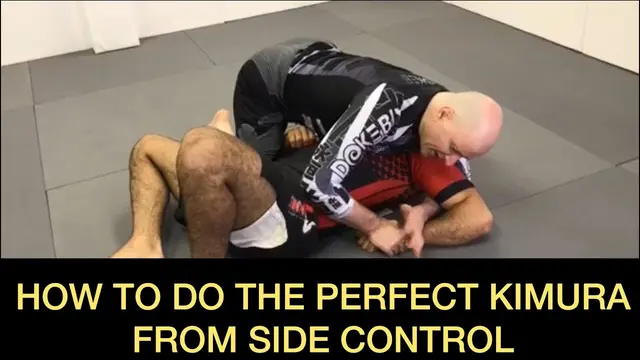
Reviewer Elite-level teaching - this is the actual reason your kimura runs out of gas, explained properly.
Moderator Entirely about kimura mechanics from side control - this is the whole subject, no digressions.
4.0
45 free videos on technique, drills and tips, each tagged by level
Reviewer Elite-level teaching - this is the actual reason your kimura runs out of gas, explained properly.
Moderator Entirely about kimura mechanics from side control - this is the whole subject, no digressions.
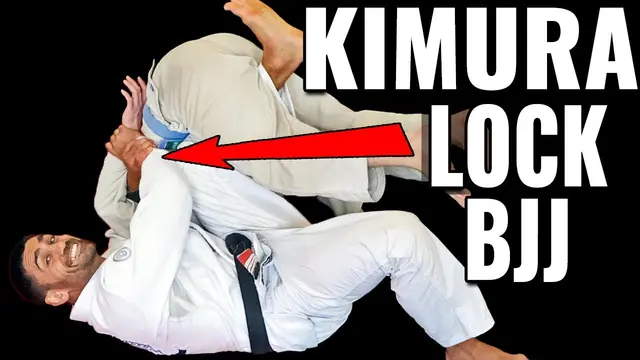
Reviewer Clear mechanism, real safety note, systematic coverage - excellent.
Moderator Titled 'Kimura Submission: The Most Effective Finishes from Every Position' and it delivers exactly that - guard, side control, and a half-guard variation, all kimura, nothing else.
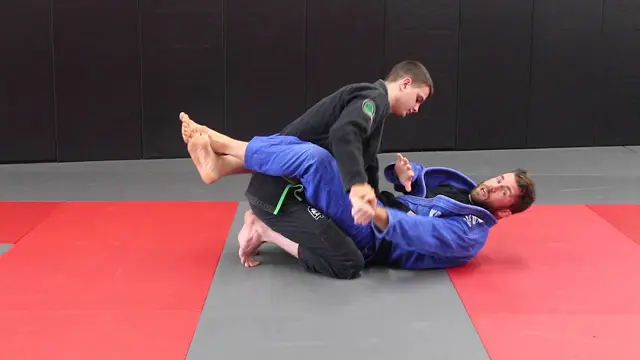
Reviewer Hits every detail a new white belt actually needs - grip, posture, and the elbow-pinch finish.
Moderator Entirely the Kimura setup and finish from closed guard, start to finish.
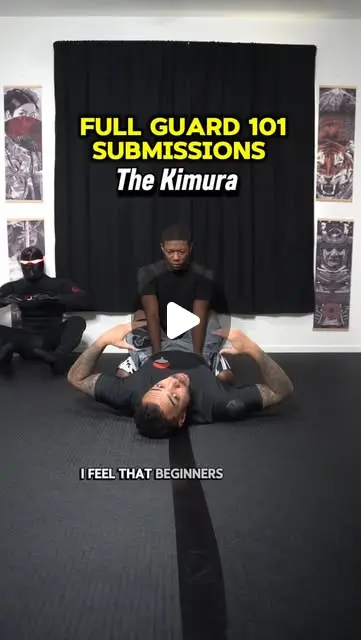
Reviewer The most complete Kimura-from-guard teach here - setup, common mistake, and a size-difference adjustment.
Moderator Completely on topic - full Kimura setup and finish from bottom closed guard, explicitly framed for beginners looking for this submission.
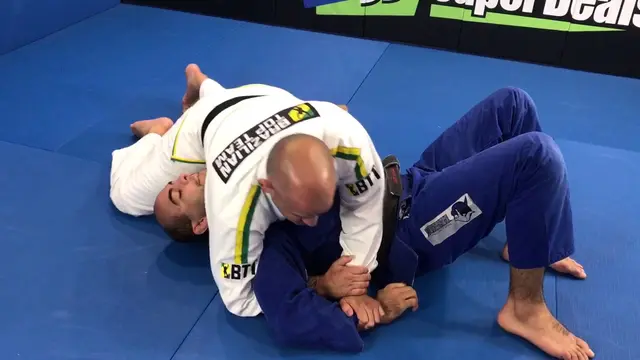
Reviewer One of the clearer finishing breakdowns you'll find - explains the why, not just the what.
Moderator Entirely about finishing the kimura from side control, repeated twice with a recap. No tangents.
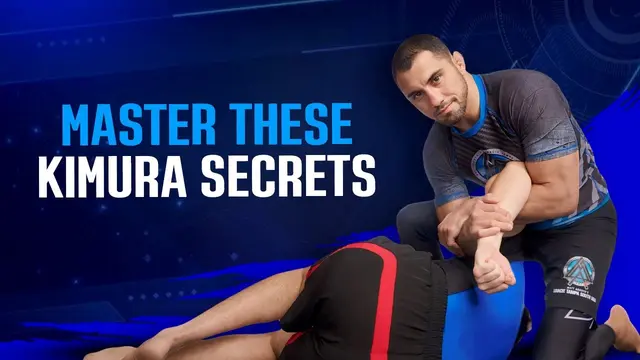
Reviewer Actually solves the real reason this move fails against good training partners - excellent detail.
Moderator Nothing but kimura from guard, specifically the part everyone glosses over - actually getting the hands off the belly and onto the floor against someone who's trying to prevent exactly that. Stays locked on this the entire video.
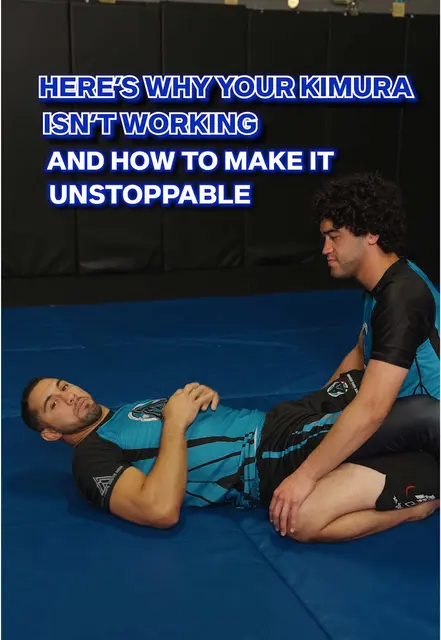
Reviewer Three real fixes with the 'why': armpit first, hips instead of muscle, finish from behind. Short academy plug at the end.
Moderator Closed-guard Kimura built on three fixes: hook the arm with your armpit over the shoulder before you chase the wrist, drive the turn with your hips instead of muscle, and get behind to three or four o'clock so the finish is a push, not a bicep curl. On the Kimura from start to finish.
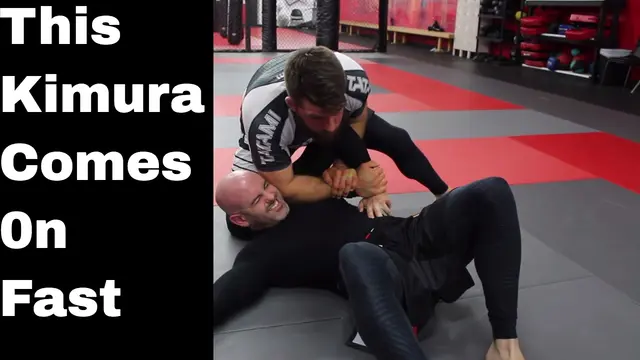
Reviewer Smart alternative when the standard step-over is getting stuffed, with a fair warning about how nasty this finish is.
Moderator Directly answers a specific finishing problem (can't step over the head) with a modified north-south entry - on topic throughout.
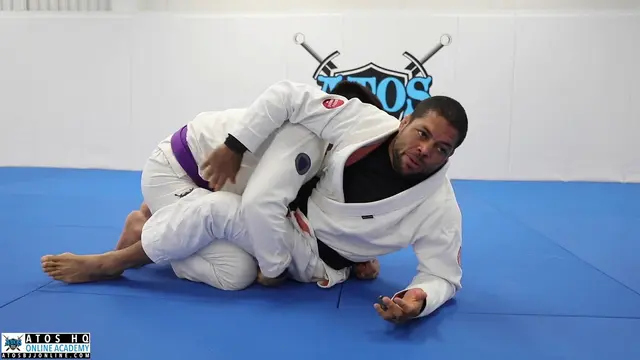
Reviewer Complete lesson including the defenses people actually run into - not just the highlight version.
Moderator Completely dedicated to the closed guard kimura - grip setup, hip escape to angle, finishing mechanics, and then the common defenses (grabbing own pants, grabbing own belt) with counters to each. Nothing else in this clip.
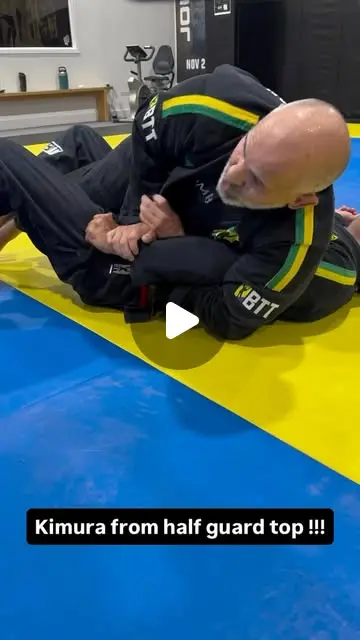
Reviewer Deep, credible detail from entry to finish: underhook, flatten, switch, no thumb, lock the elbow. A bit rambling, very useful.
Moderator Detailed Kimura from top half guard: armpit onto the arm to kill the underhook, push the partner flat, switch the hips, wrap tight, rib pressure on the stomach, the 'no thumb' second grip, lock the elbow, and finish like an Americana. Squarely on Kimura mechanics from entry to finish.
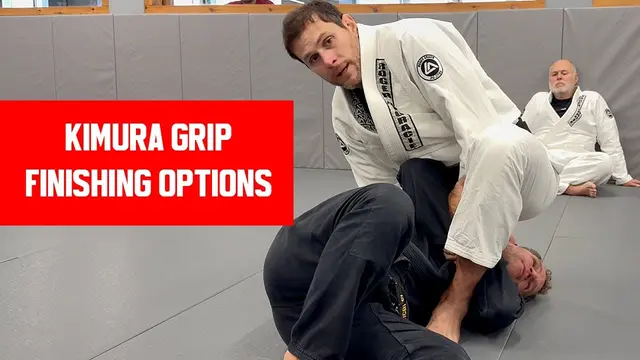
Reviewer Real expertise - different answers for different defenses, not one generic fix.
Moderator Entirely about breaking a tight kimura grip when the opponent defends it well, and finishing once you do - foot in the gap, triangle-lock isolation, defeating a collar-grip defense, and a specific roll-back finish. All kimura, high level of detail.
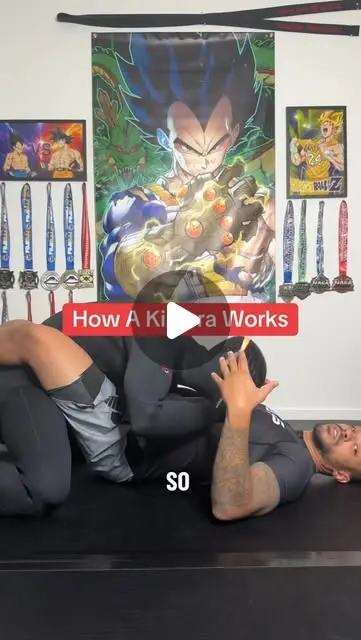
Reviewer Solid teach - explains the joint mechanics and adds a couple of finish variations.
Moderator Same creator, same subject as the shorter cut - entirely Kimura-focused, with a bit more added on top/bottom application and stepping over the head. All on-topic.
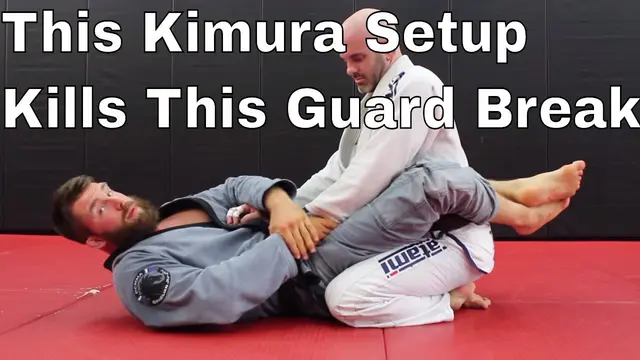
Reviewer Complete, beginner-safe walkthrough of a Kimura off a guard break you'll see constantly. Flags the common mistake and stresses going slow — good teaching.
Moderator Entire video walks through a full Kimura setup from guard against a specific, extremely common guard-break attempt. On topic start to finish.
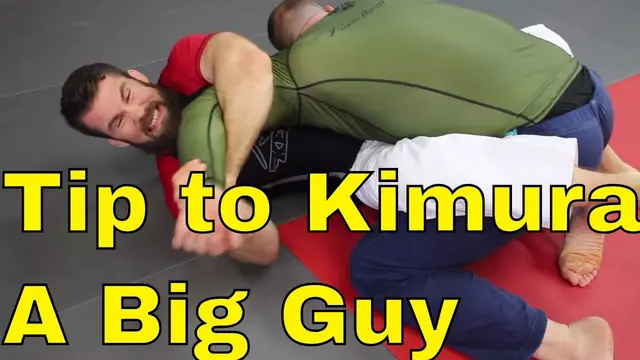
Reviewer The hip-scoot detail turns this from an arm fight into a body fight - good fix.
Moderator Directly about finishing the Kimura when strength is the obstacle - on topic.
Reviewer The kind of small detail that's the actual difference between a kimura that works and one that doesn't.
Moderator Squarely about a specific kimura setup detail from side control - the whole clip is Mendes explaining one grip/mechanic (palm-up, twist to open space) and why the naive version of the same idea fails. Nothing else touched.
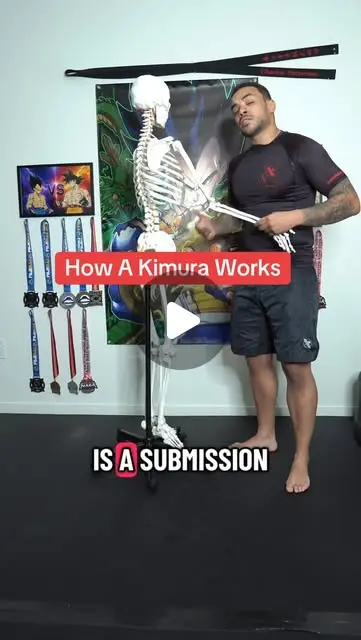
Reviewer Great on the mechanism, light on how to actually get there against resistance.
Moderator 100% Kimura, start to finish - describes the arm isolation, the grip, the rotation, all specific to the actual submission.
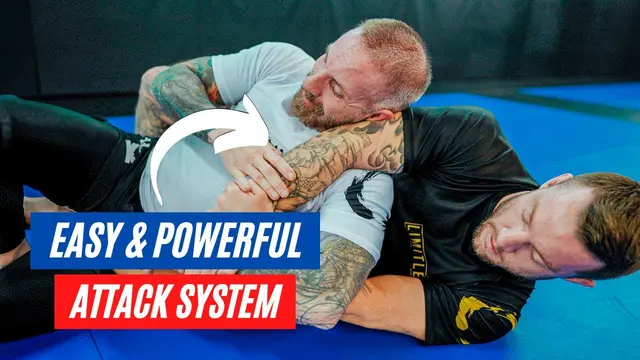
Reviewer Real system-level teaching, not just a move - the control principle alone is worth it. Minor ding for the ad break.
Moderator Whole video is the kimura - grip, control principle, multiple entries, and finishes. Very on-topic aside from a short ad read in the middle.
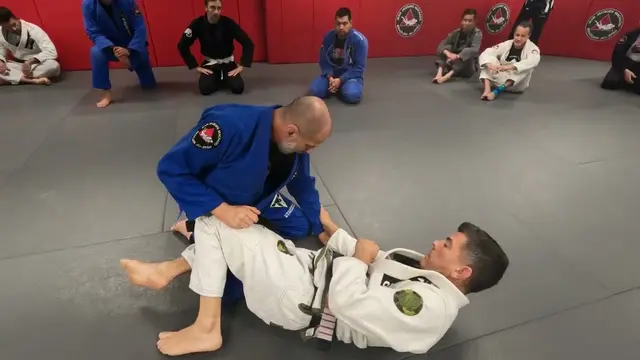
Reviewer The thumb-vs-fingers grip break is the kind of detail that actually helps.
Moderator Teaches a specific kimura setup by baiting the opponent into attacking first, then reversing it, plus grip-breaking details when they defend by grabbing their belt. Entirely a kimura lesson.
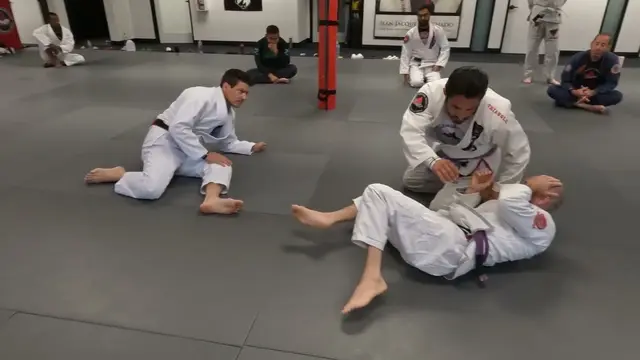
Reviewer Specific answers for the size-disadvantage scenario - real coaching.
Moderator 'In depth study' delivers on the title - maintaining the kimura trap from half guard against a bigger opponent, using the legs as hands to control while the grip stays locked. All kimura, no filler topic.
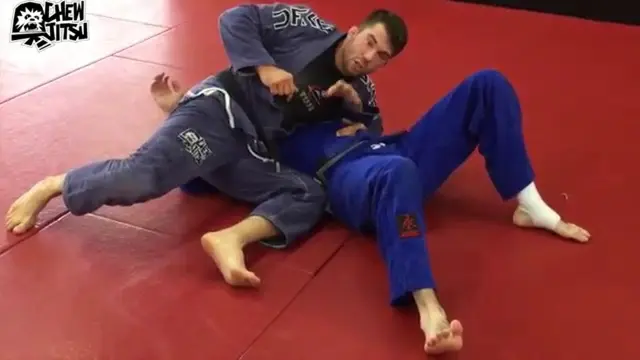
Reviewer Good refinement detail on a technique you already know — where to catch the arm, what to do when they resist. A bit rough in delivery.
Moderator Entirely about executing and refining the Kimura from side control, including a straight-arm-lock variant. On topic throughout, no filler.
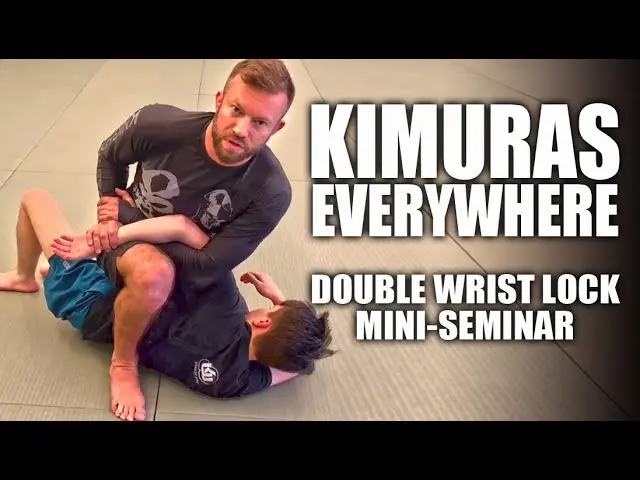
Reviewer Good range of kimura setups with honest context about where this fits in the bigger picture.
Moderator Consistently about kimura throughout - starts with the basic closed guard mechanics, then systematically extends into hitting it from a passed-guard scramble and off a bridge/sweep. Every scenario shown is still fundamentally a kimura application, just across different starting positions.
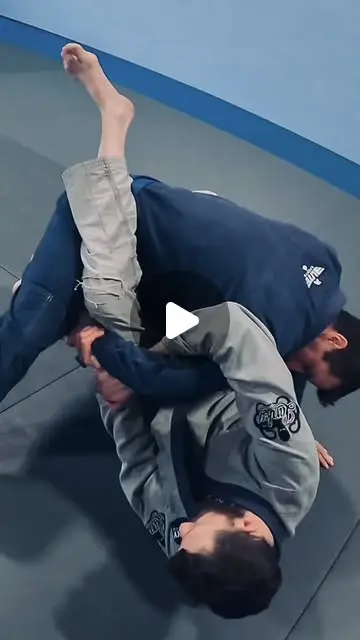
Moderator Three ways to break a stubborn defender's grip when finishing the Kimura from guard: square up and drape the leg to kick out a clamped leg grip, saw the arm out of a belt grip, and grind the hip through locked hands. Each ends back behind the arm with the finish. Squarely on a real Kimura finishing problem.
Reviewer Practical answers to stuck grips: kick it out with the leg, saw it out, or grind the hip through locked hands. Clear enough to drill.
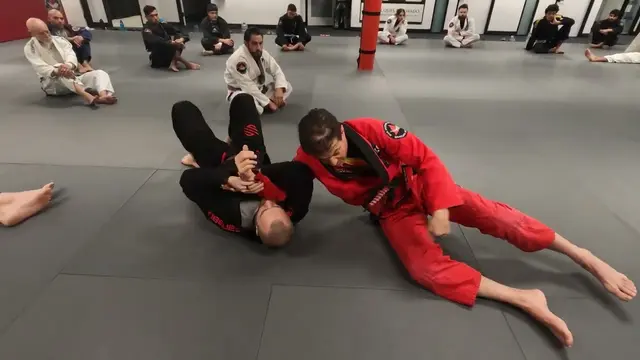
Reviewer Rough transcript, but the underlying concept taught is genuinely advanced.
Moderator A live seminar working through kimura defense and attack principles in detail - knee-on-tailbone control, hip separation from the opponent, staying flat to escape, the 'connection' concept of gluing your arm to their body. Dense but entirely about this submission.
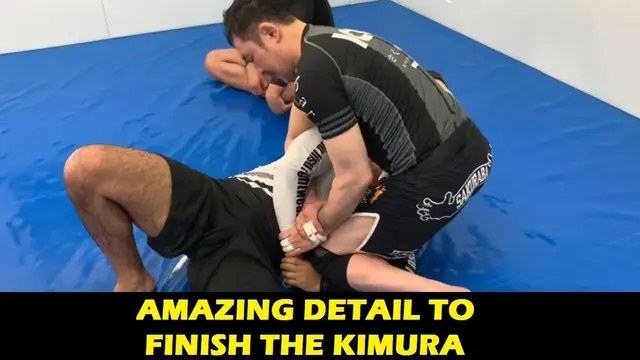
Reviewer Simple detail, genuinely useful - solves a real 'I get the kimura but can't finish it' problem.
Moderator One specific detail - knee on the forearm instead of the upper arm to break a locked defensive grip so you can finish the kimura. Whole clip stays on this.
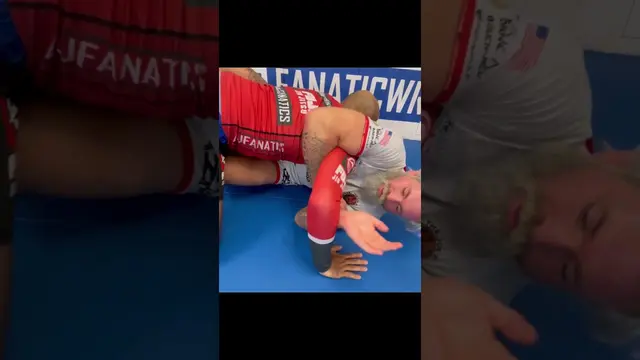
Reviewer Quick but sharp - teaches you what to do with either reaction, not just the lock itself.
Moderator Wall to wall kimura from butterfly - the lock, the trap, and both branches depending on where the hand ends up. No filler.
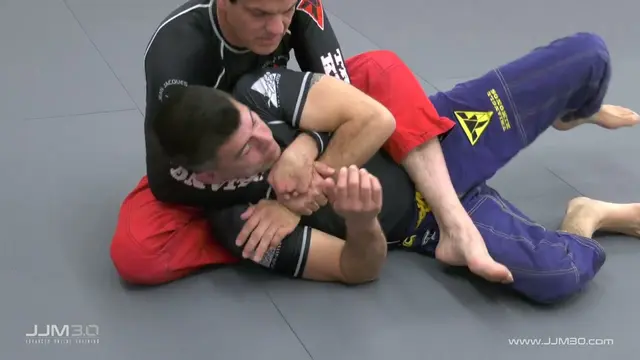
Reviewer Dense to read, but the technical content underneath is solid.
Moderator No-gi kimura control positions and transitions - switching hand control, using the feet to control distance, branching to a back take, armbar, or triangle from the same control. Dense but squarely kimura.
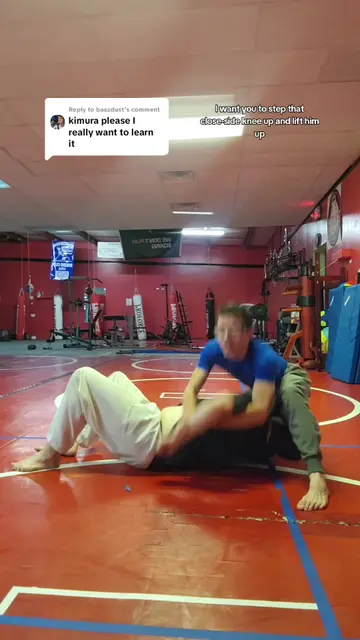
Reviewer Clears up the #1 Kimura mix-up fast, but it's a cue, not a full lesson.
Moderator Straight up Kimura content, no ambiguity. The whole clip is built around correctly identifying the Kimura vs its cousin the Americana - that IS the skill. Nothing here strays into another topic.
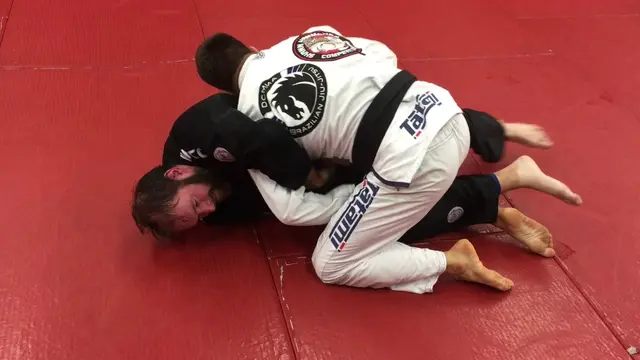
Reviewer Good detail once you follow the casual delivery - go for the thumb, not the wrist.
Moderator A specific escape/defense detail for the Kimura - on topic, if narrow in scope (just the grip break).
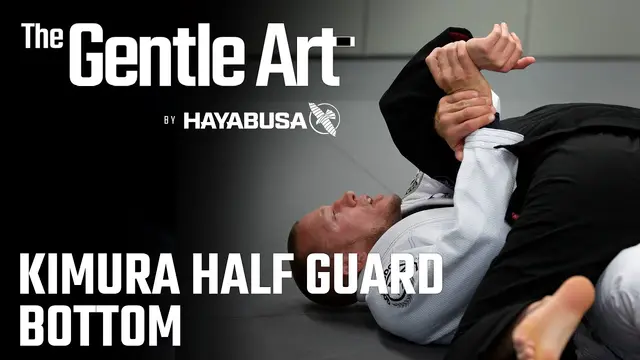
Reviewer Correct and specific, just doesn't go very deep given the length.
Moderator A specific kimura-from-half-guard-bottom scenario - blocking a pass with a straight arm, then converting into the kimura crank when they try to free their knee. Squarely a kimura technique, just a short clip.
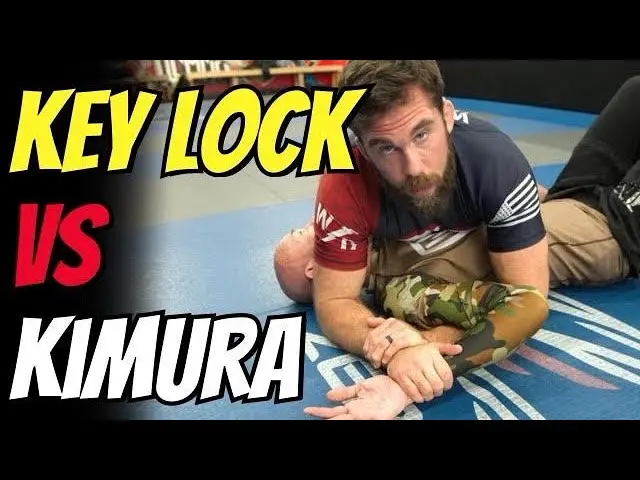
Reviewer Good, honest beginner explanation of what actually finishes the Kimura versus just muscling it.
Moderator Half the video is the Americana/keylock, but the Kimura half is a real, complete technical teaching - grip, common cranking mistake, proper wrist-roll finish, and two finishing methods (step over vs pull to the side). Counts as substantial coverage, not just a footnote.
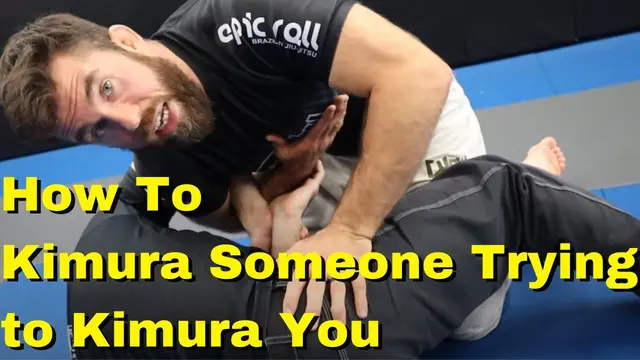
Reviewer Good counters, though it drifts into a story that doesn't really teach anything.
Moderator Defensive side of the Kimura - three counters from half guard when you get caught. Still squarely about understanding and beating this specific submission.
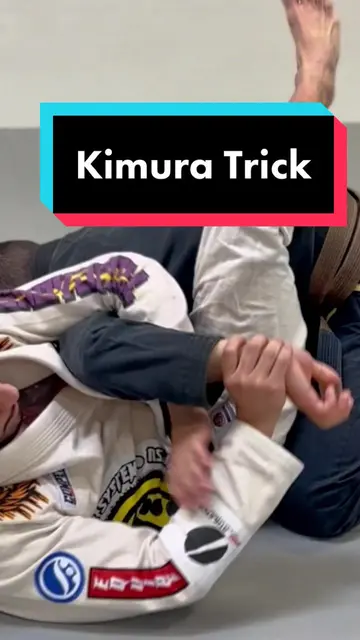
Reviewer A concrete, usable addition to your guard game.
Moderator A specific setup - kimura from closed guard - named directly.
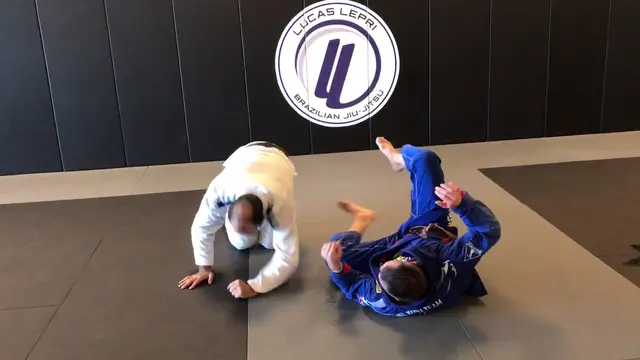
Reviewer Clever, well-shown application most people haven't seen off over-under passing.
Moderator Uses the kimura grip as bait during an over-under pass, then rides it into a back take rather than finishing the submission on the spot. Kimura mechanics are the whole basis of the entry even though the payoff is positional.
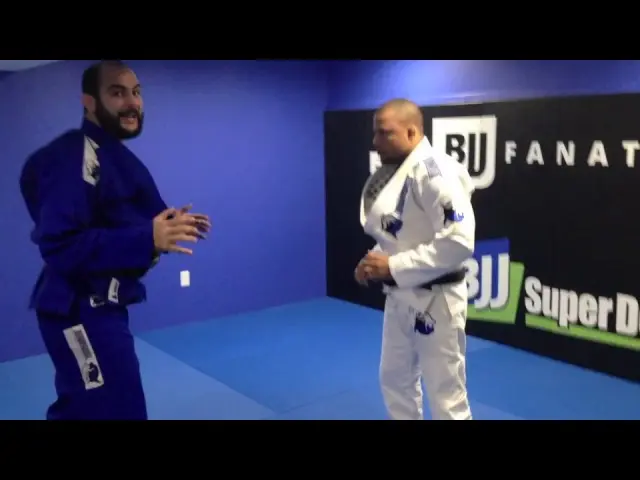
Reviewer Useful sequence if you fight wrestlers, just talky - takes patience to follow.
Moderator Built entirely around a kimura entry off stuffing a double leg, though it evolves into a back take and armbar rather than finishing the lock itself. Kimura is the spine of the sequence even if it's not the final tap.
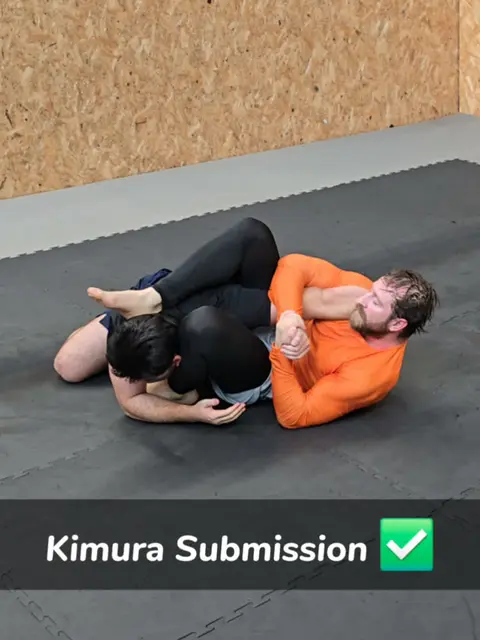
Reviewer Good intro, light on the actual finishing detail.
Moderator Straightforwardly about the kimura submission and its setups.
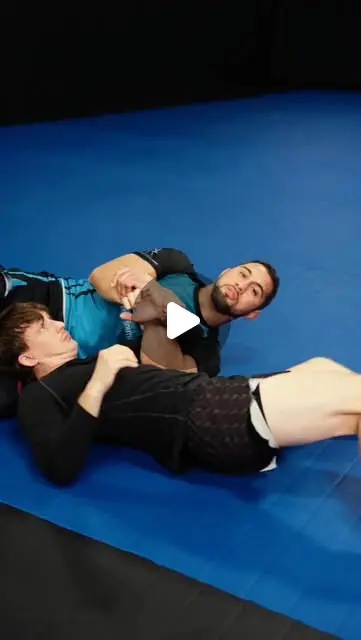
Reviewer Good concept for someone who already has the grip, but light on teaching and ends in a course pitch.
Moderator Still all Kimura, just a different angle - talking about it as a control tool rather than just a finish. On topic throughout.
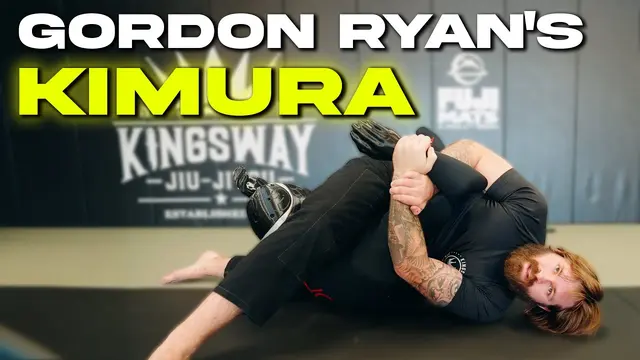
Reviewer Good concept from a top-tier source, but padded with dummy-related asides that aren't really teaching.
Moderator It's kimura mechanics, but narrowly scoped to the finishing/breaking biomechanics on a static dummy that's already in a compliant position - there's no fighting for the position, no grip fighting, no defense to work around. Useful but it's one slice of the skill, not the whole picture of getting and finishing a kimura against a resisting person.
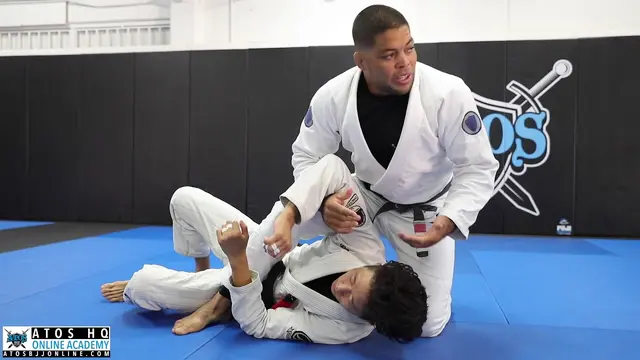
Reviewer Good side control coaching, but doesn't get deep into the kimura itself yet.
Moderator Framed as leading to the kimura, but a large chunk of what's actually shown here is general side control weight distribution and pressure (toes vs. flat feet, reading when the opponent has stopped fighting the position) - real and useful, but it's side control fundamentals more than kimura-specific technique for most of this clip.
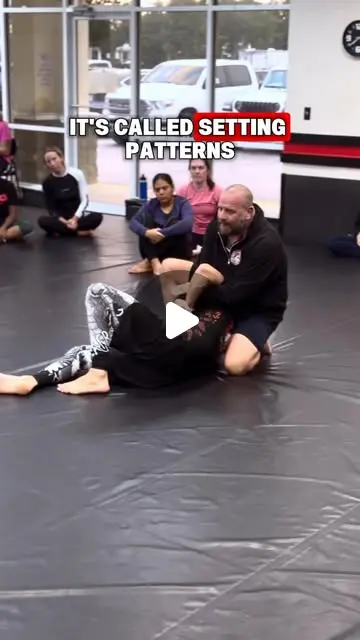
Reviewer Useful combo with a smart rhythm idea: set a pattern, then break it. Loose on grip detail, so work it with a partner.
Moderator A Kimura-grip trap from top: reach under the arm, pull them in, kick the outside leg out to fall to your side, collect the arm and lock a triangle. When the triangle won't finish, break the clasp with the leg, unwind and finish the Kimura. Ends with a pattern trick (rest, rest, strong) to snap it on. The Kimura is the follow-up more than the lead.
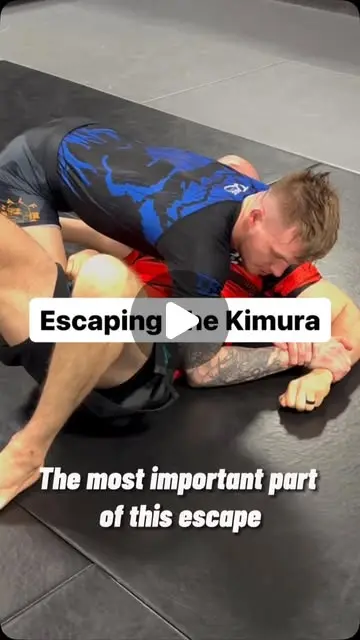
Reviewer Key idea explained well: keep the shoulder pinned to the mat and they can't wind your arm behind your back. Neat grip break after.
Moderator Escaping the Kimura from bottom side control: bridge hard onto the attacked shoulder so it can't be pulled off the floor, frame inside the bicep to make space, bring the bottom knee inside to break the grip, then ninja-roll to the back if they go north-south. The defender's side of the Kimura.
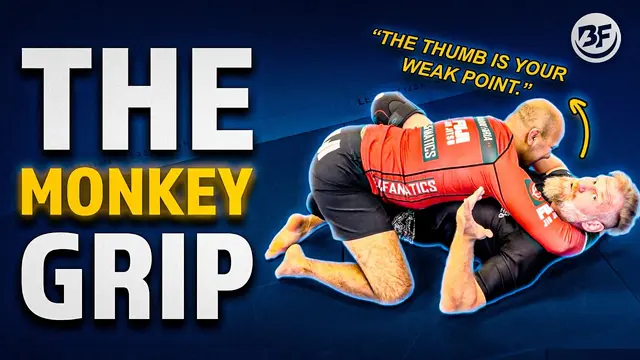
Reviewer Solid detail once it gets going, wish there was more of it and less talk.
Moderator Good chunk of this is Barnett and Bernardo chewing the fat about catch wrestling vs BJJ rules before they even touch the kimura. Once they get to the half guard sequence - clearing the head, wrapping the shoulder, locking the wrist - it's straight kimura mechanics, not padded out with unrelated stuff. Call it on-topic but diluted by the preamble.
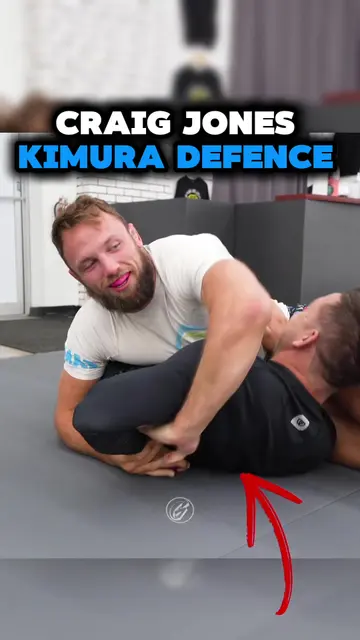
Moderator Defending the Kimura from top half guard: shoot the knee through the gap in the arms onto the bicep to staple the arm to the floor, strip the grip as the shoulder pulls back, and take the crossface. The defender's side of the Kimura, with a note on baiting the Kimura to get the crossface.
Reviewer Neat top half guard trick: knee through the arms onto the bicep to strip the grip. Defense only, and quick.

Moderator A flying Kimura entry against a seated opponent: collar tie, make them post, grab the wrist and roll through the shoulder, pin the arm, then swing the leg over into a triangle. The Kimura is the entry and the finish is a triangle, so it covers the grip-and-roll more than the Kimura submission.
Reviewer Flashy and clearly sequenced, but the steps are only listed. No detail on grips, timing or what to do when it fails.
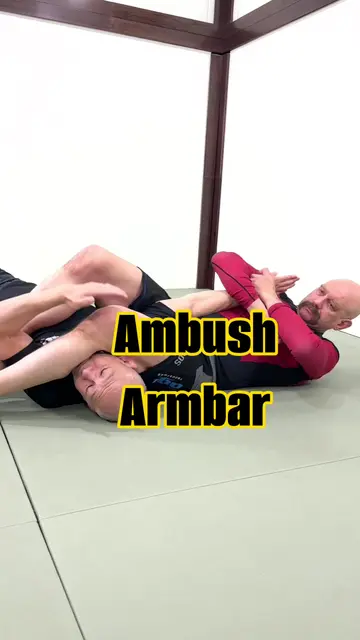
Moderator Uses the near-side Kimura grip as control to stop the opponent turning away or getting the elbow to the floor, then swings the leg over the head to sit on the neck and finish an armbar. The grip is the set-up and the submission is an armbar, so this touches Kimura control more than the Kimura itself.
Reviewer Smart use of the Kimura grip as control, then a big leg swing over the head for the armbar. Skips how to get the grip.
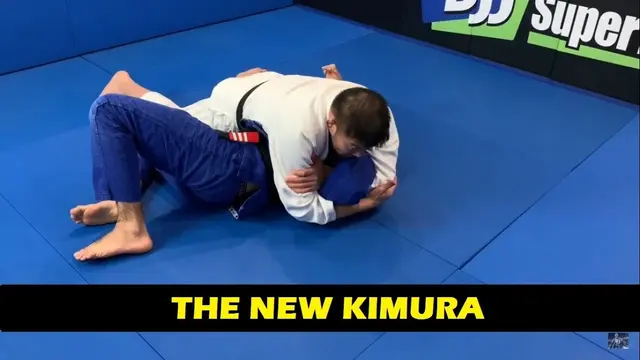
Reviewer Too vague to actually learn from - feels like a trailer, not a lesson.
Moderator Whole clip is about one kimura grip variant, nothing else discussed. On topic start to finish, just very short and shallow.