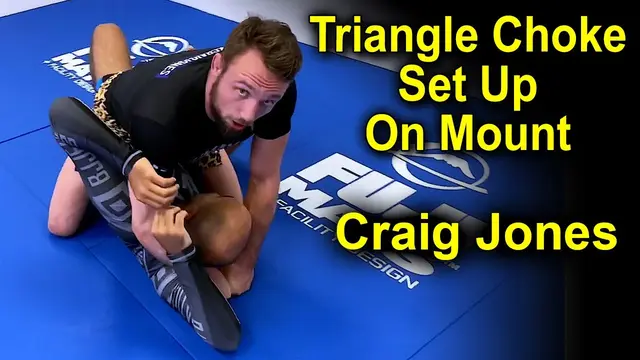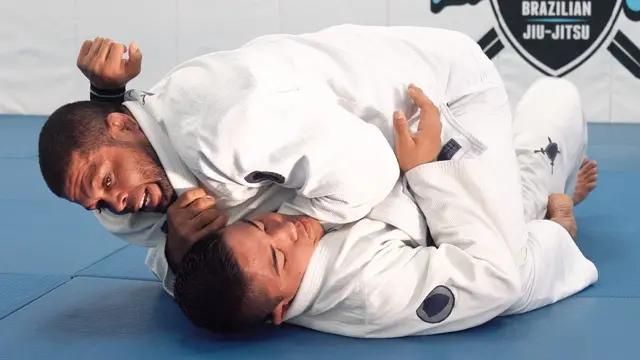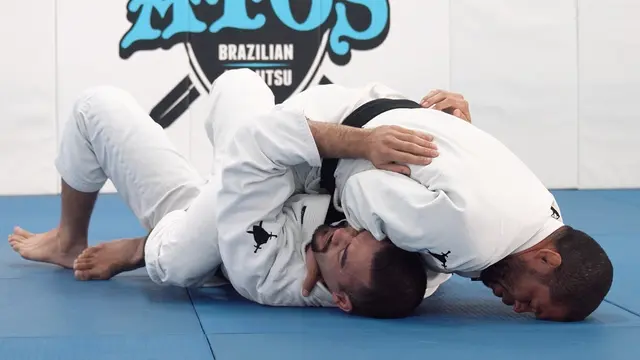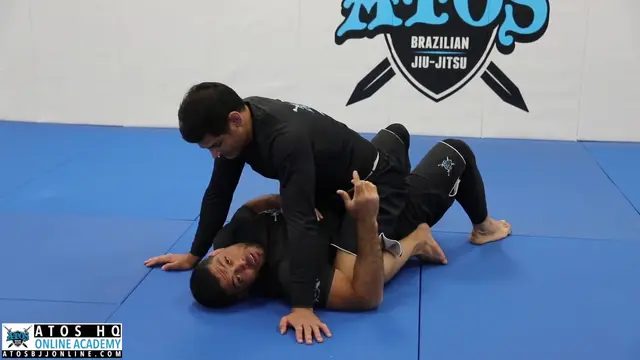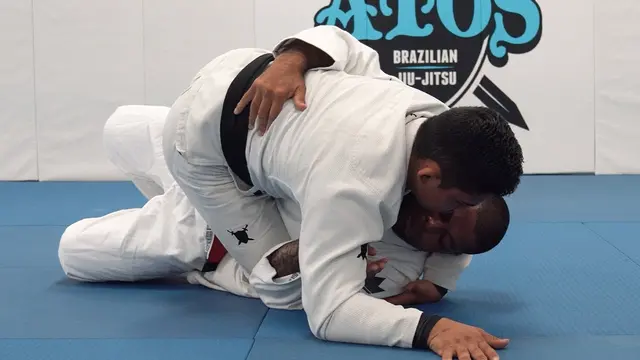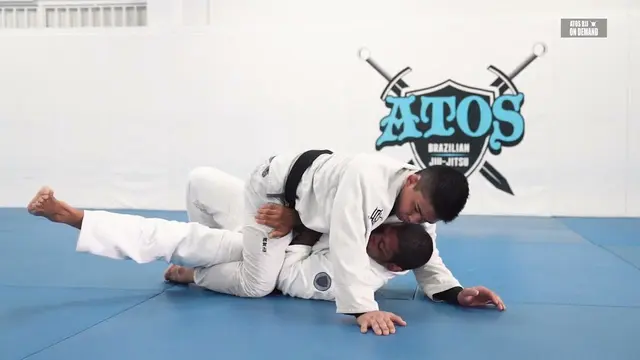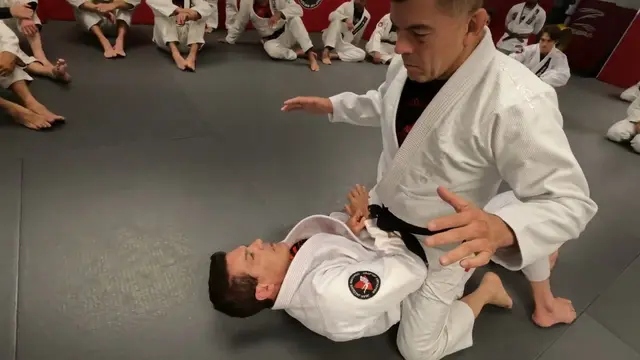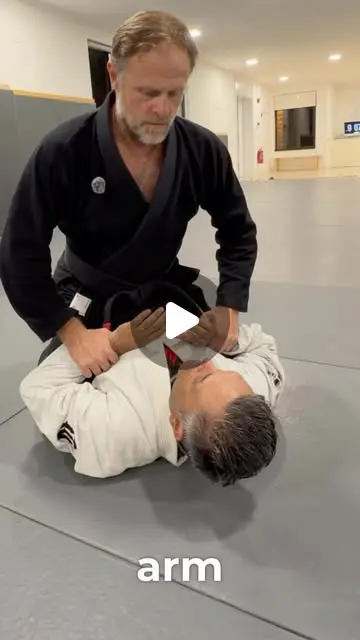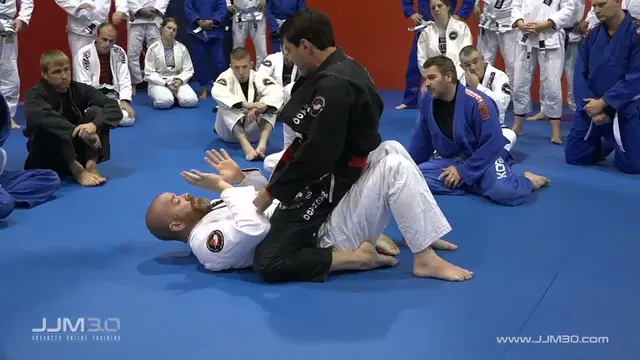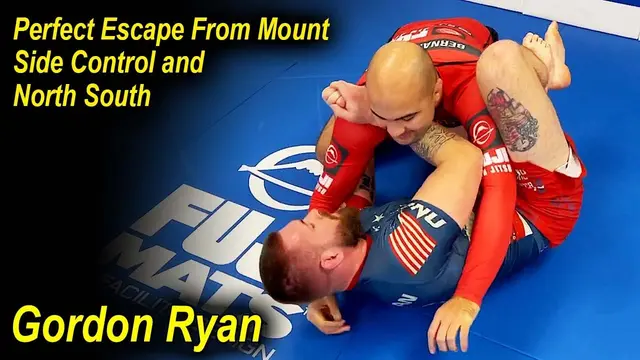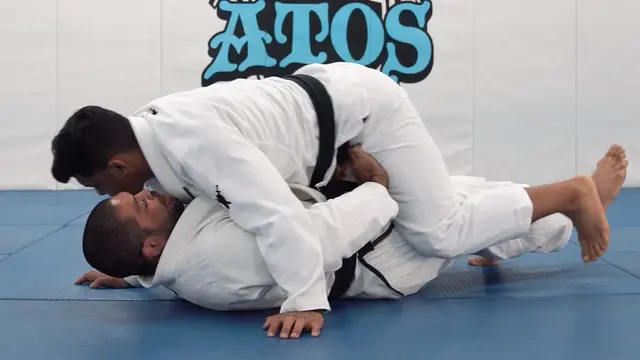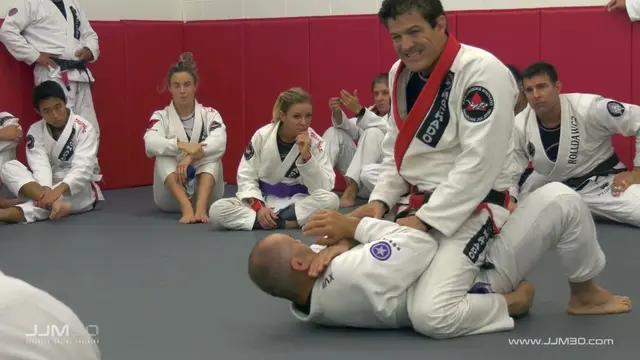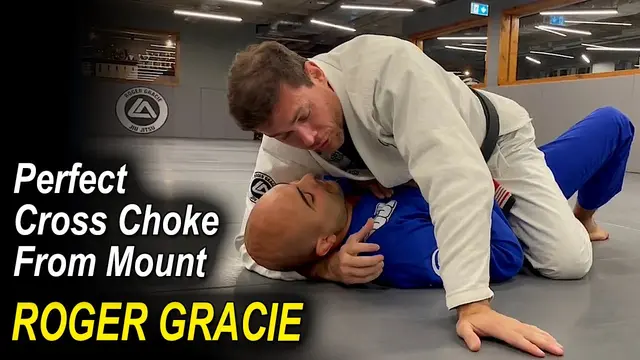
ROGER GRACIE Shows How To Do the Perfect Cross Choke From Mount
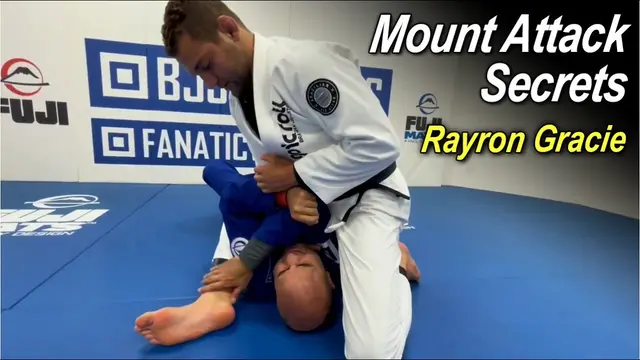
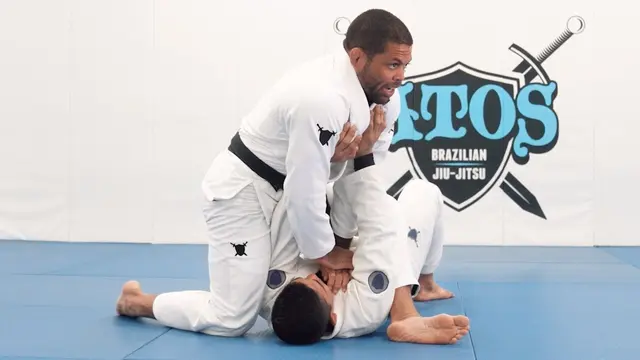
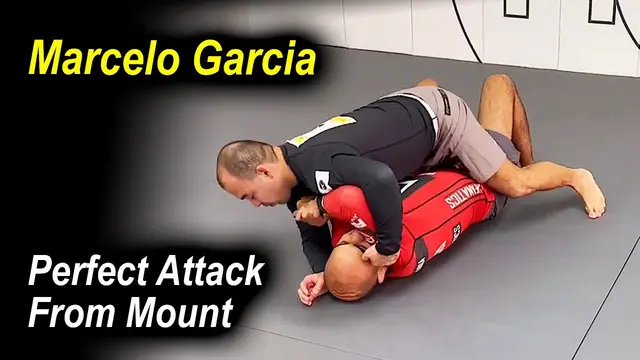
Coach's take: As good as cross-choke-from-mount instruction gets - extremely precise, from the best there's ever been at it.
Brazilian jiu-jitsu / Popular
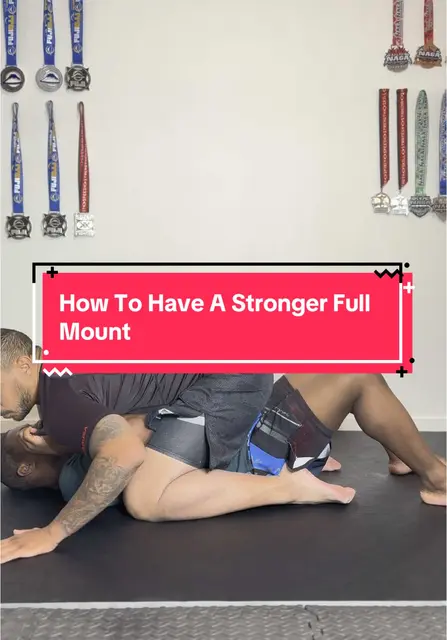
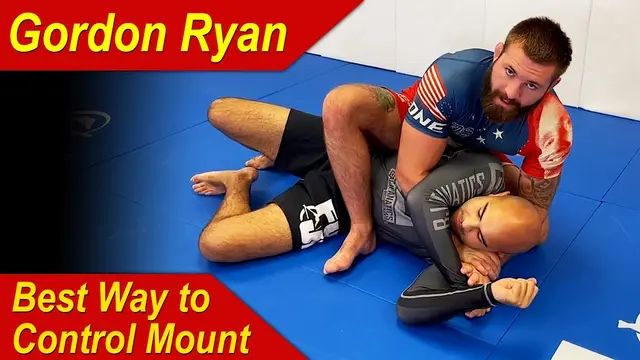
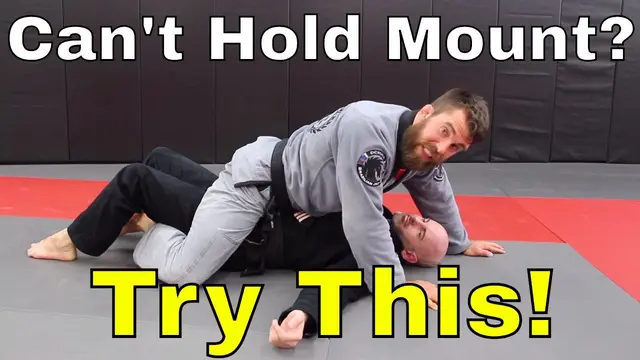
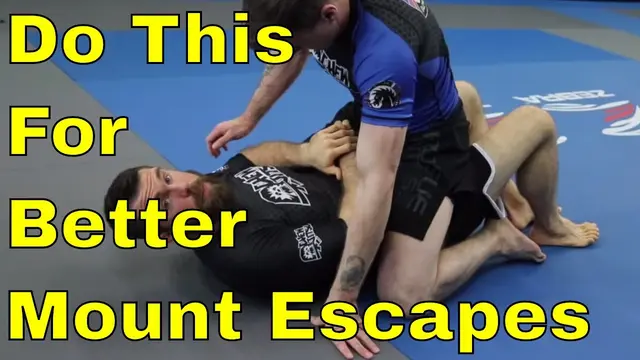
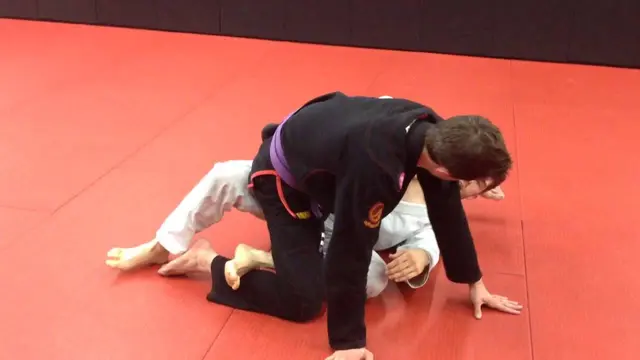
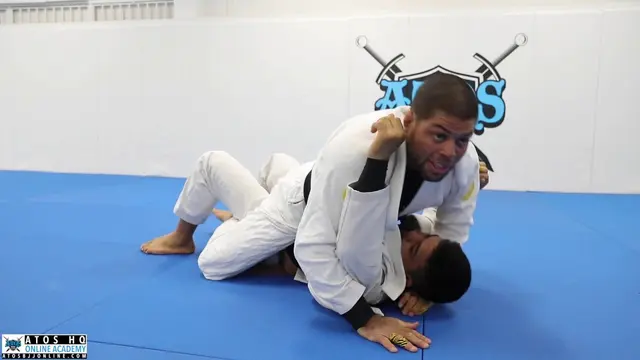
Keep the mount and stop your opponent bucking you off.

Coach's take: As good as cross-choke-from-mount instruction gets - extremely precise, from the best there's ever been at it.

Coach's take: Real biomechanical reasoning behind the grip choice - not just 'do it this way because I said so.'

Coach's take: The mount taxonomy here is genuinely great teaching - gives you a way to think about the position, not just moves.

Coach's take: Extremely thorough — covers the real fight, not just the highlight-reel version.

Coach's take: Good upgrade over the standard grip, explained with a clear reason why it's needed at a higher level.

Coach's take: Elite-level detail on holding mount - explains the why behind every adjustment.

Coach's take: Fixes a mistake basically everyone makes on this choke — genuinely useful detail.

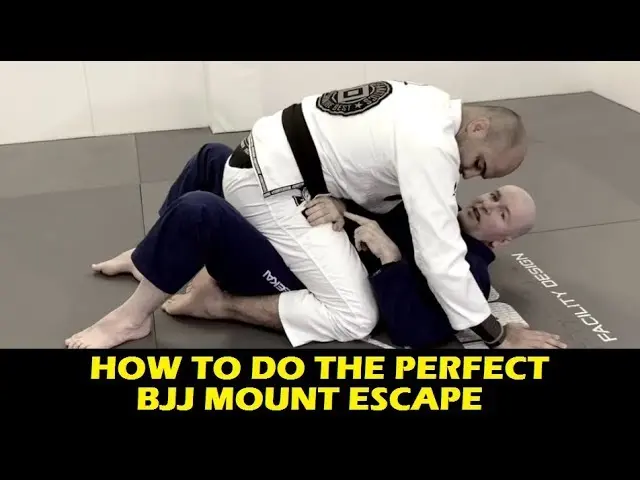
Coach's take: Does what the title says — simple, sound, and clearly explained.

Coach's take: Useful because it deals with the situation already going wrong, not just the ideal case.

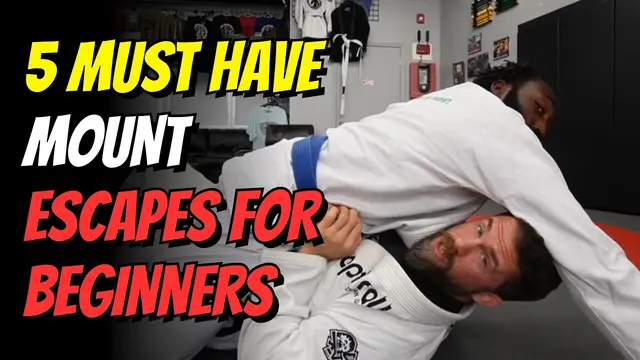
Coach's take: Good fundamentals, explains the why behind the escape.

Coach's take: The 'just survive, don't try to escape yet' drill is exactly how I'd coach a new white belt out of panicking under mount.

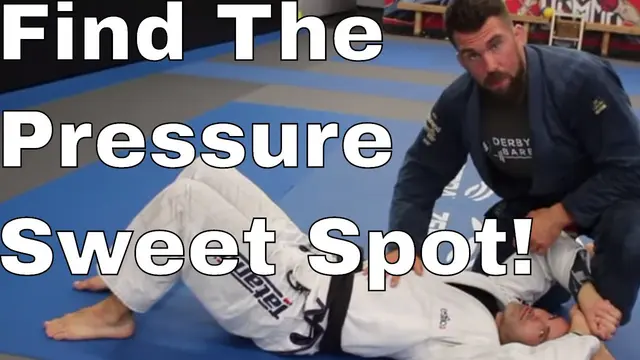
Coach's take: Solid cue -- get your weight up off the hips and onto the chest/solar plexus, that's the difference between a mount that gets bucked off and one that doesn't.

Coach's take: The solar-plexus pressure-point explanation alone makes this worth watching -- that's the actual reason S-mount is so miserable to be under.

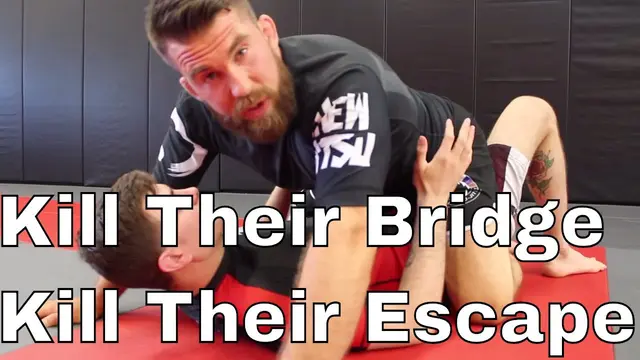
Coach's take: The head-control-to-kill-the-bridge detail is the kind of thing that separates control from just sitting there.

Coach's take: The 'push with your elbow, not your hands' cue alone is worth the watch.

Coach's take: Good because it teaches the sequence (legs free, then frame, then bridge), not just one escape.

Coach's take: Good competition-level insight, just a little rough around the edges in delivery.

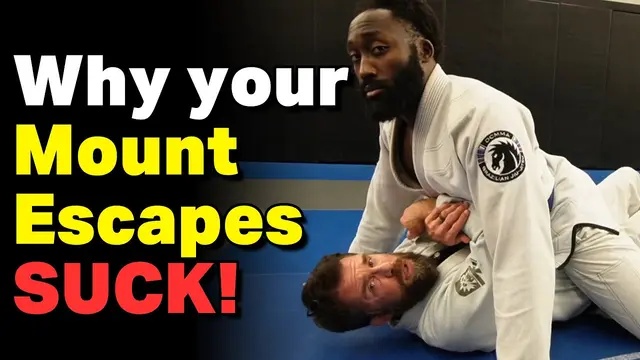
Coach's take: Explains the 'why' behind mount escapes better than most tutorials explain the 'how.'

Coach's take: Great mental framework for escapes generally, and it's spelled out for mount specifically too.

Coach's take: Good fundamentals, but there's a channel ad break in the middle of it.

Coach's take: Useful if you already have the pieces -- this isn't teaching hip escape from scratch.

Coach's take: The technique's sound but it's a rough watch - you'll have to work to follow the explanation.

Coach's take: One good detail on preventing full mount, then it drifts into half-guard sweeps that aren't really about this.