Rock Climbing Footwork Technique: Beginner Level & Basics
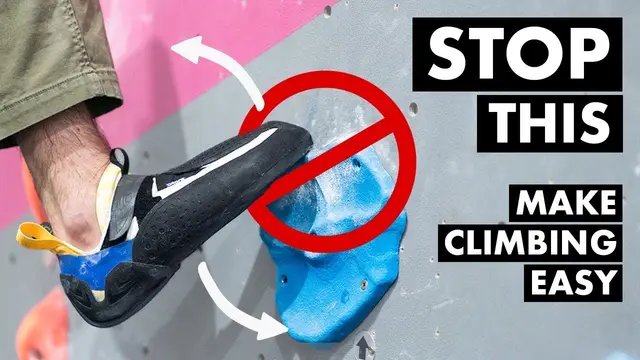
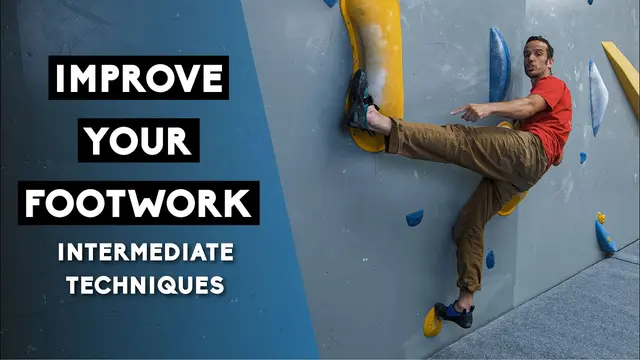
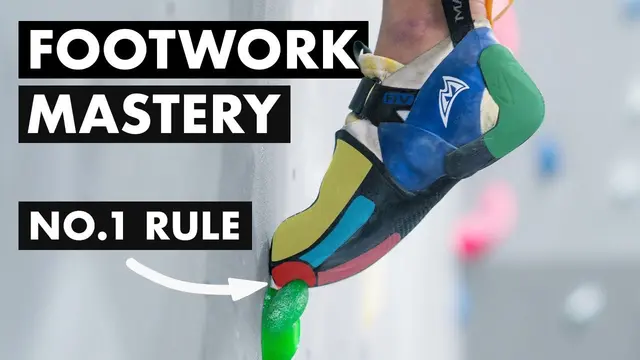
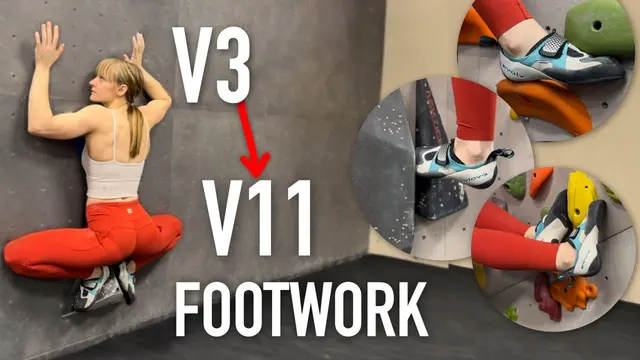
Coach's take: Shows you why the toe works by showing you the foot skating off when it doesn't. Best of the footwork lot.
Climbing / Popular
Place feet precisely and trust them instead of pulling with the arms.

Coach's take: Shows you why the toe works by showing you the foot skating off when it doesn't. Best of the footwork lot.

Coach's take: Frames the small-edge problem as trust, not strength - that's the unlock. Smearing section is excellent too.

Coach's take: Tells you where on the foot, not just which edge - and shows what breaks when you get it wrong.

Coach's take: The walking analogy for why opposite-hand-opposite-foot works is one of the clearest explanations of a climbing principle I've seen -- makes an abstract rule feel obvious.

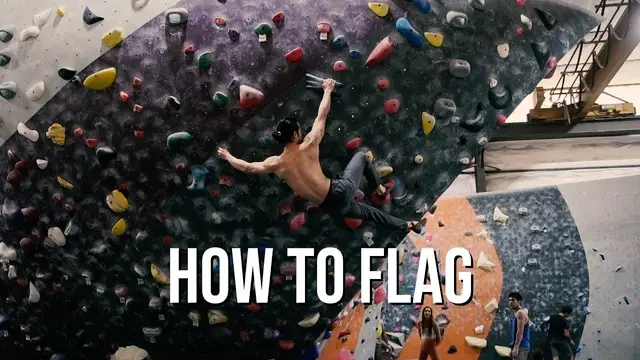
Coach's take: Rule-based teaching (opposite hand/foot, vertical plane) applied to real boulder problems -- this is how you actually make flag choice make sense instead of just memorizing three names.

Coach's take: 'Squashing the bug' is a great name for a real technique -- pivot the foot to find the good edge on a bad hold.

Coach's take: Real programming, not just tips - if you can set your own boulders this is gold.

Coach's take: Clean, well-reasoned, and it shows the payoff on real holds. Recommend.

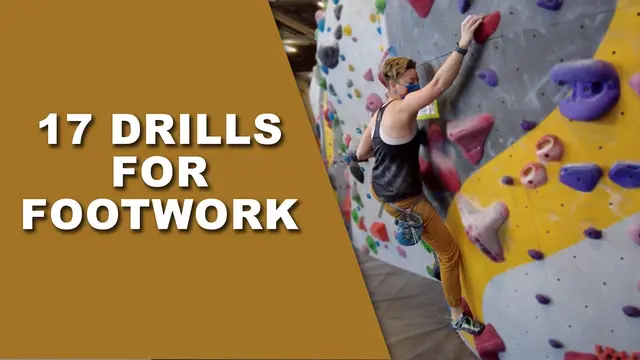
Coach's take: Big menu of drills with real explanations - pick a few and go work on them.

Coach's take: Finally explains WHY you're banging and scuffing, not just telling you to stop.

Coach's take: Watching the coach spot the exact bad foot placement and then having the climber re-run the boulder with the fix is better teaching than most drill-only videos.

Coach's take: Cues are all correct and it covers the most ground - but forty seconds a technique, so it's a menu not a lesson.

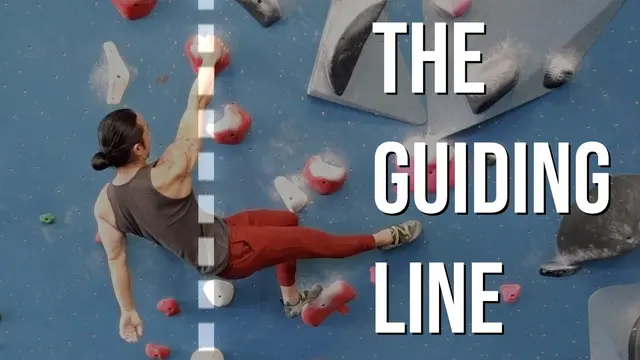
Coach's take: The 'draw a line down from your hand and look for the foothold near it' heuristic is a genuinely useful way to unify all three flag types into one decision instead of three separate memorized techniques.

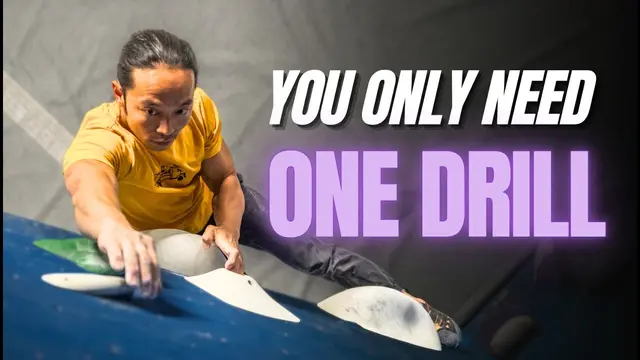
Coach's take: Good case for why this one drill beats isolated flagging or dynamics drills -- and it scales from easy to brutal depending on the wall.

Coach's take: Good drills with real reasoning behind them, not just a checklist.

Coach's take: Explains why the common mistake actually costs you energy, not just 'do this instead'.

Coach's take: Genuinely underrated concept with real demos; rambly, and you'll have to feel it on the wall yourself.

Coach's take: The floor test -- try to balance lifting the same-side arm and leg vs. opposite arm and leg -- makes the whole 'primary foot' idea click instantly.

Coach's take: The cover-and-remove foot swap explanation is precise enough to actually try -- that's rarer than it should be in these breakdown videos.

Coach's take: Solid concepts if you already know the basics - explains the why, not just the what.

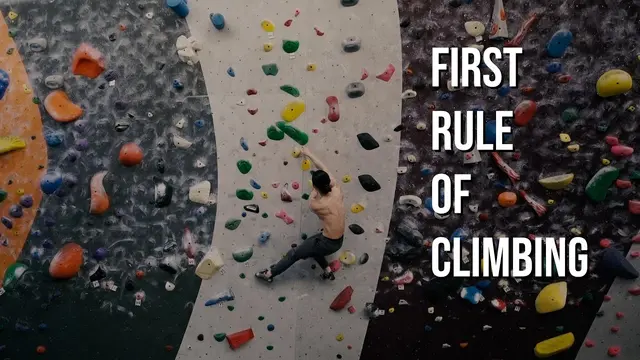
Coach's take: Right advice, correct first lesson - but it's a one-minute reminder, not a lesson.

Coach's take: Real drills in there, but you have to dig - the Lattice videos teach the same material far cleaner.

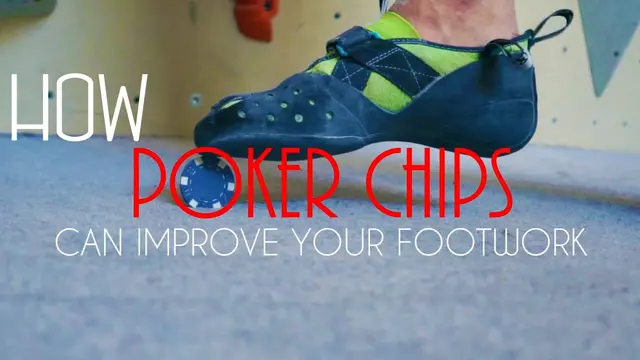
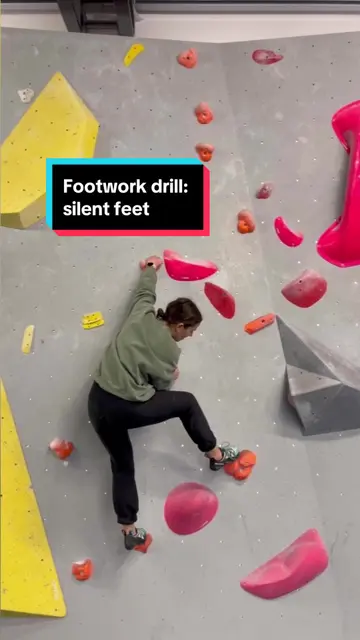
Coach's take: The practice method is solid - silent feet, restart on a slip, down-climb - but it never teaches the placement itself.