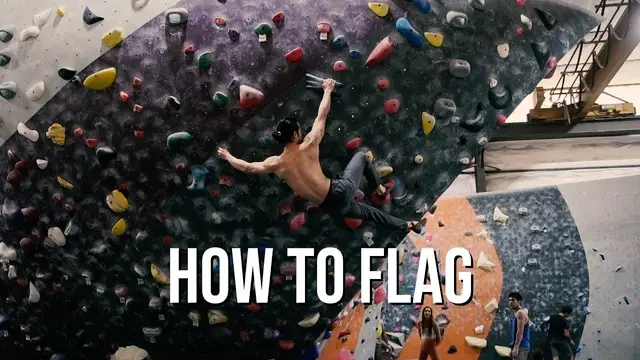
How to Flag - A Climbing Technique for Achieving Balance
Coach's take: Explains the reasoning behind each flag choice, not just the moves - this is how you teach it.
Climbing / Popular
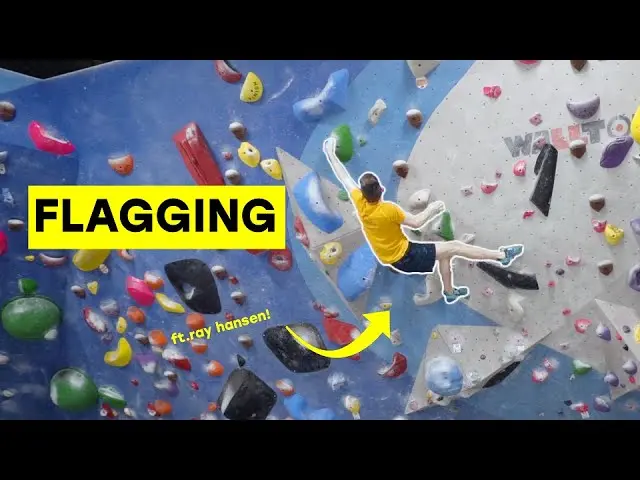
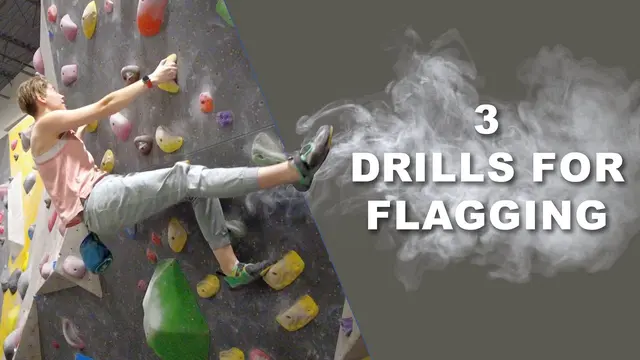
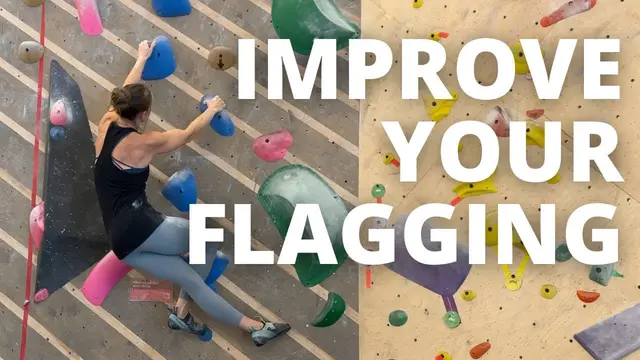
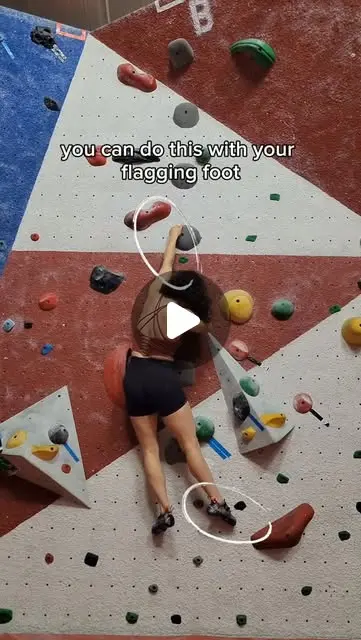
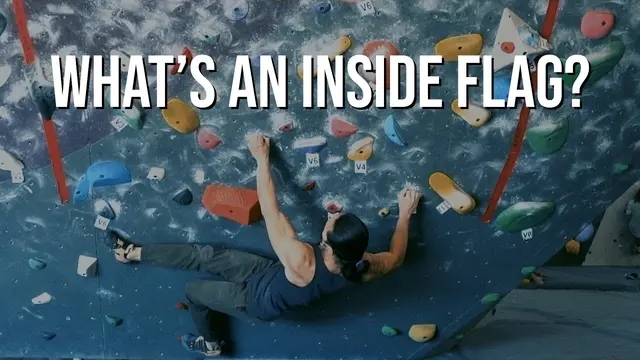
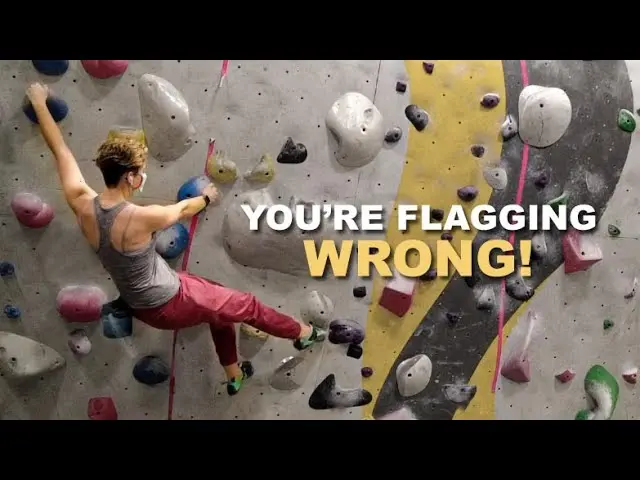
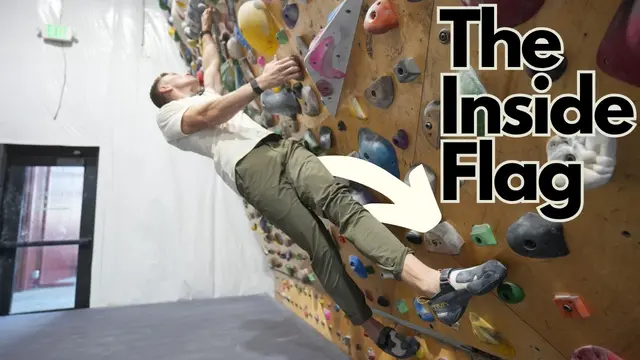
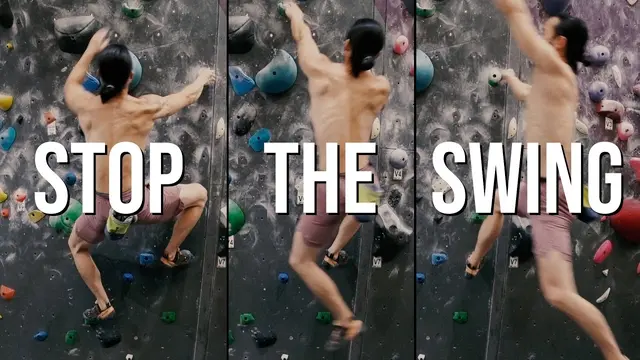
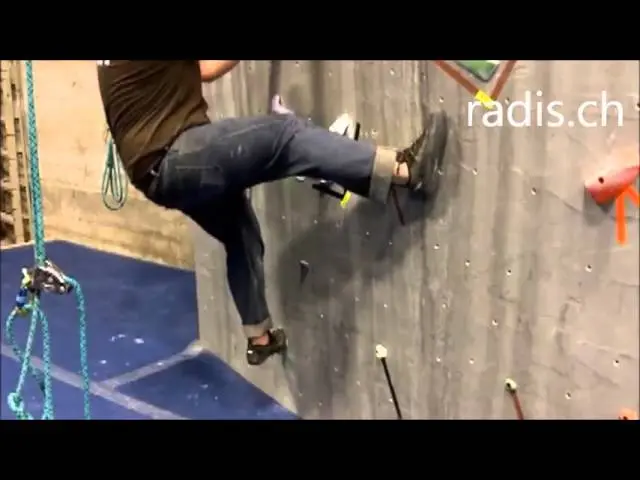
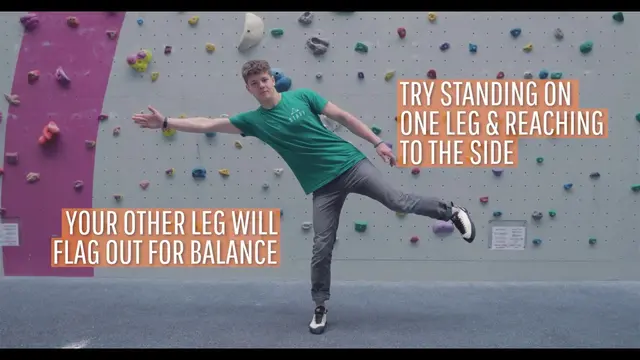
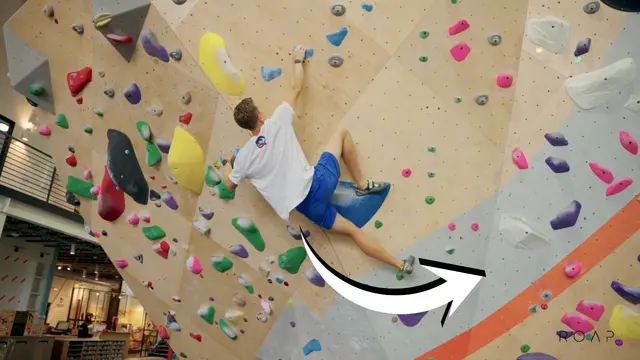
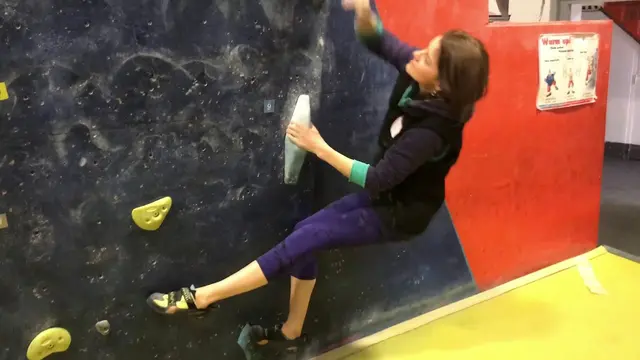
Use a free leg as a counterweight to stop barn-dooring.

Coach's take: Explains the reasoning behind each flag choice, not just the moves - this is how you teach it.

Coach's take: Explains the mechanics properly and admits when a back step beats the flag. Best of the bunch on the why.

Coach's take: Well-designed drill with the reasoning explained, not just steps.
![[UPDATE] Rock Climbing Techniques - Climbing Tips Lesson 2 - Positioning & Flagging](https://i.ytimg.com/vi/P0j0bBKsNAo/hqdefault.jpg)
Coach's take: Clear, correct, no filler.

Coach's take: Clear, correct, and easy to apply on the wall.

Coach's take: An actual practice plan, not just theory - drill these below your grade and film yourself.

Coach's take: Short clip, real coaching value -- clear error and fix.

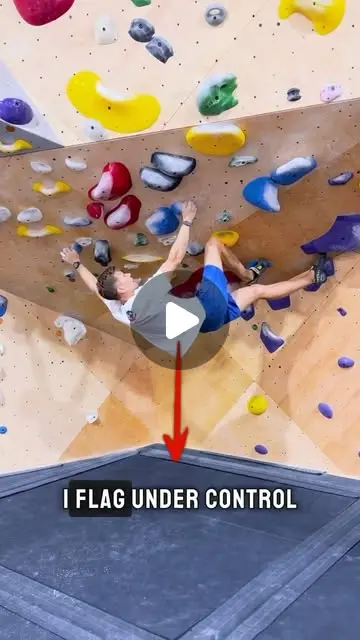
Coach's take: The lazy-flag warning alone is worth the watch.

Coach's take: Honest and specific - shows exactly when this move pays off and admits when it doesn't.

Coach's take: Good instruction, and it gives you something to actually go drill.

Coach's take: Real fixes - flag as far as you reach, and push with that foot. Worth it despite the subscribe gag.

Coach's take: Real insight, though an ad break and rambling delivery cost it some.

Coach's take: Short but the cues are exactly right for a beginner flag.

Coach's take: Great physics-first explanation - this teaches you to understand the barn door, not just imitate a move.

Coach's take: Right three mistakes for a first-timer, and the barn-door comparison sells it. Sit through the book plug.

Coach's take: Strong conceptual teaching, just comes with a pitch for the paid subscription partway through.

Coach's take: Rough production, but the technique explanation itself is clear and correct.

Coach's take: Clean first explanation, but it's an overview - you'll want something with drills next.

Coach's take: Great technique explanation, badly diluted by a long ad break.

Coach's take: Correct but thin - an orientation, not a lesson.

Coach's take: Decent drill buried in a vlog - and they bail on it halfway.

Coach's take: Good condensed explanation, just don't expect the depth of a dedicated flagging video.

Coach's take: Passive vs active flag is a good takeaway; the rest is skimmed.

Coach's take: Useful idea, hard to extract without watching.